Novatel Wireless NRM-EU860D Dual Band Licensed Modular Transmitter User Manual Dell Latitude D420 User s Guide
Novatel Wireless, Inc. Dual Band Licensed Modular Transmitter Dell Latitude D420 User s Guide
Contents
- 1. Part 1
- 2. Part 2
- 3. Manual 1
- 4. Manual 2
- 5. Manual 3
- 6. Manual 4
- 7. User Manual 1
- 8. User Manual 2
- 9. User Manual M1210
- 10. User Manual D430
- 11. User Manual D420
- 12. User Manual Corsica
- 13. User Manual Sapporo
- 14. User Manual Vostro 1
- 15. User Manual Vostro 2
- 16. Users Manual Vostro 3
- 17. Users Manual Vostro 4
- 18. User Manual 3
- 19. User Manual 4
- 20. User Manual Gilligan
User Manual D420


![Reinstalling Software: Dell Latitude D420 User's Guide1. Click Start→ Control Panel→ System. 2. Click Hardware→ Device Manager. 3. Scroll down the list to see if any device has an exclamation point (a yellow circle with a [!]) on the device icon. If an exclamation point is next to the device name, you may need to reinstall the driver or install a new driver (see Reinstalling Drivers and Utilities).Reinstalling Drivers and Utilities NOTICE: The Dell Support website at support.dell.com and your optional Drivers and Utilities CD provide approved drivers for Dell™ computers. If you install drivers obtained from other sources, your computer might not work correctly. Using Windows XP Device Driver Rollback If a problem occurs on your computer after you install or update a driver, use Windows XP Device Driver Rollback to replace the driver with the previously installed version.1. Click Start→ Control Panel→ System. 2. Click Hardware→ Device Manager. 3. Right-click the device for which the new driver was installed and click Properties. 4. Click Drivers→ Roll Back Driver. If Device Driver Rollback does not resolve the problem, then use System Restore to return your computer to the operating state that existed before you installed the new driver (see Using Microsoft Windows XP System Restore).Using the Drivers and Utilities CD NOTE: The Drivers and Utilities CD may be optional and may not ship with your computer. If using Device Driver Rollback or System Restore does not resolve the problem, then reinstall the driver from the Drivers and Utilities CD (also known as the ResourceCD).1. Save and close any open files, and exit any open programs. 2. Insert the Drivers and Utilities CD. file:///H|/My%20Documents/Cellular/User%20Guides/Notebooks/d420/PG124en1/software.htm (2 of 7)4/13/2007 4:08:01 PM](https://usermanual.wiki/Novatel-Wireless/NRM-EU860D.User-Manual-D420/User-Guide-789275-Page-24.png)

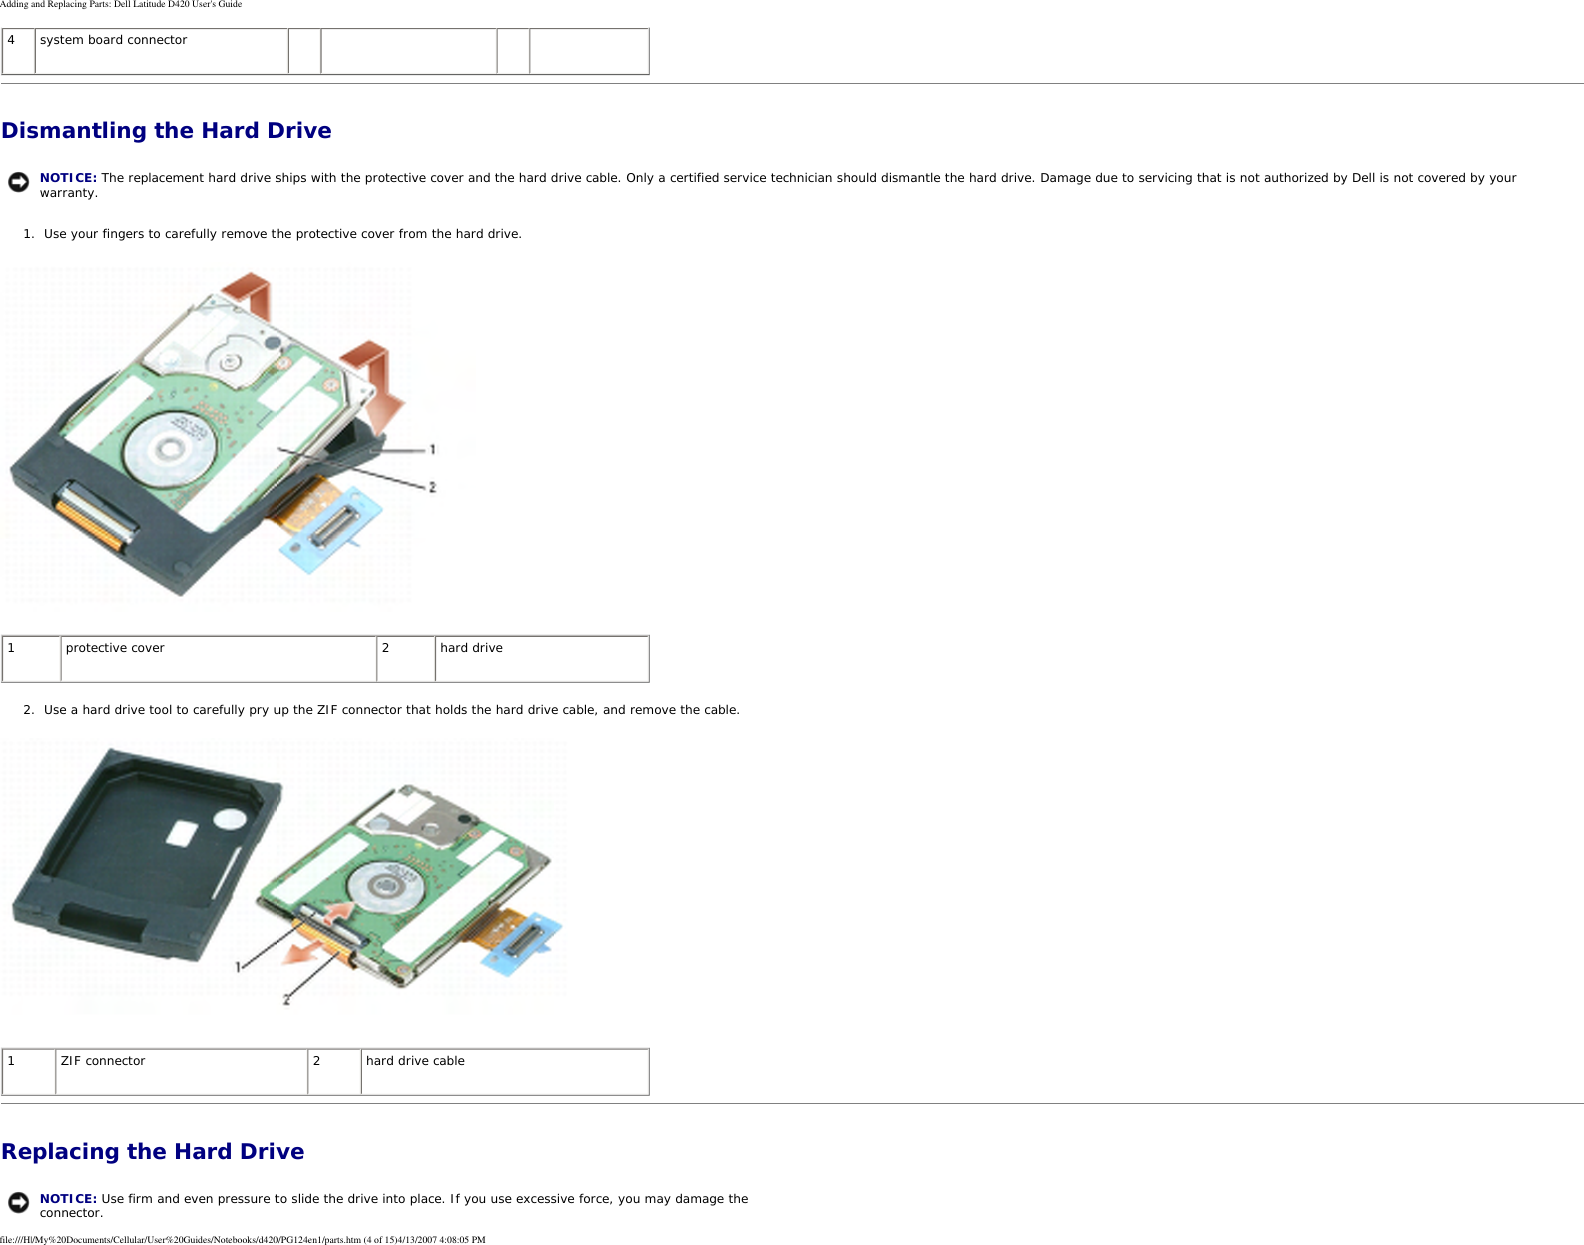
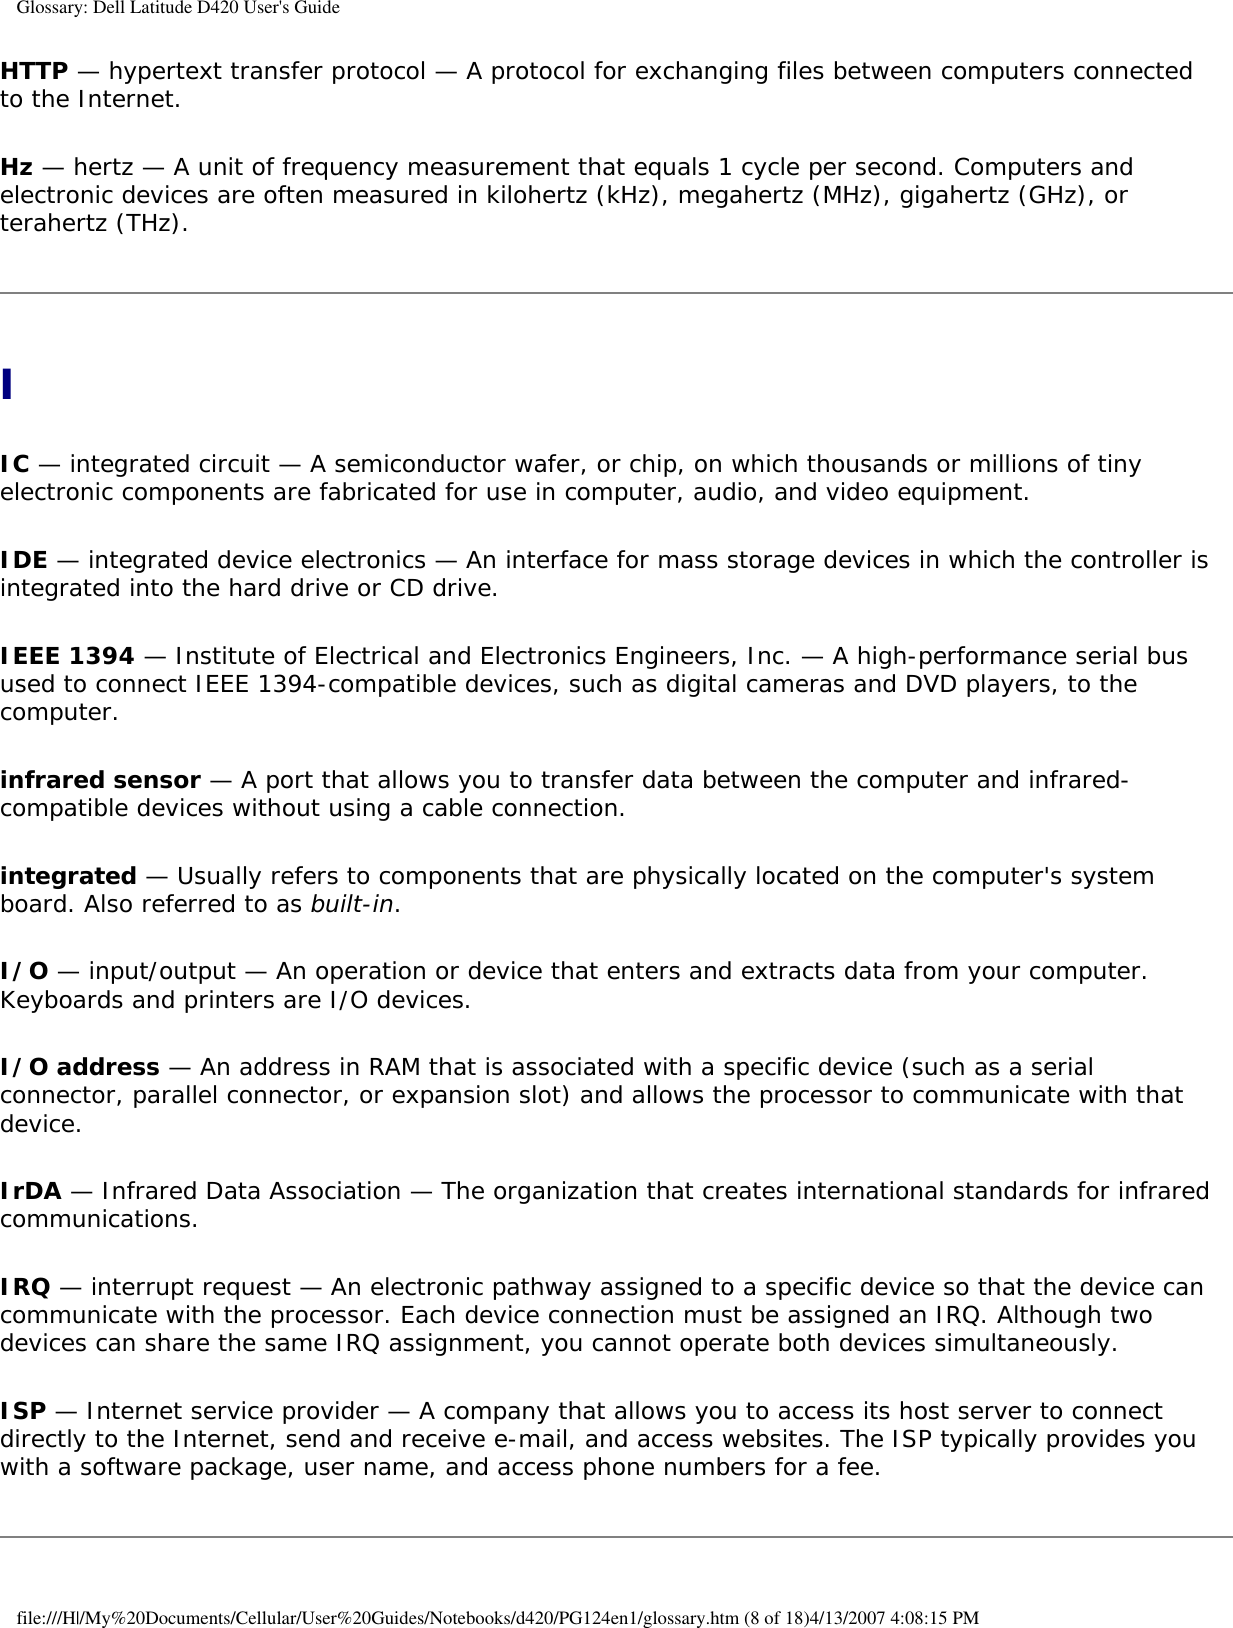
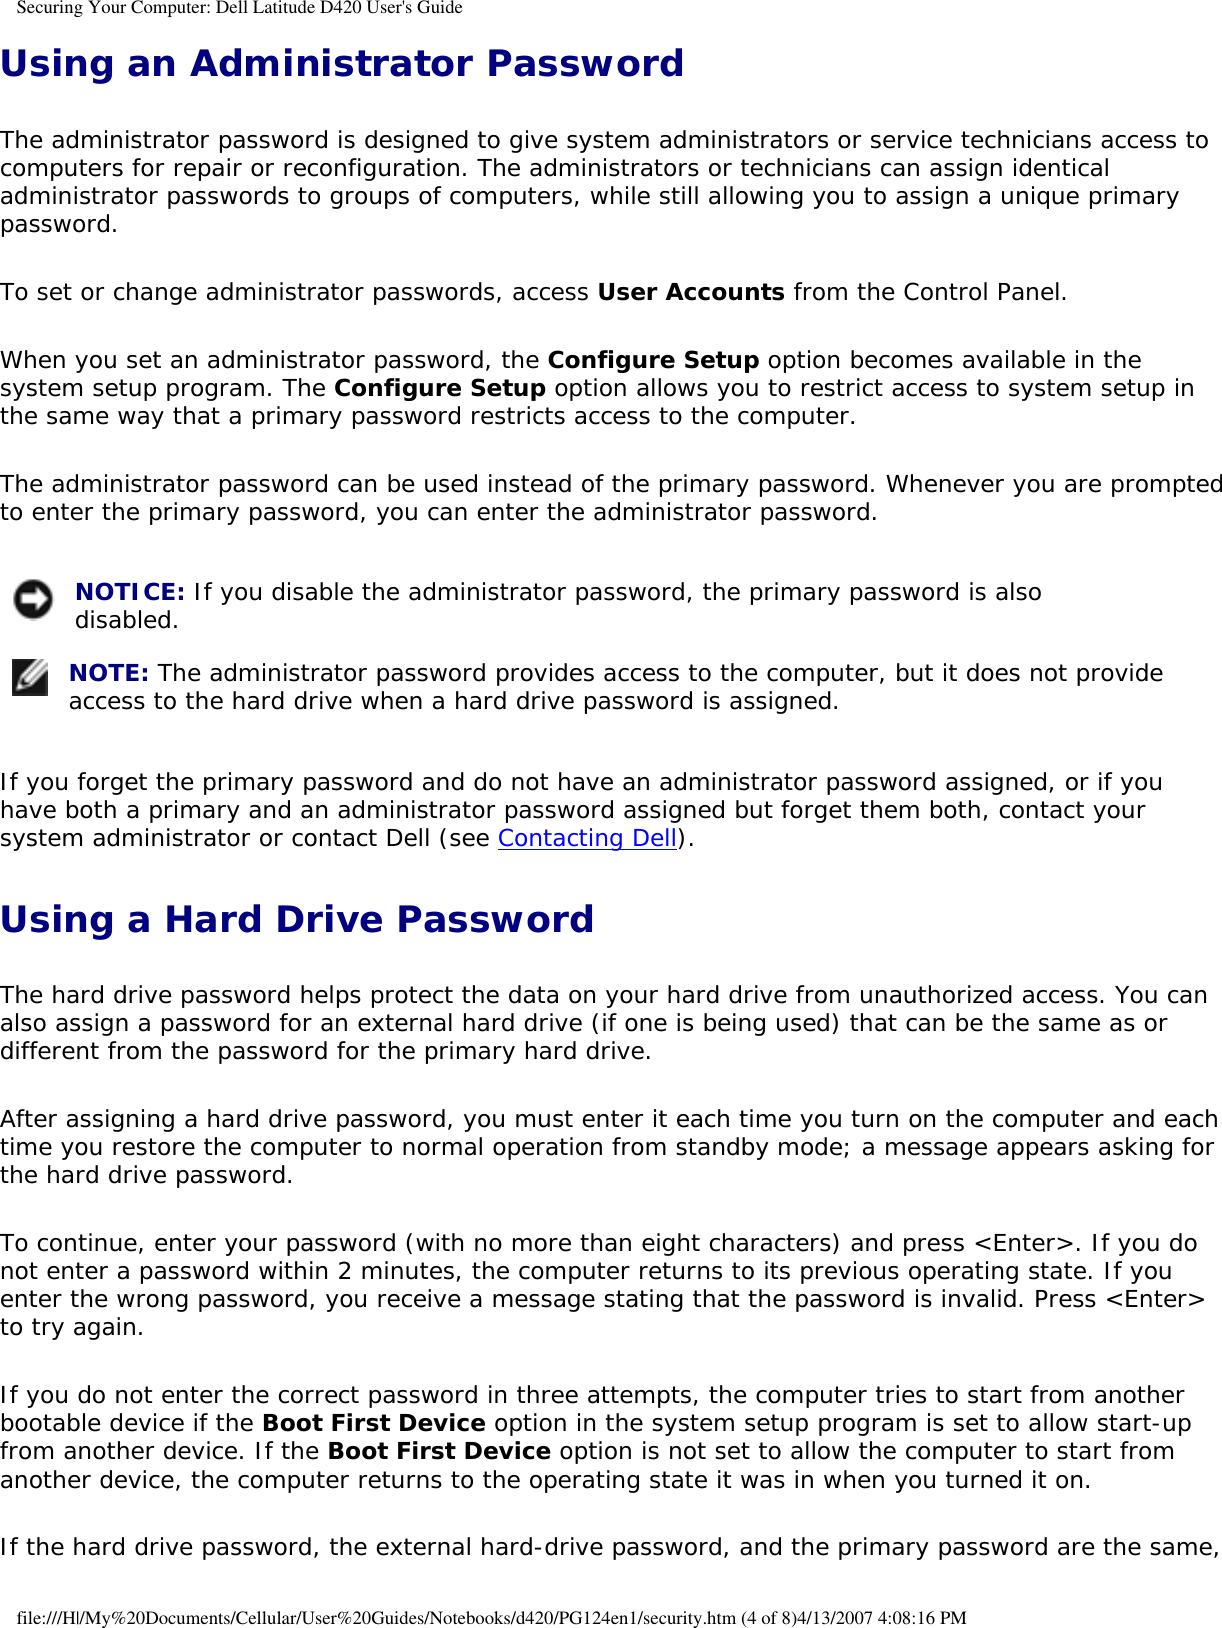
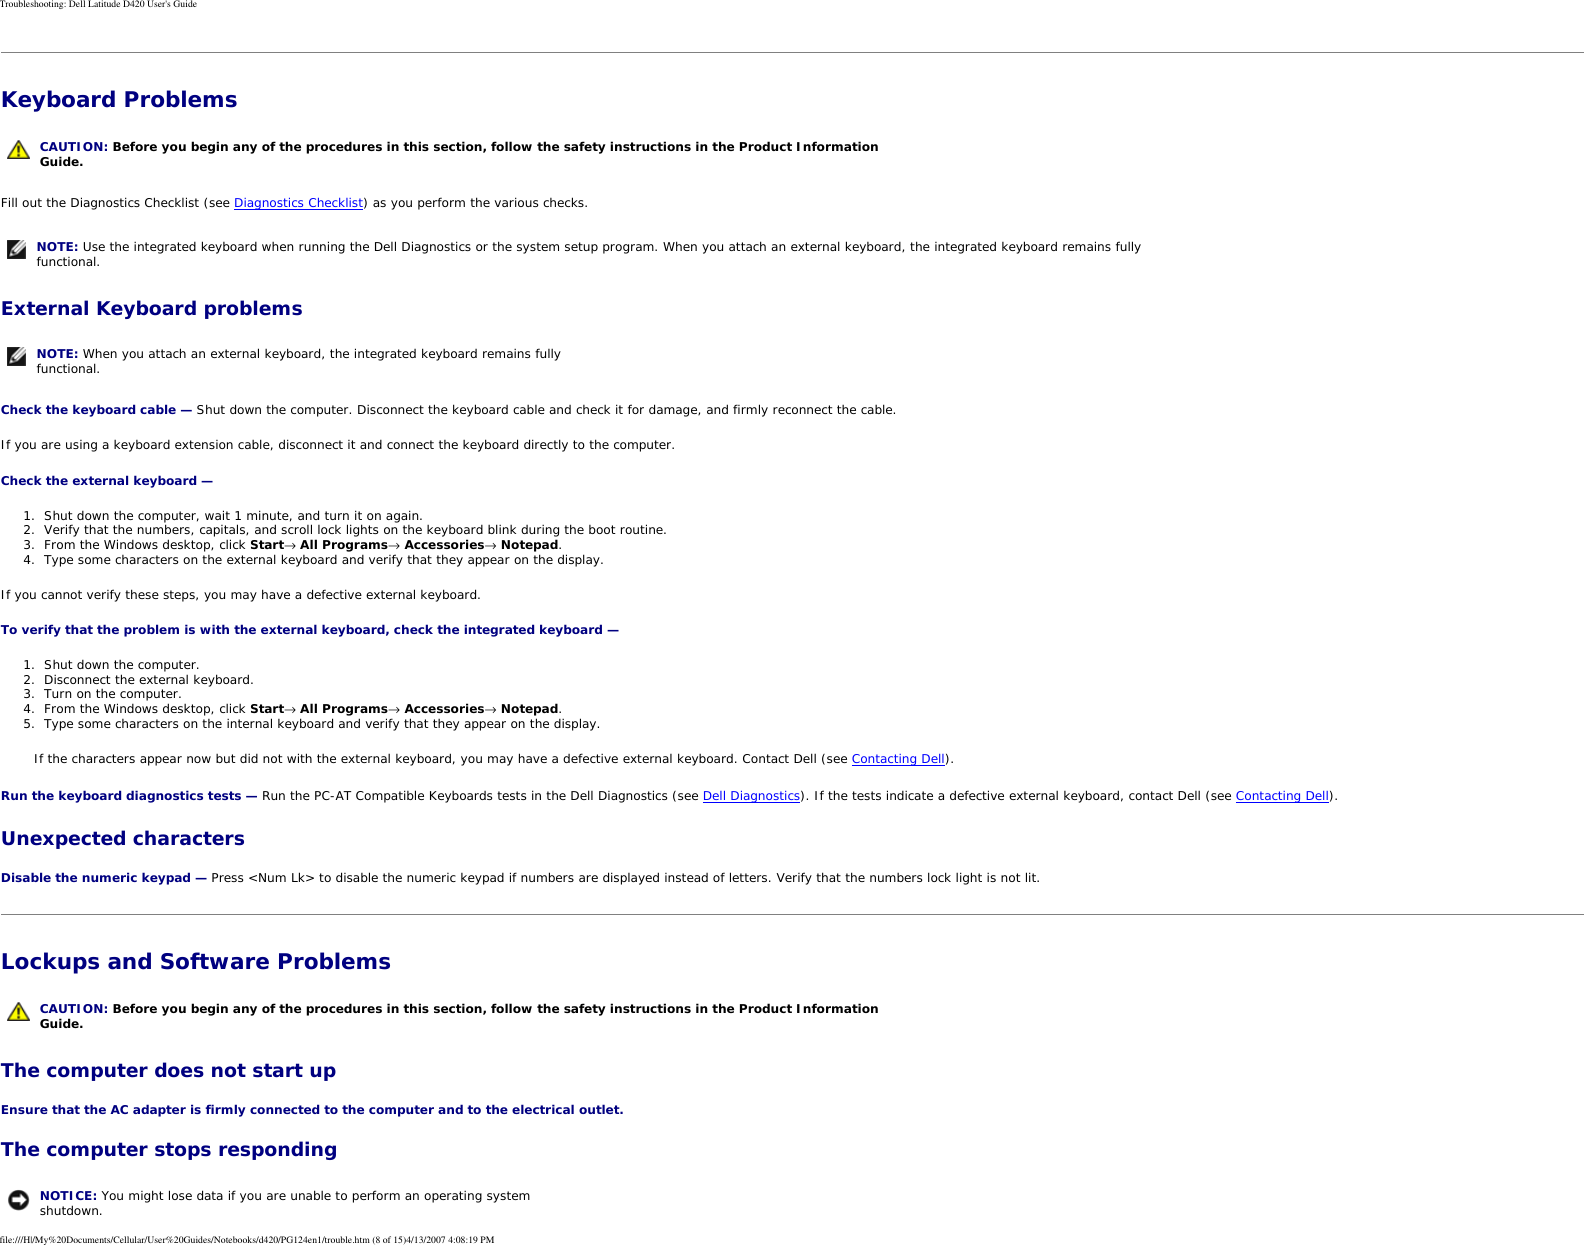
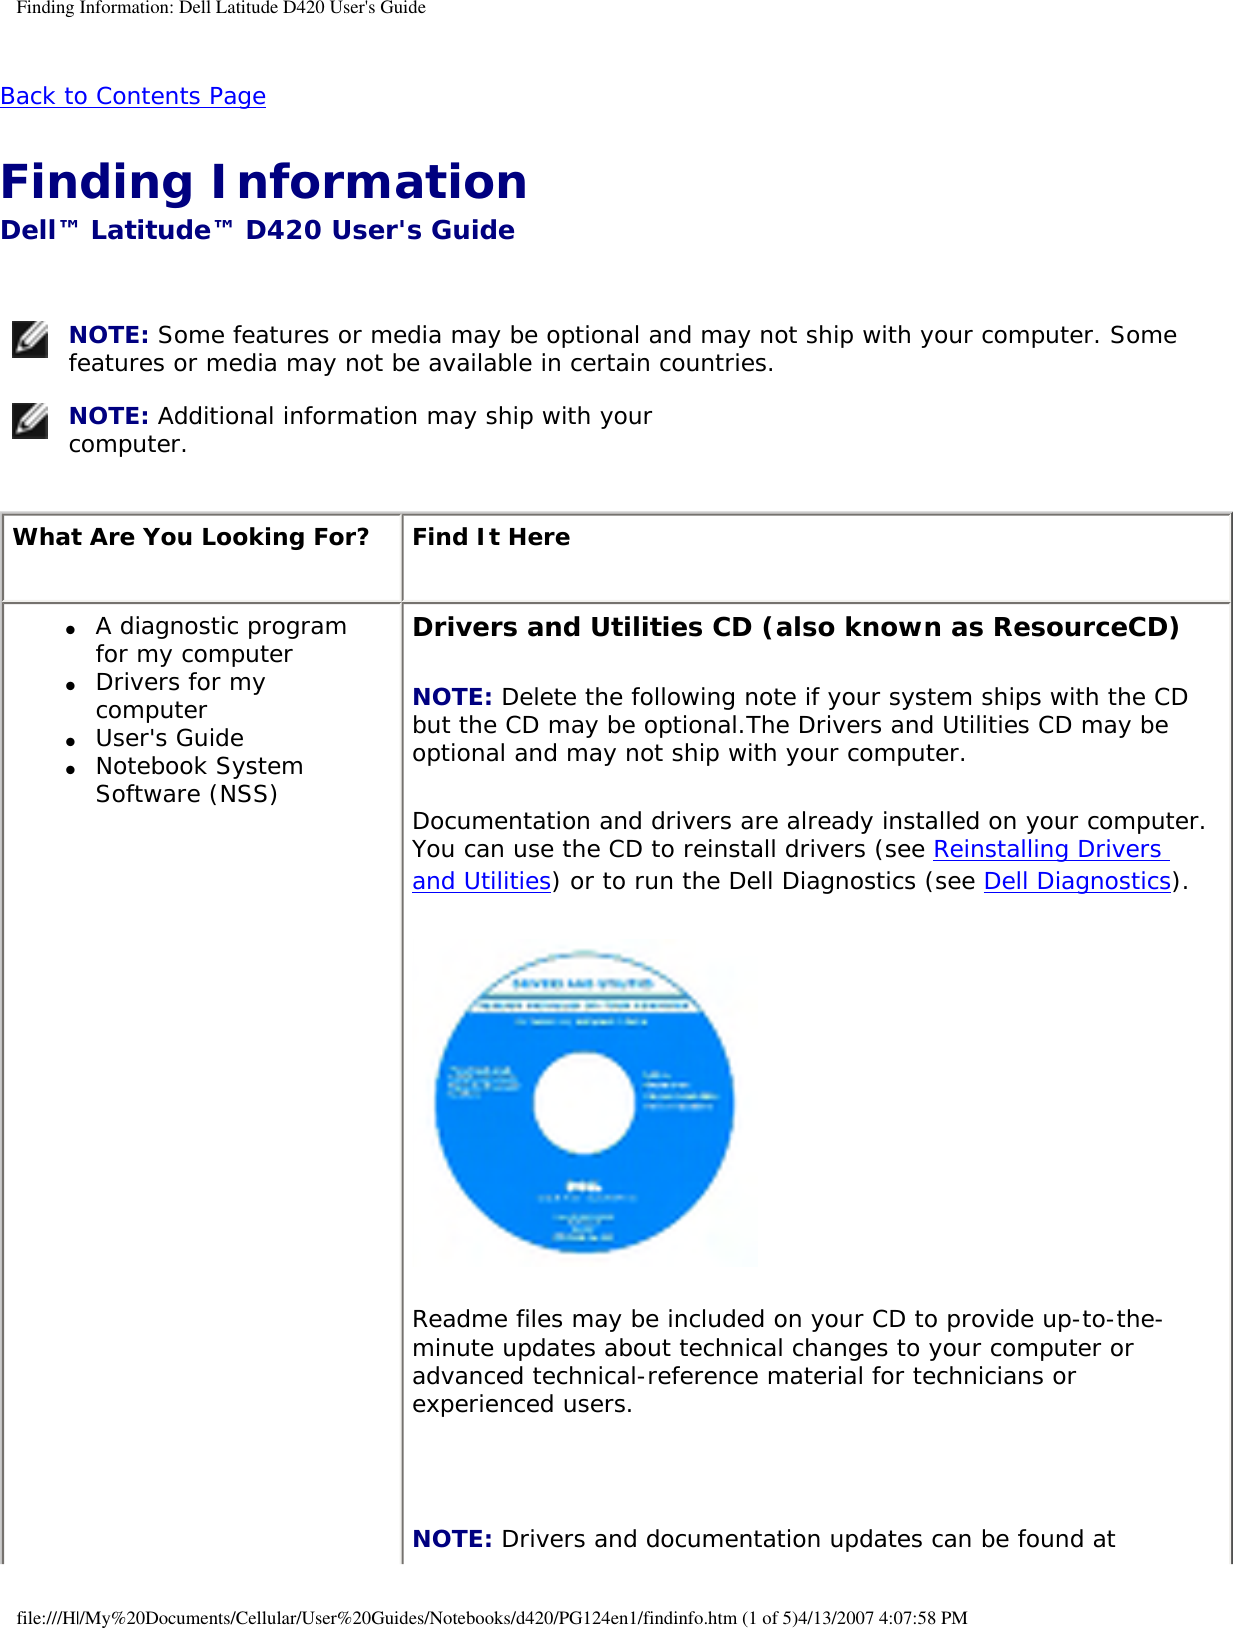
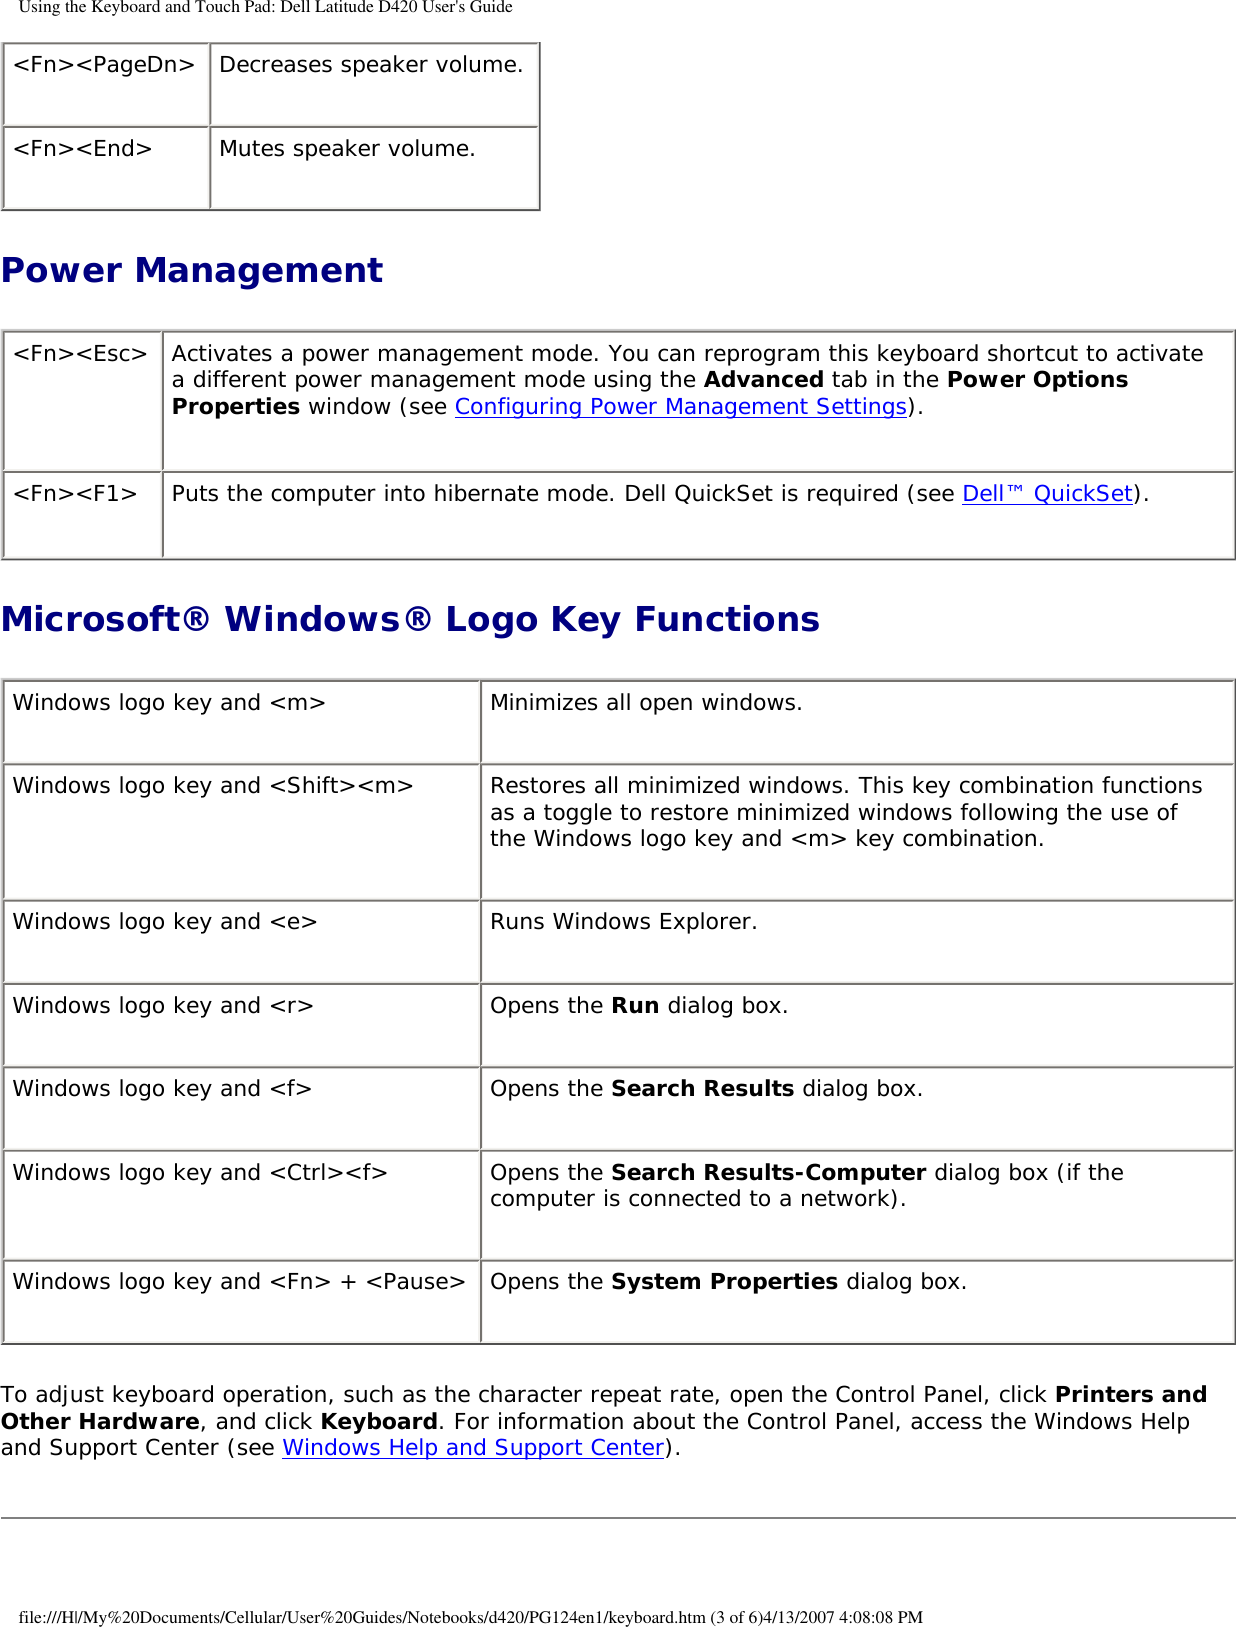
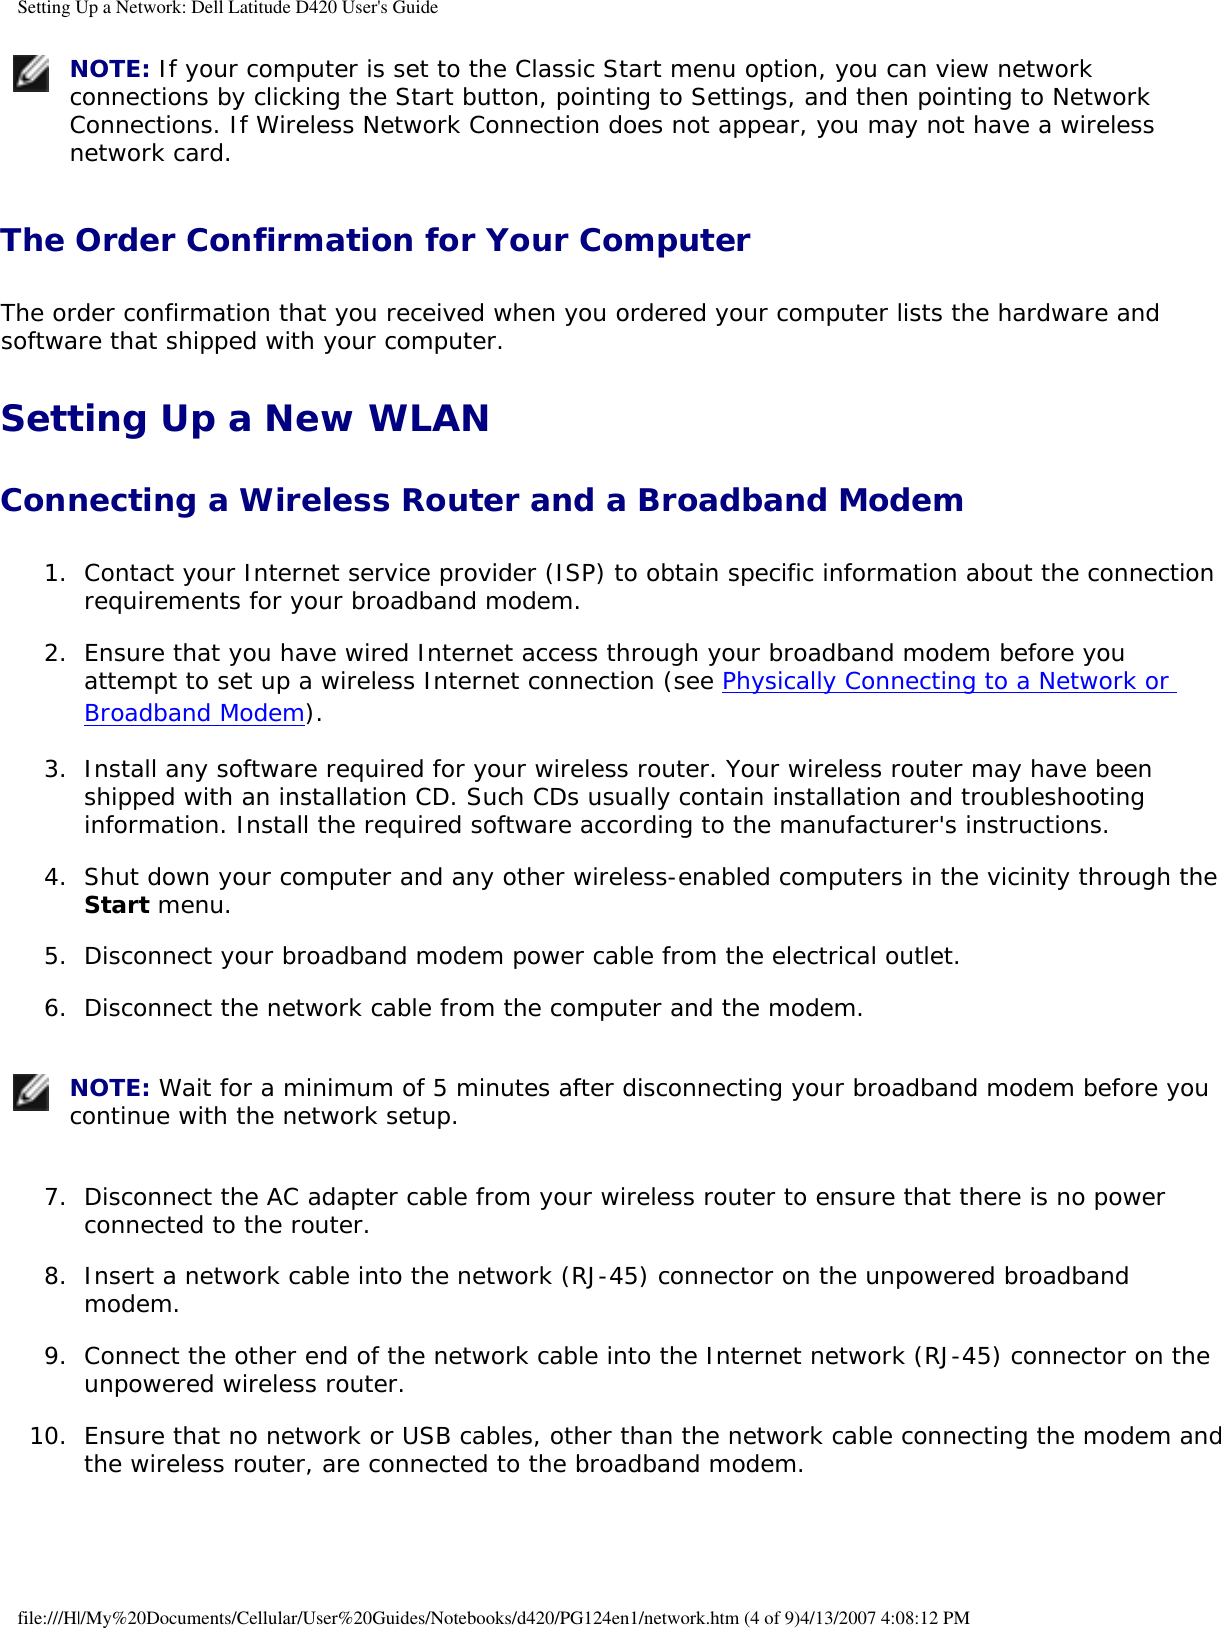
![Adding and Replacing Parts: Dell Latitude D420 User's Guide1 cable connector 2 coin-cell batteryWhen you replace the battery, insert it at a 30-degree angle under the clip with the positive (identified by a plus [+] symbol) side up, and then push it into place. Back to Contents Page file:///H|/My%20Documents/Cellular/User%20Guides/Notebooks/d420/PG124en1/parts.htm (15 of 15)4/13/2007 4:08:05 PM](https://usermanual.wiki/Novatel-Wireless/NRM-EU860D.User-Manual-D420/User-Guide-789275-Page-48.png)


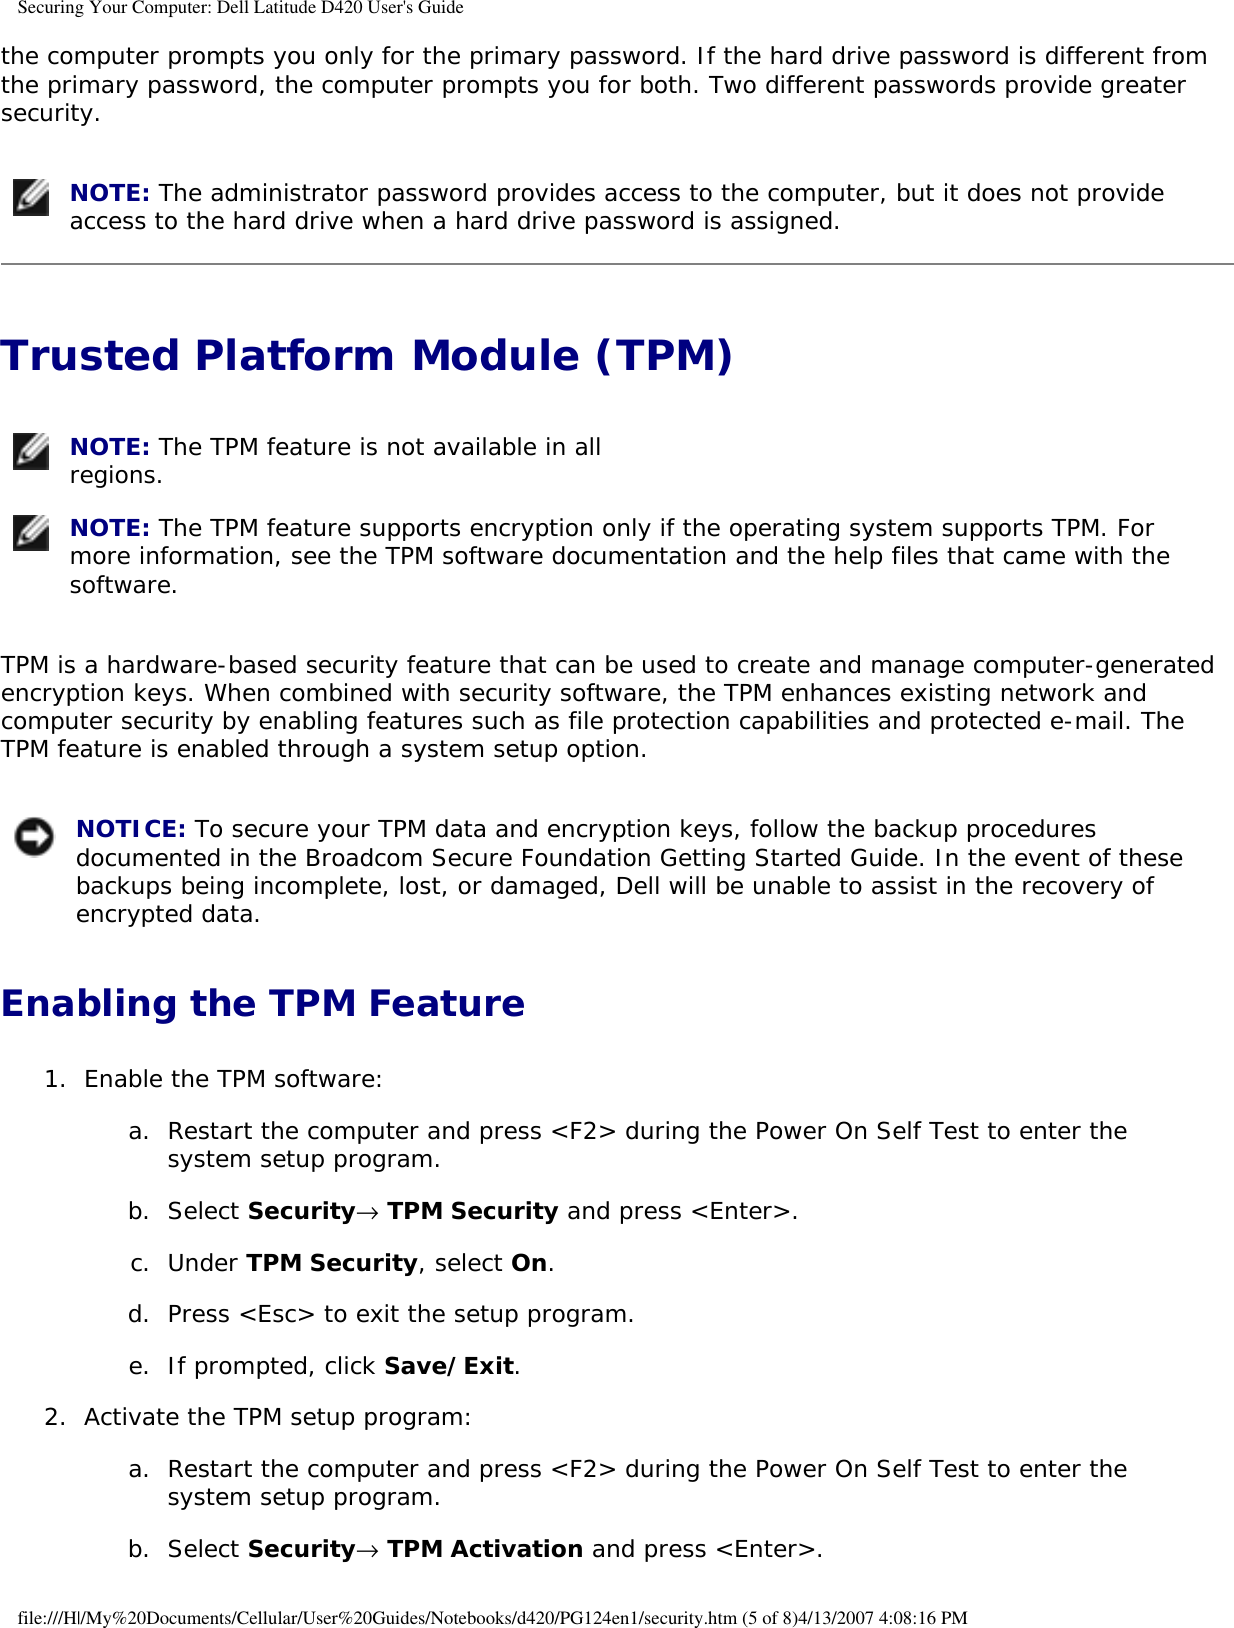
![Getting Help: Dell Latitude D420 User's GuideCity Code: 1344 Global Accounts Customer Care 01344 373 186Central Government Customer Care 01344 373 193Local Government & Education Customer Care 01344 373 199Health Customer Care 01344 373 194Technical Support Technical Support for XPS 0870 366 4180Technical Support (Corporate/Preferred Accounts/PAD [1000+ employees]) 0870 908 0500General Technical Support for all other products 0870 908 0800Home and Small Business Fax 0870 907 4006Uruguay General Support toll-free: 000-413-598-2521Automated Order-Status Service toll-free: 1-800-433-9014AutoTech (portable and desktop computers) toll-free: 1-800-247-9362Hardware and Warranty Support (Dell TV, Printers, and Projectors) for Relationship customerstoll-free: 1-877-459-7298 Americas Consumer XPS Support toll-free: 1-800-232-8544file:///H|/My%20Documents/Cellular/User%20Guides/Notebooks/d420/PG124en1/help.htm (31 of 33)4/13/2007 4:08:11 PM](https://usermanual.wiki/Novatel-Wireless/NRM-EU860D.User-Manual-D420/User-Guide-789275-Page-97.png)
![Getting Help: Dell Latitude D420 User's GuideU.S.A. (Austin, Texas)International Access Code: 011Country Code: 1Consumer (Home and Home Office) Support for all other Dell products toll-free: 1-800-624-9896Customer Service toll-free: 1-800-624-9897Employee Purchase Program (EPP) Customers toll-free: 1-800-695-8133Financial Services website: www.dellfinancialservices.com Financial Services (lease/loans) toll-free: 1-877-577-3355Financial Services (Dell Preferred Accounts [DPA]) toll-free: 1-800-283-2210Business Customer Service and Support toll-free: 1-800-456-3355Employee Purchase Program (EPP) Customers toll-free: 1-800-695-8133Support for printers, projectors, PDAs, and MP3 players toll-free: 1-877-459-7298Public (government, education, and healthcare) Customer Service and Support toll-free: 1-800-456-3355Employee Purchase Program (EPP) Customers toll-free: 1-800-695-8133 Dell Salestoll-free: 1-800-289-3355or toll-free: 1-800-879-3355file:///H|/My%20Documents/Cellular/User%20Guides/Notebooks/d420/PG124en1/help.htm (32 of 33)4/13/2007 4:08:11 PM](https://usermanual.wiki/Novatel-Wireless/NRM-EU860D.User-Manual-D420/User-Guide-789275-Page-98.png)


![Glossary: Dell Latitude D420 User's Guidebattery — A rechargeable internal power source used to operate portable computers when not connected to an AC adapter and an electrical outlet.battery life span — The length of time (years) during which a portable computer battery is able to be depleted and recharged.battery operating time — The length of time (minutes or hours) that a portable computer battery holds a charge while powering the computer.BIOS — basic input/output system — A program (or utility) that serves as an interface between the computer hardware and the operating system. Unless you understand what effect these settings have on the computer, do not change them. Also referred to as system setup program.bit — The smallest unit of data interpreted by your computer.Bluetooth® wireless technology — A wireless technology standard for short-range (9 m [29 feet]) networking devices that allows for enabled devices to automatically recognize each other.boot sequence — Specifies the order of the devices from which the computer attempts to boot.bootable CD — A CD that you can use to start your computer. In case your hard drive is damaged or your computer has a virus, ensure that you always have a bootable CD or floppy disk available. Your Drivers and Utilities CD or ResourceCD is a bootable CD.bootable disk — A disk that you can use to start your computer. In case your hard drive is damaged or your computer has a virus, ensure that you always have a bootable CD or floppy disk available.bps — bits per second — The standard unit for measuring data transmission speed.BTU — British thermal unit — A measurement of heat output.bus — A communication pathway between the components in your computer.bus speed — The speed, given in MHz, that indicates how fast a bus can transfer information.byte — The basic data unit used by your computer. A byte is usually equal to 8 bits.CC — Celsius — A temperature measurement scale where 0° is the freezing point and 100° is the boiling point of water.cache — A special high-speed storage mechanism which can be either a reserved section of main file:///H|/My%20Documents/Cellular/User%20Guides/Notebooks/d420/PG124en1/glossary.htm (2 of 18)4/13/2007 4:08:15 PM](https://usermanual.wiki/Novatel-Wireless/NRM-EU860D.User-Manual-D420/User-Guide-789275-Page-128.png)