Novatel Wireless NRM-EU860D Dual Band Licensed Modular Transmitter User Manual book
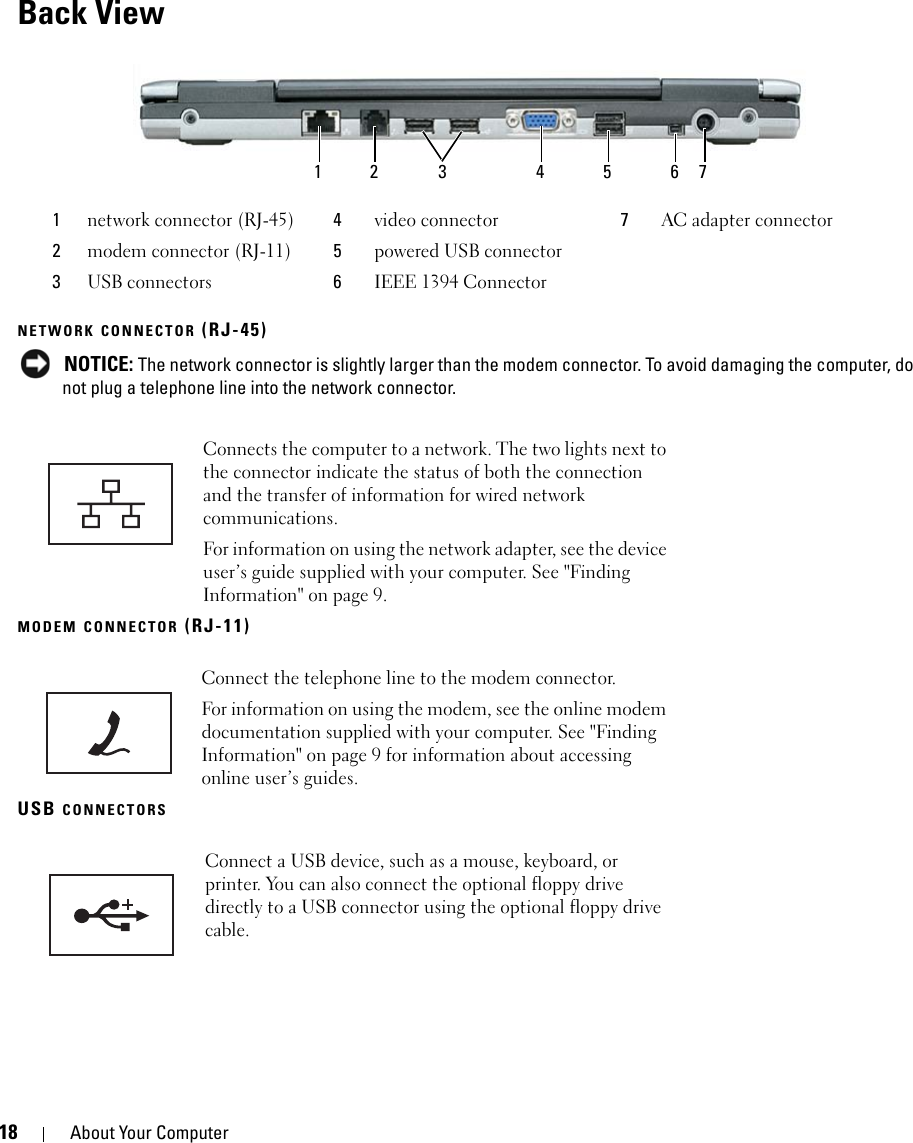
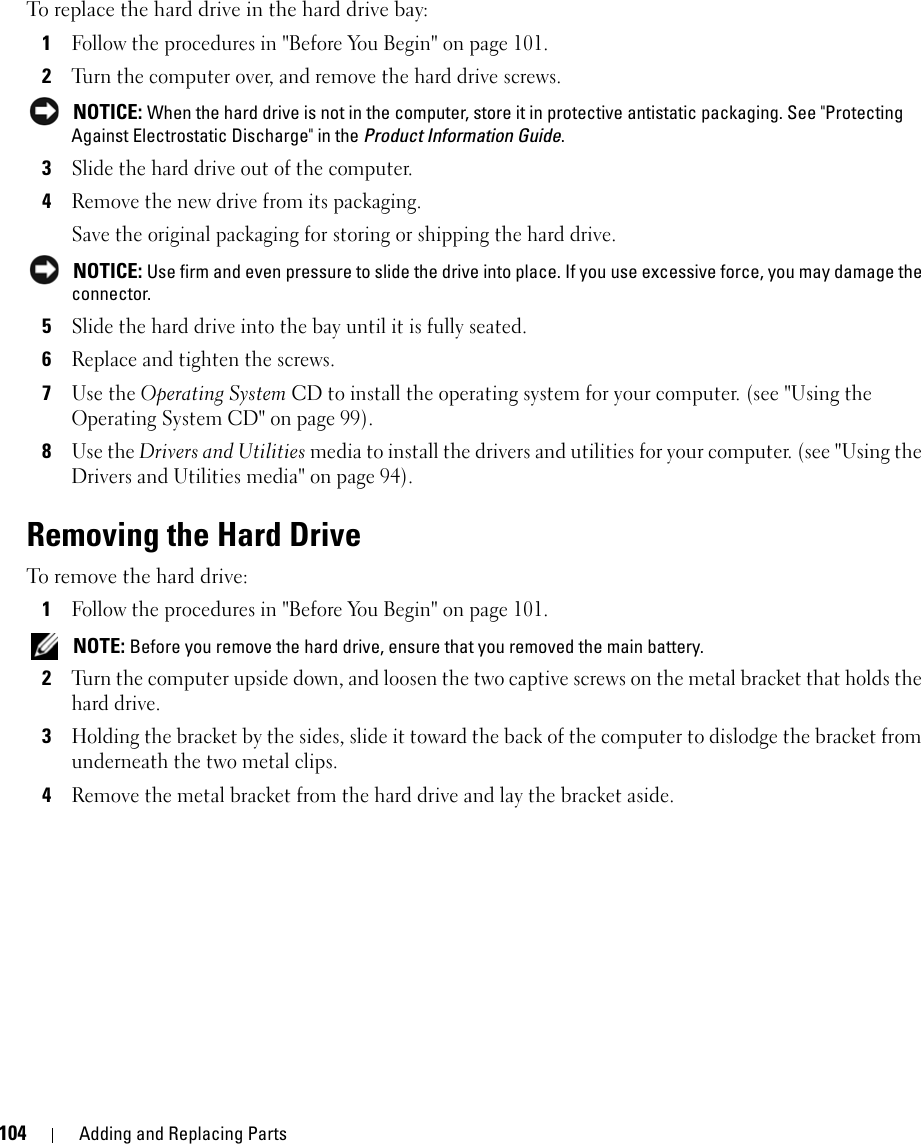
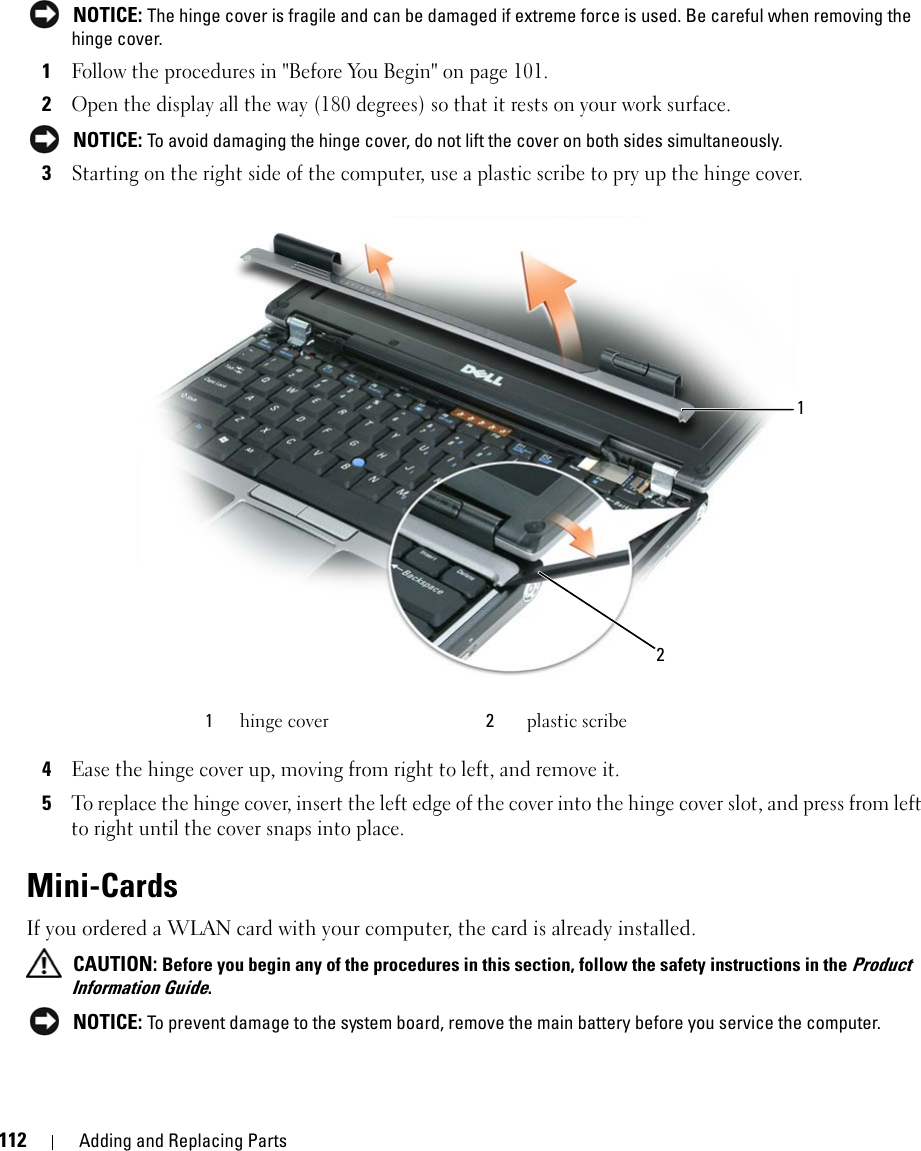
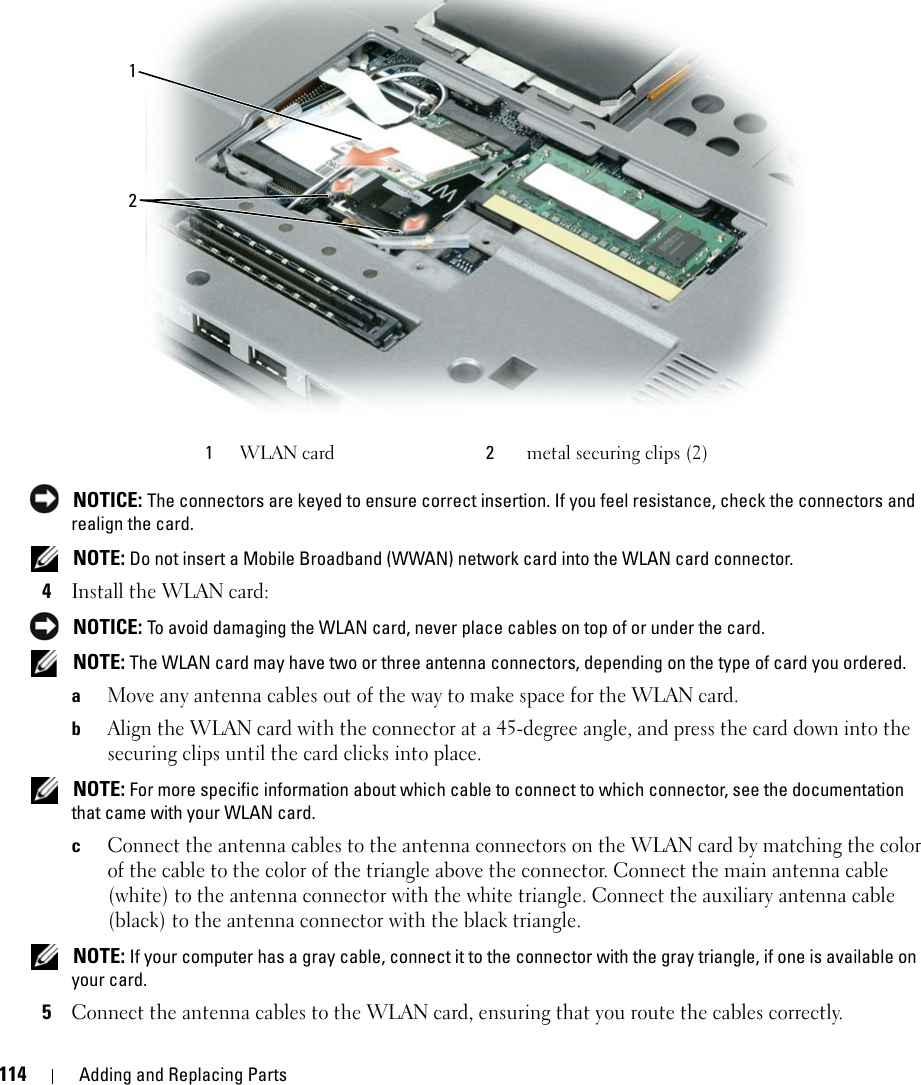
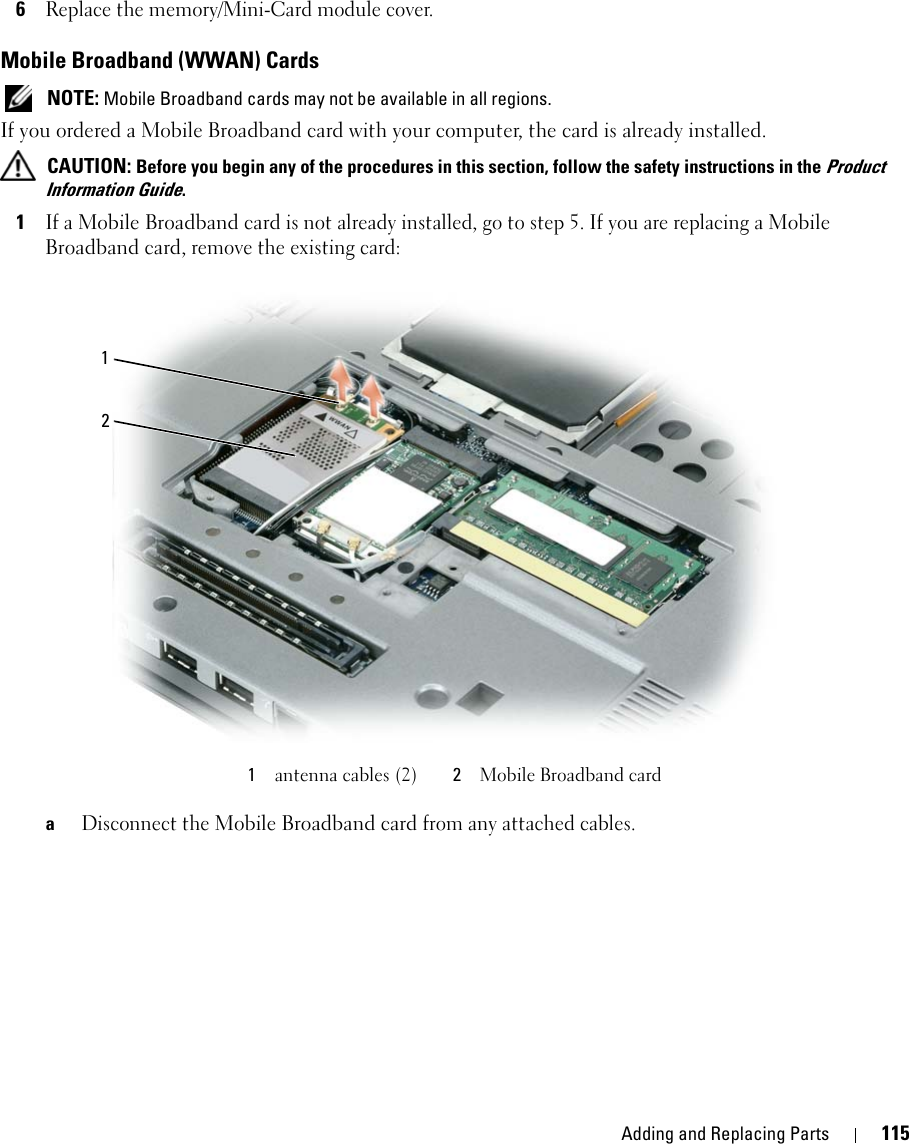
Novatel Wireless, Inc. Dual Band Licensed Modular Transmitter book
Contents
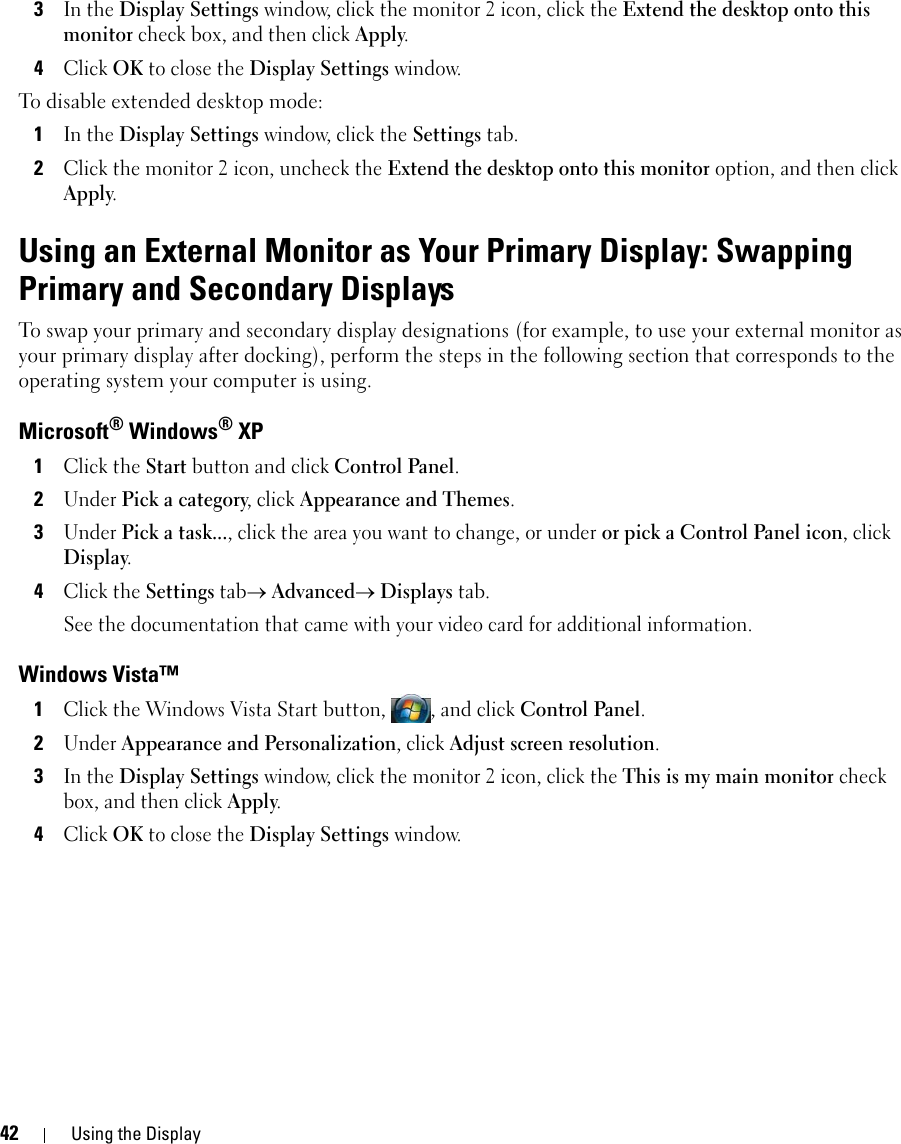
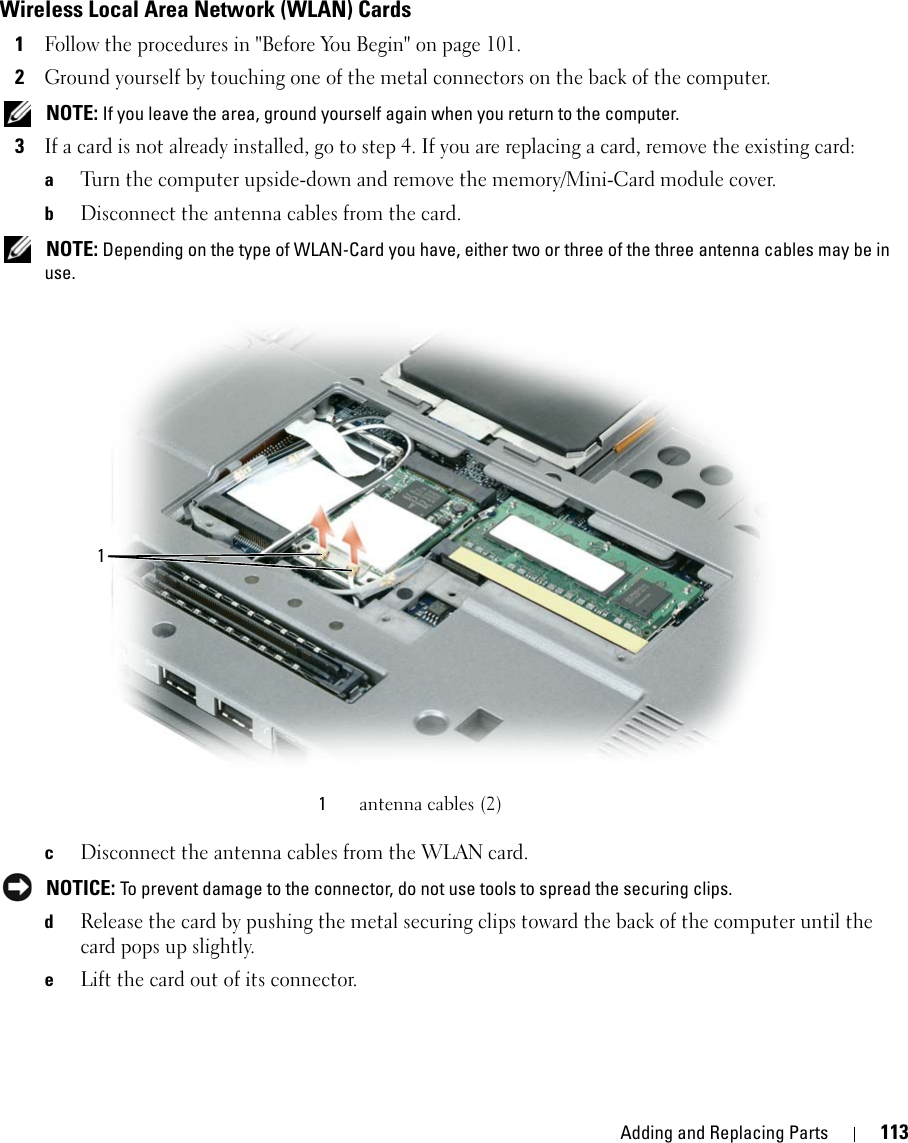
- 1. Part 1
- 2. Part 2
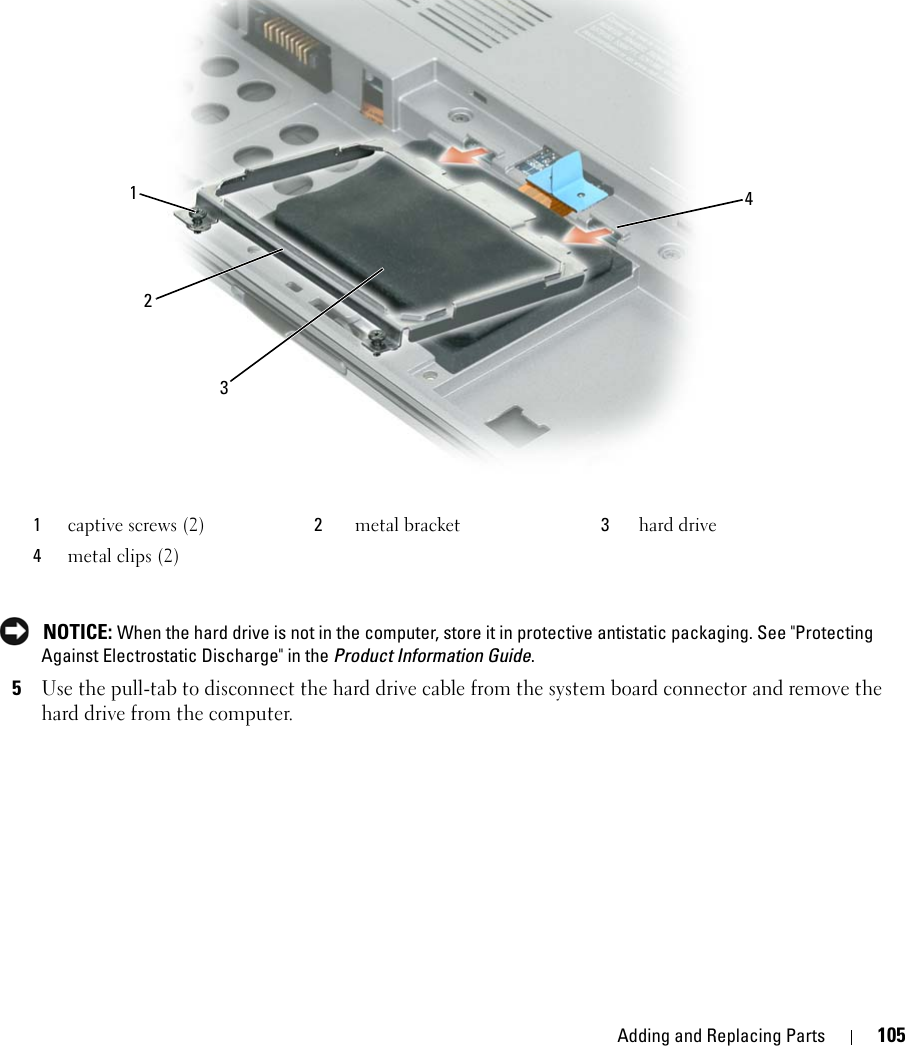
- 3. Manual 1
- 4. Manual 2
- 5. Manual 3
- 6. Manual 4
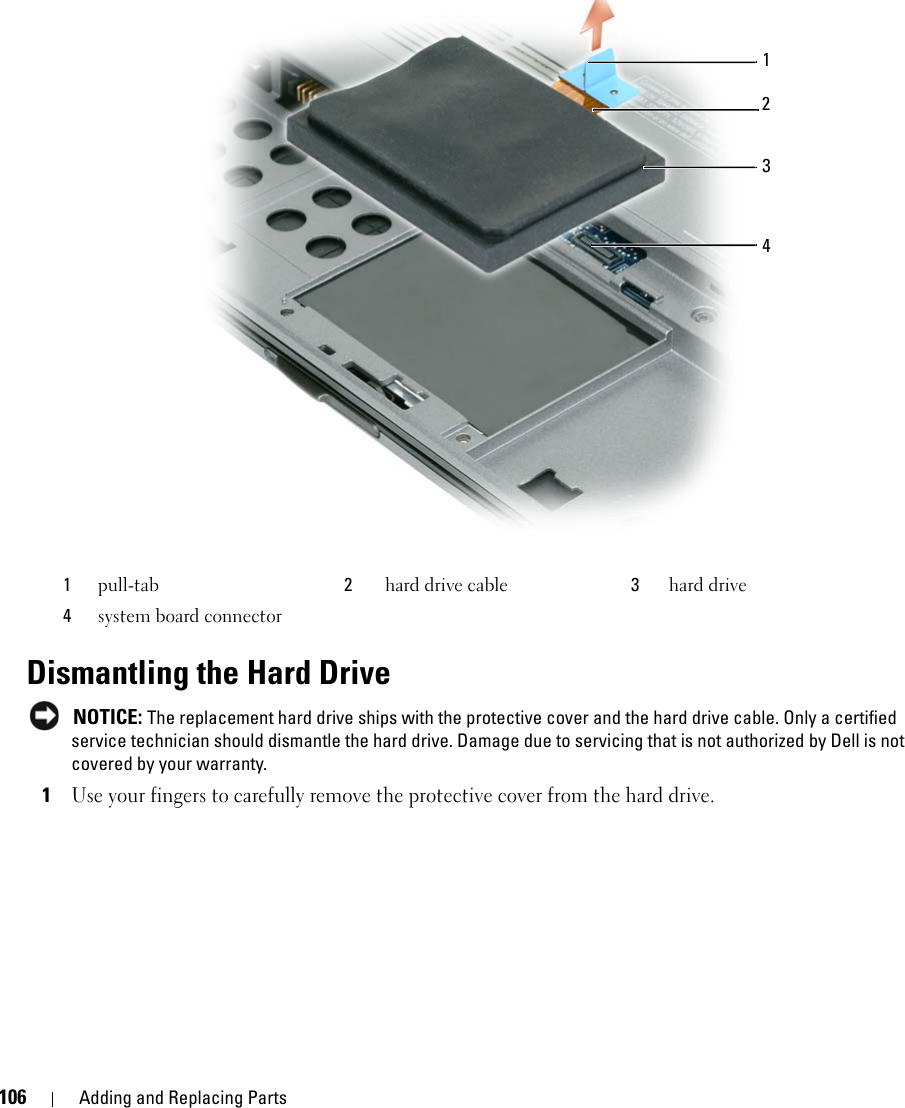
- 7. User Manual 1
- 8. User Manual 2
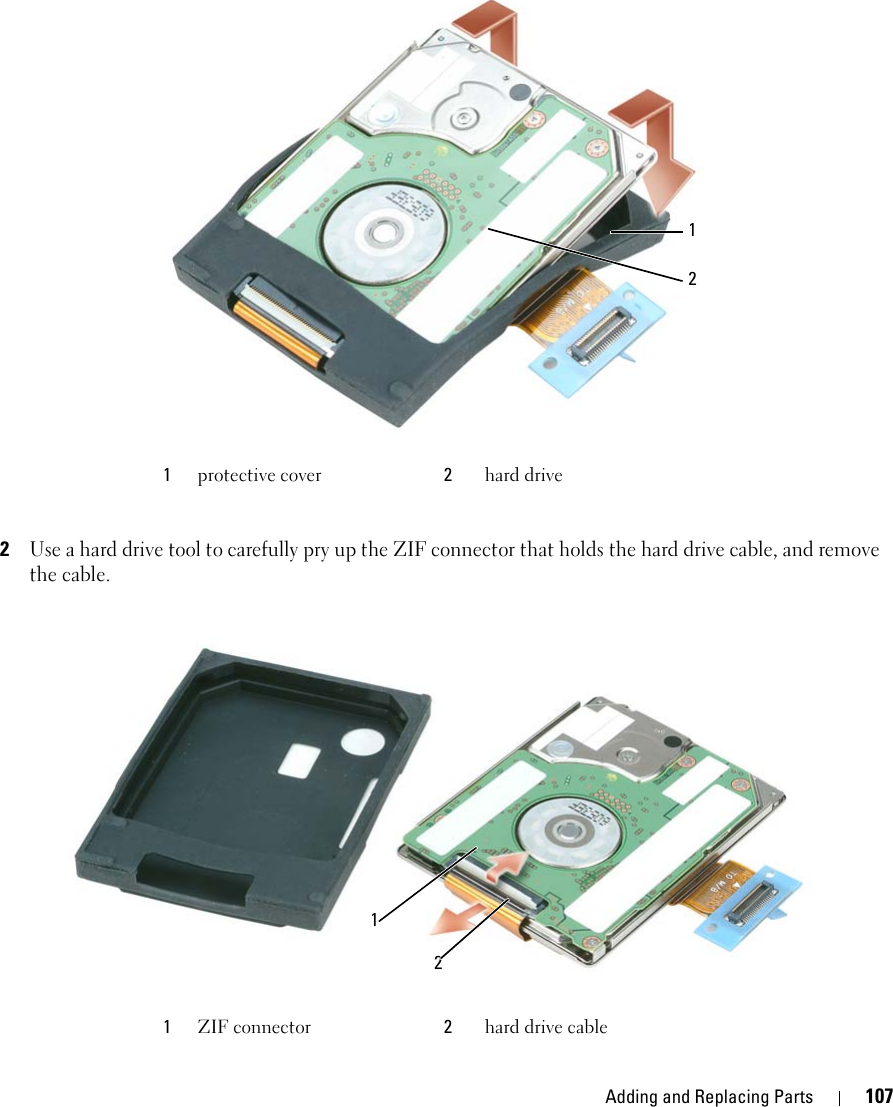
- 9. User Manual M1210
- 10. User Manual D430
- 11. User Manual D420
- 12. User Manual Corsica
- 13. User Manual Sapporo
- 14. User Manual Vostro 1
- 15. User Manual Vostro 2
- 16. Users Manual Vostro 3
- 17. Users Manual Vostro 4
- 18. User Manual 3
- 19. User Manual 4
- 20. User Manual Gilligan
User Manual D430

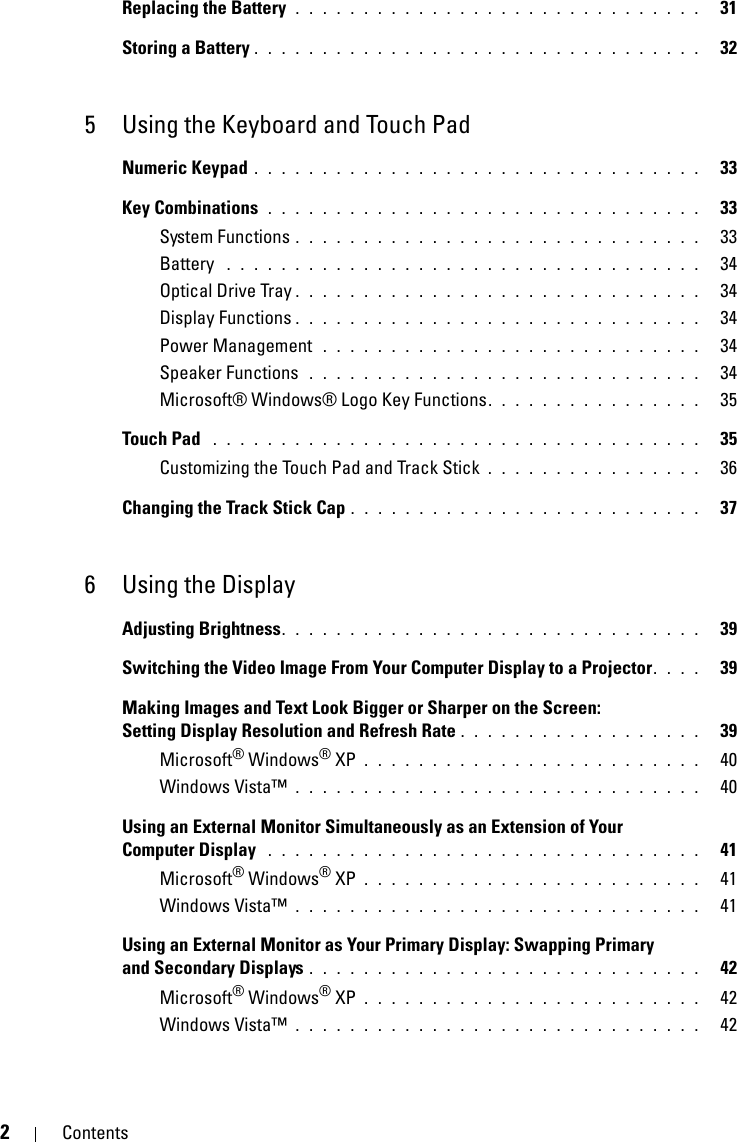


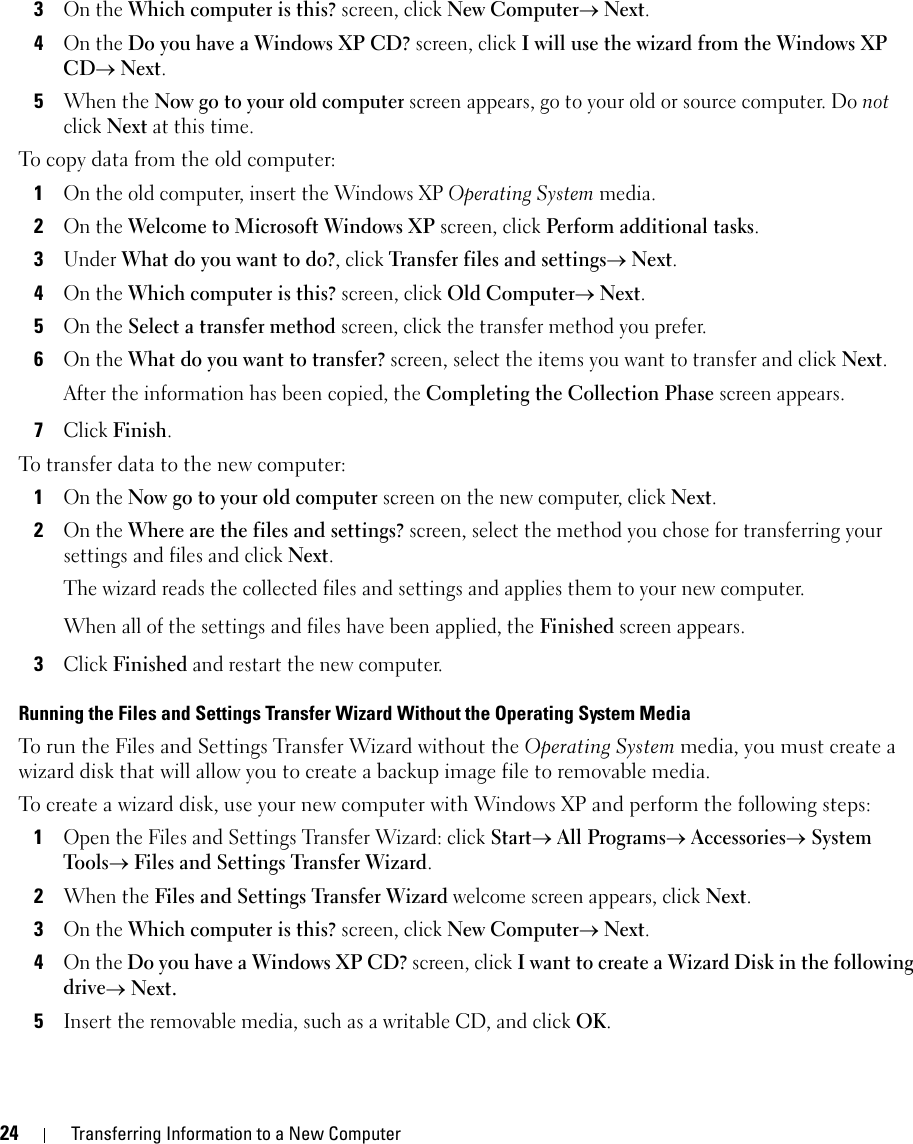


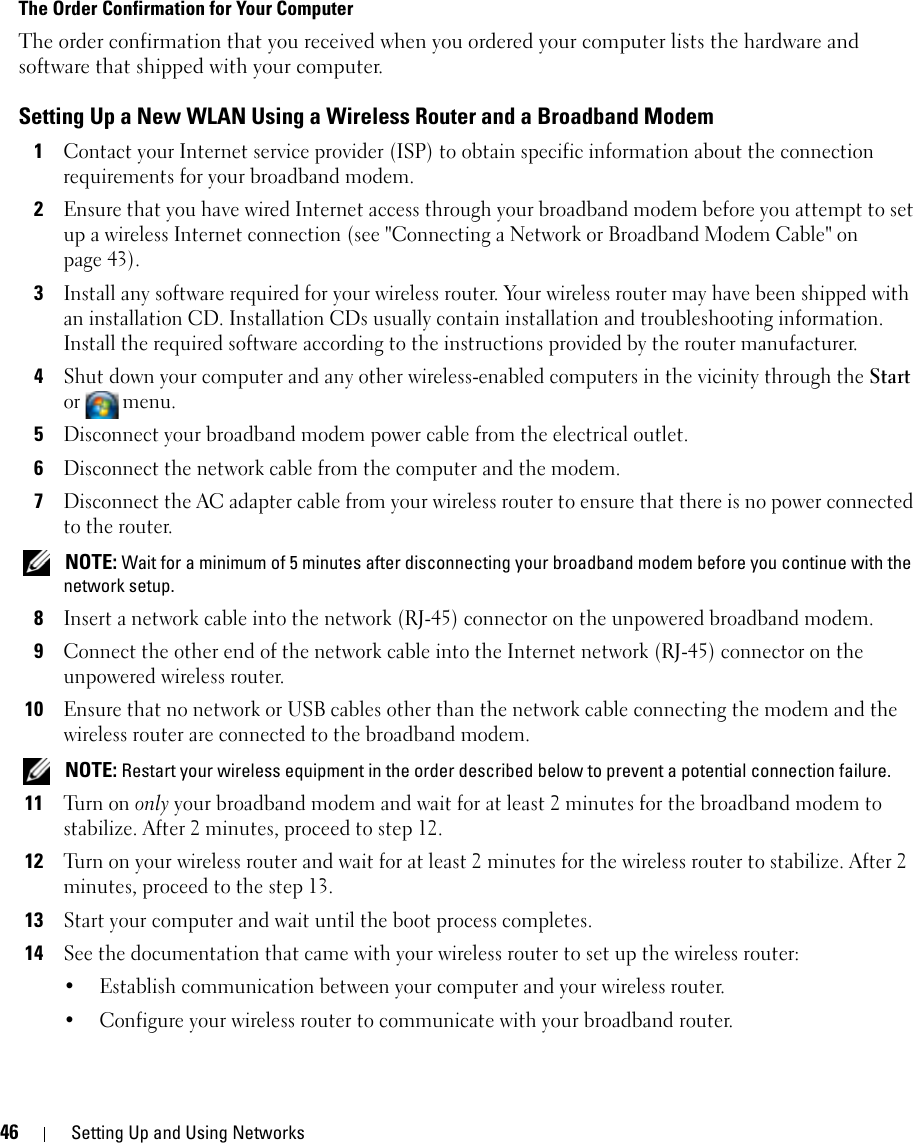

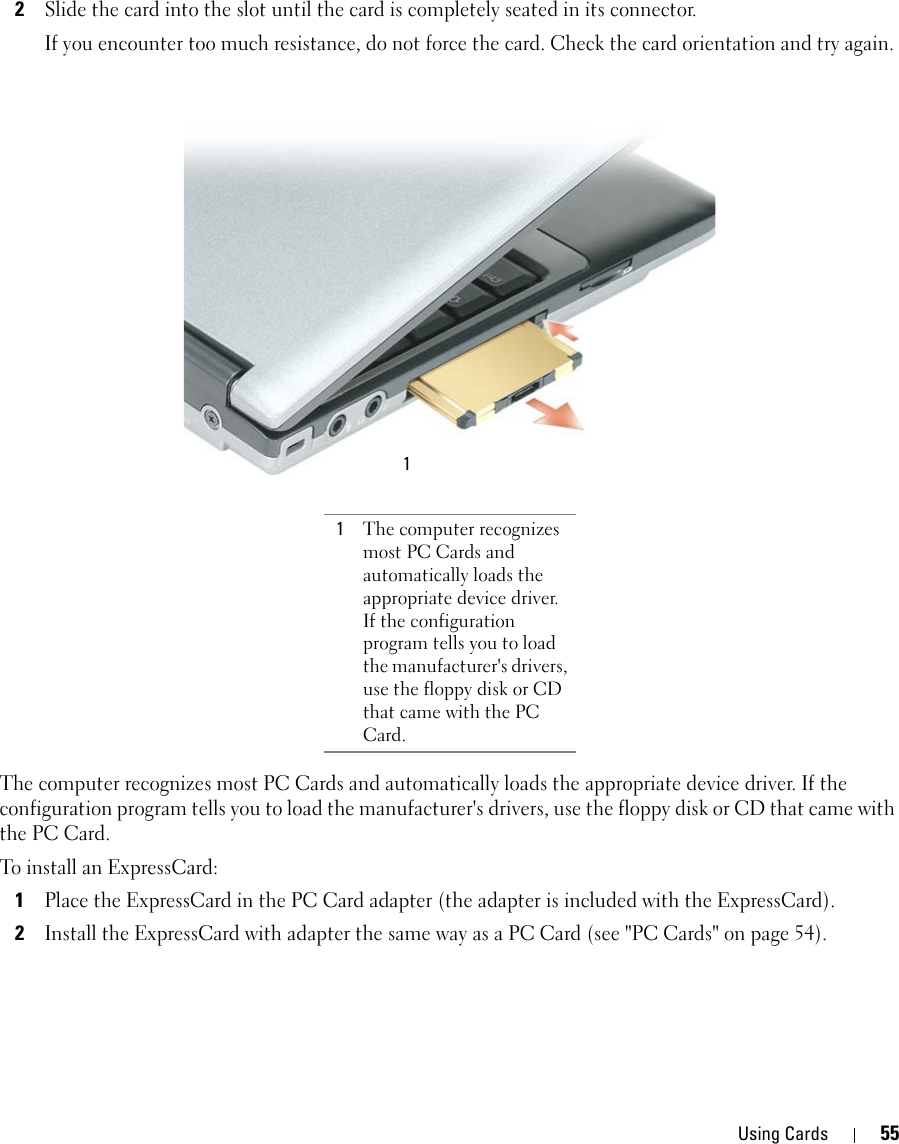


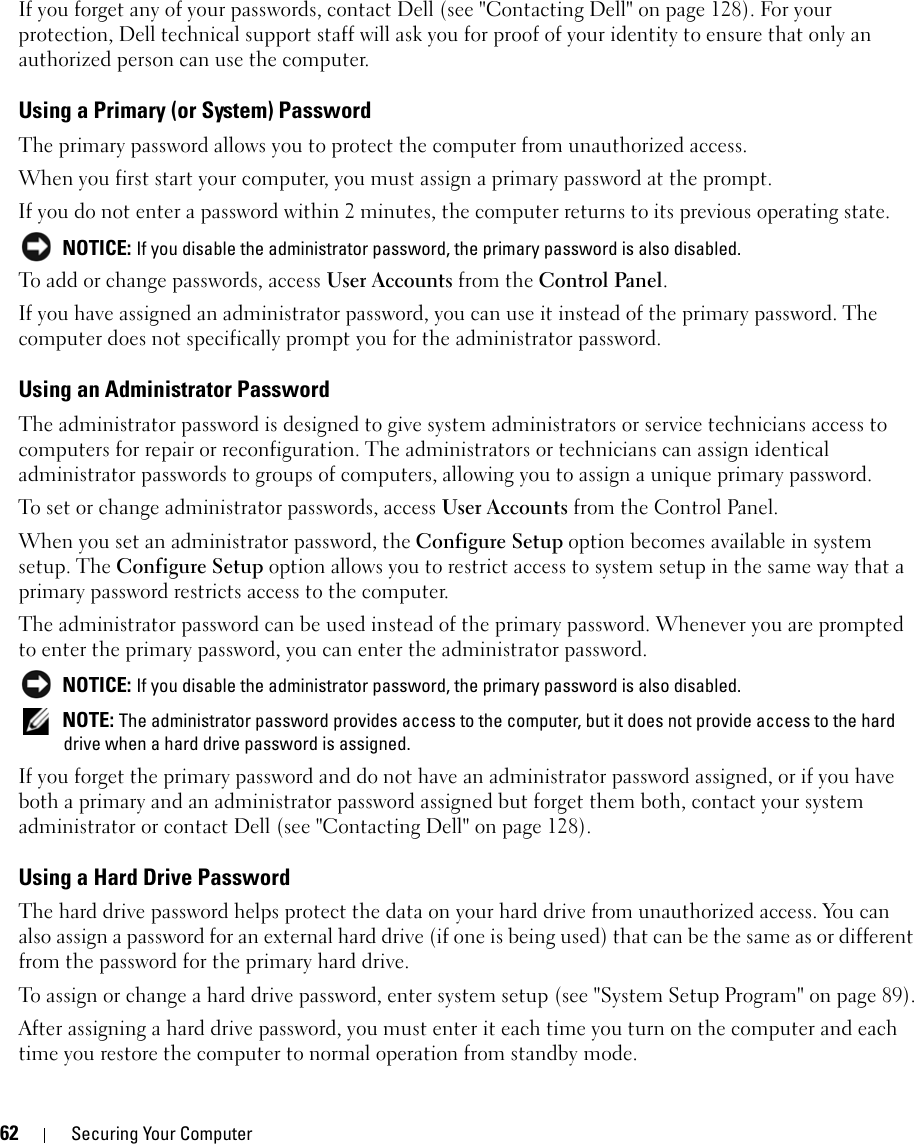


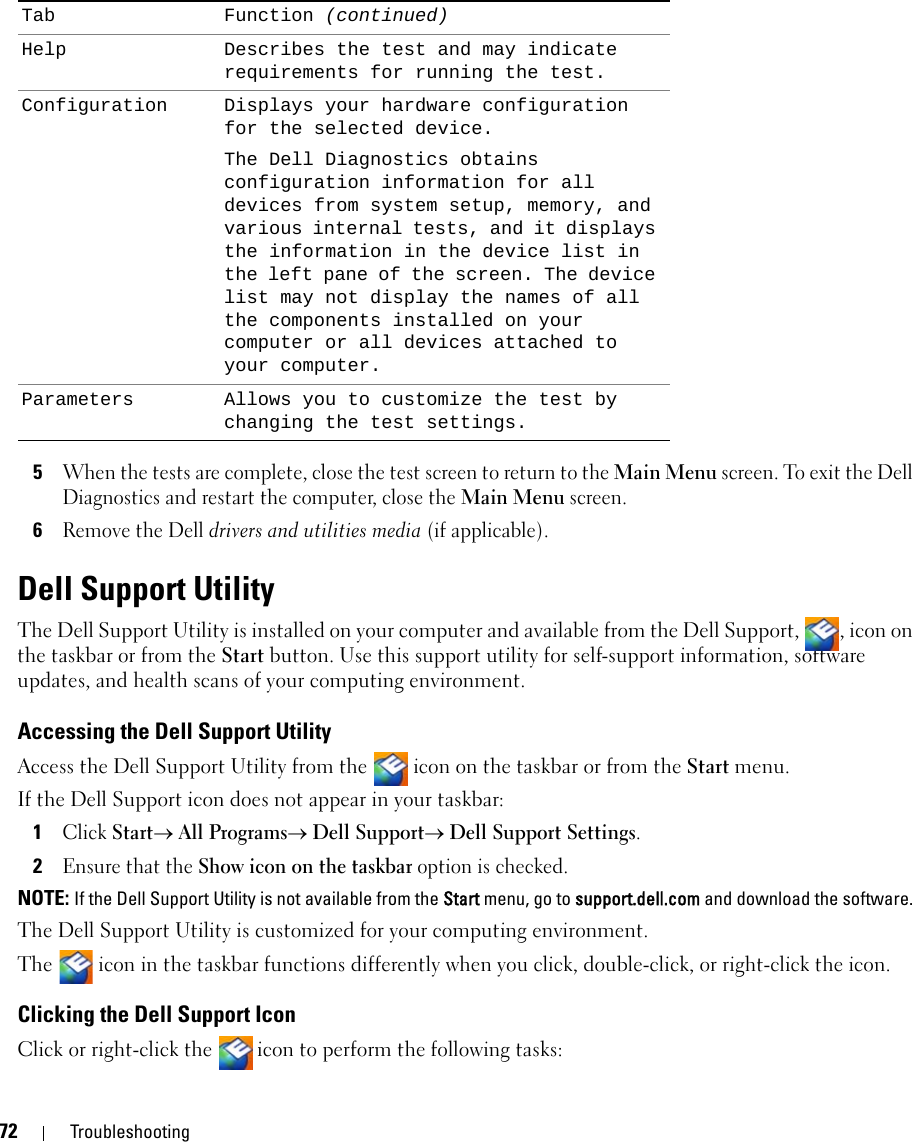


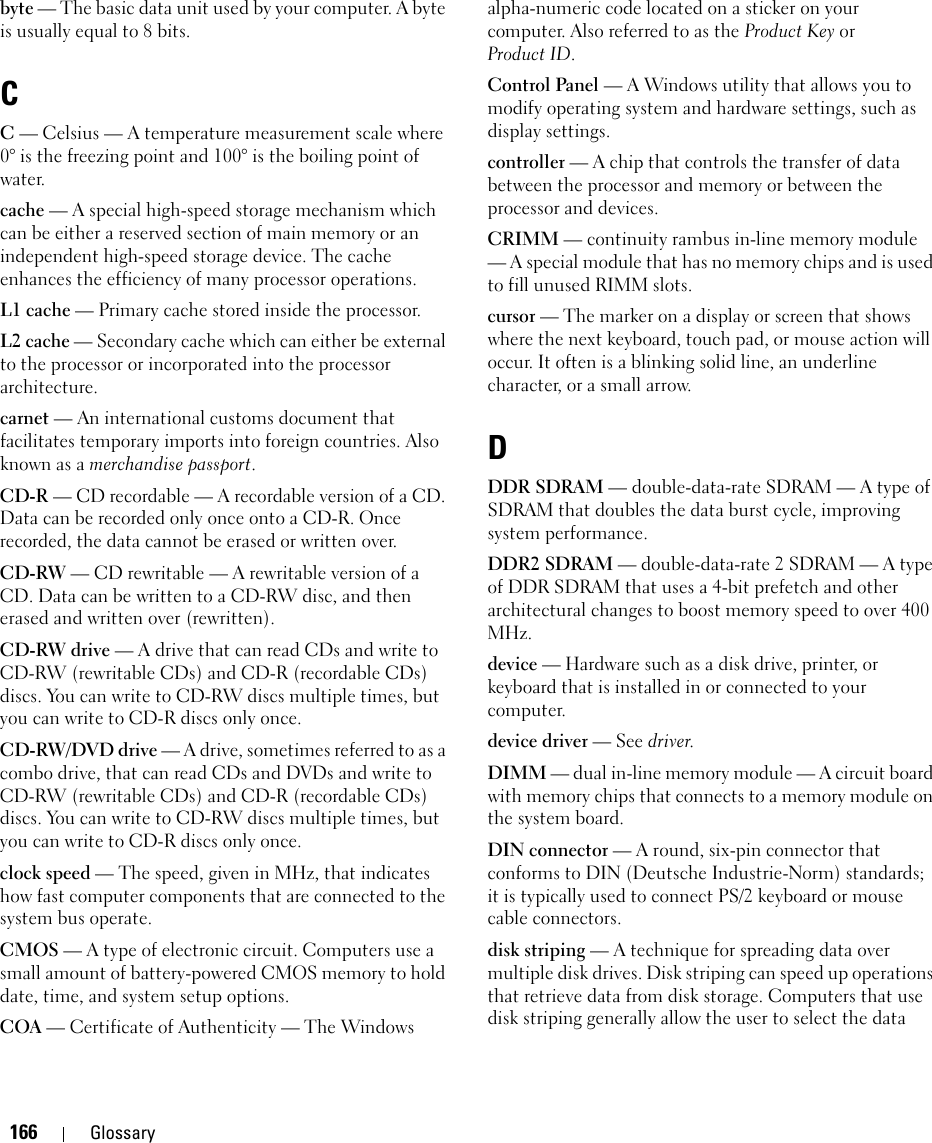
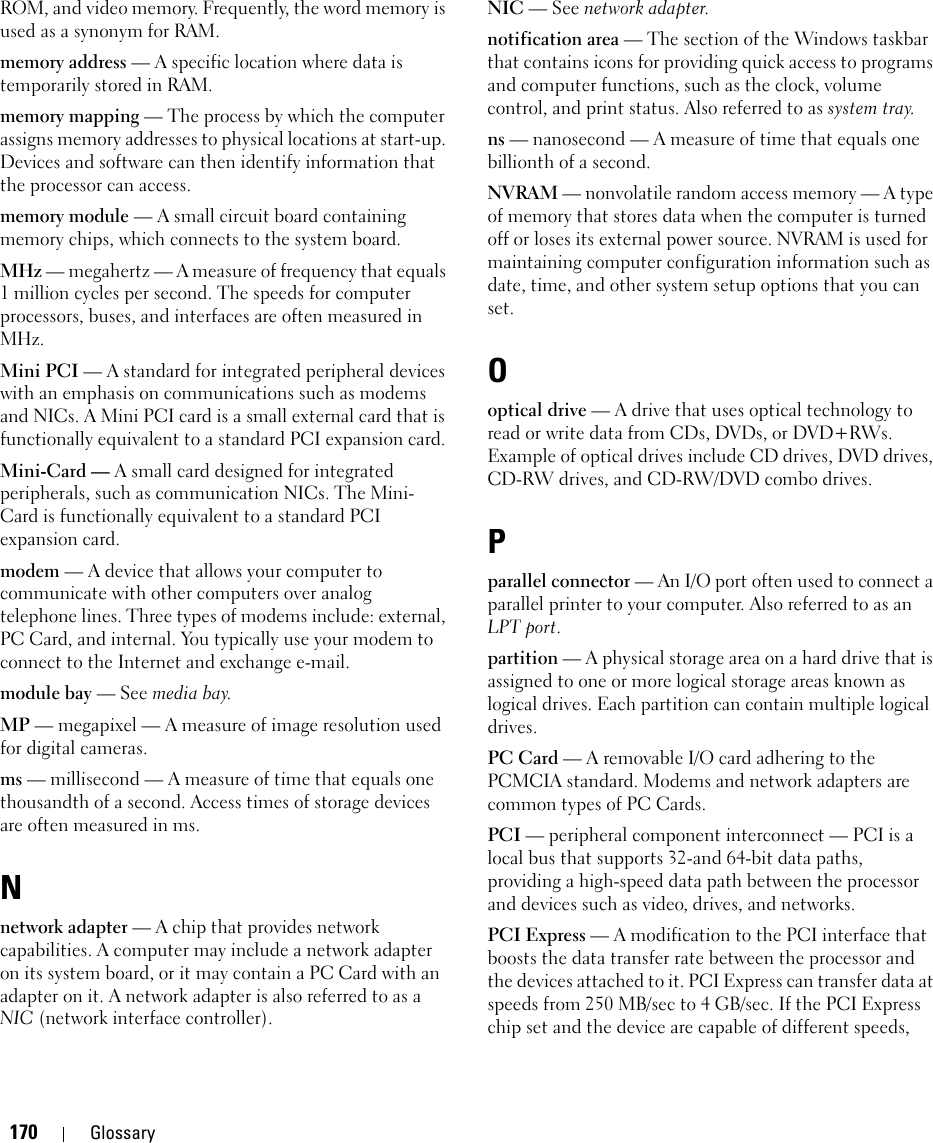
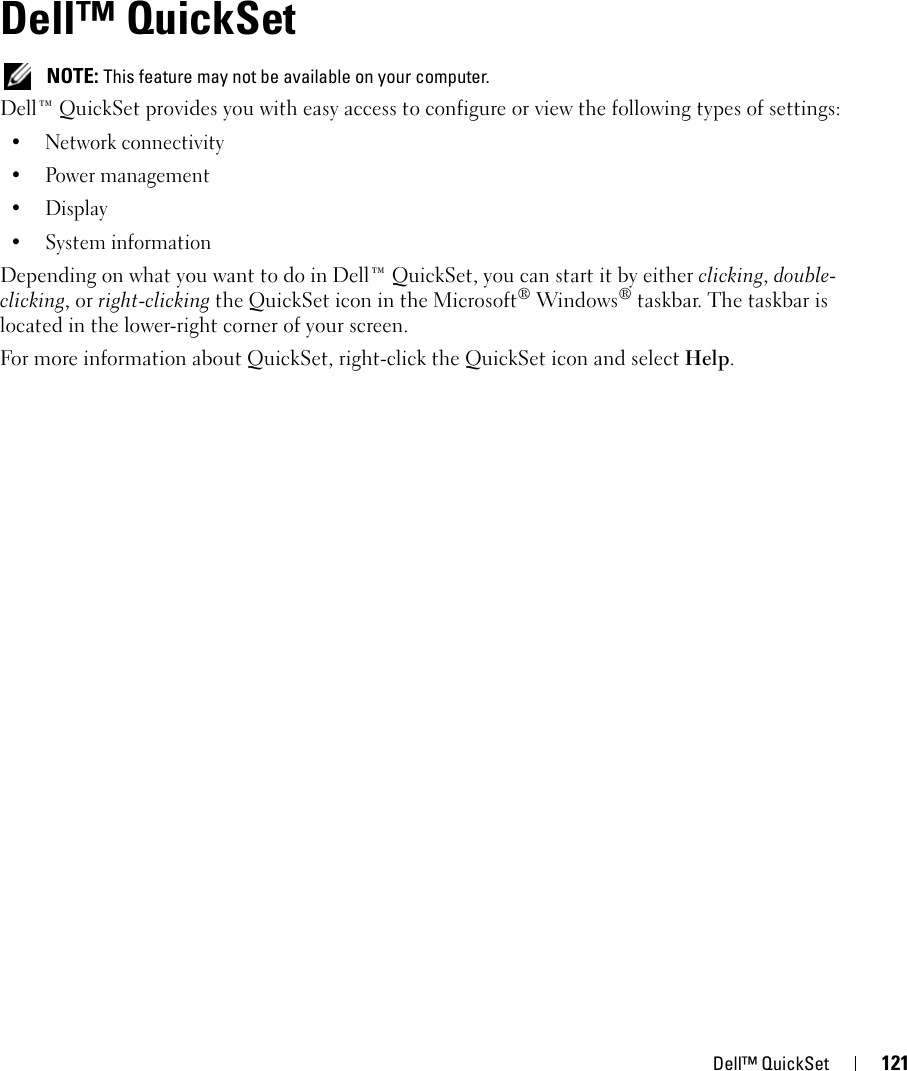
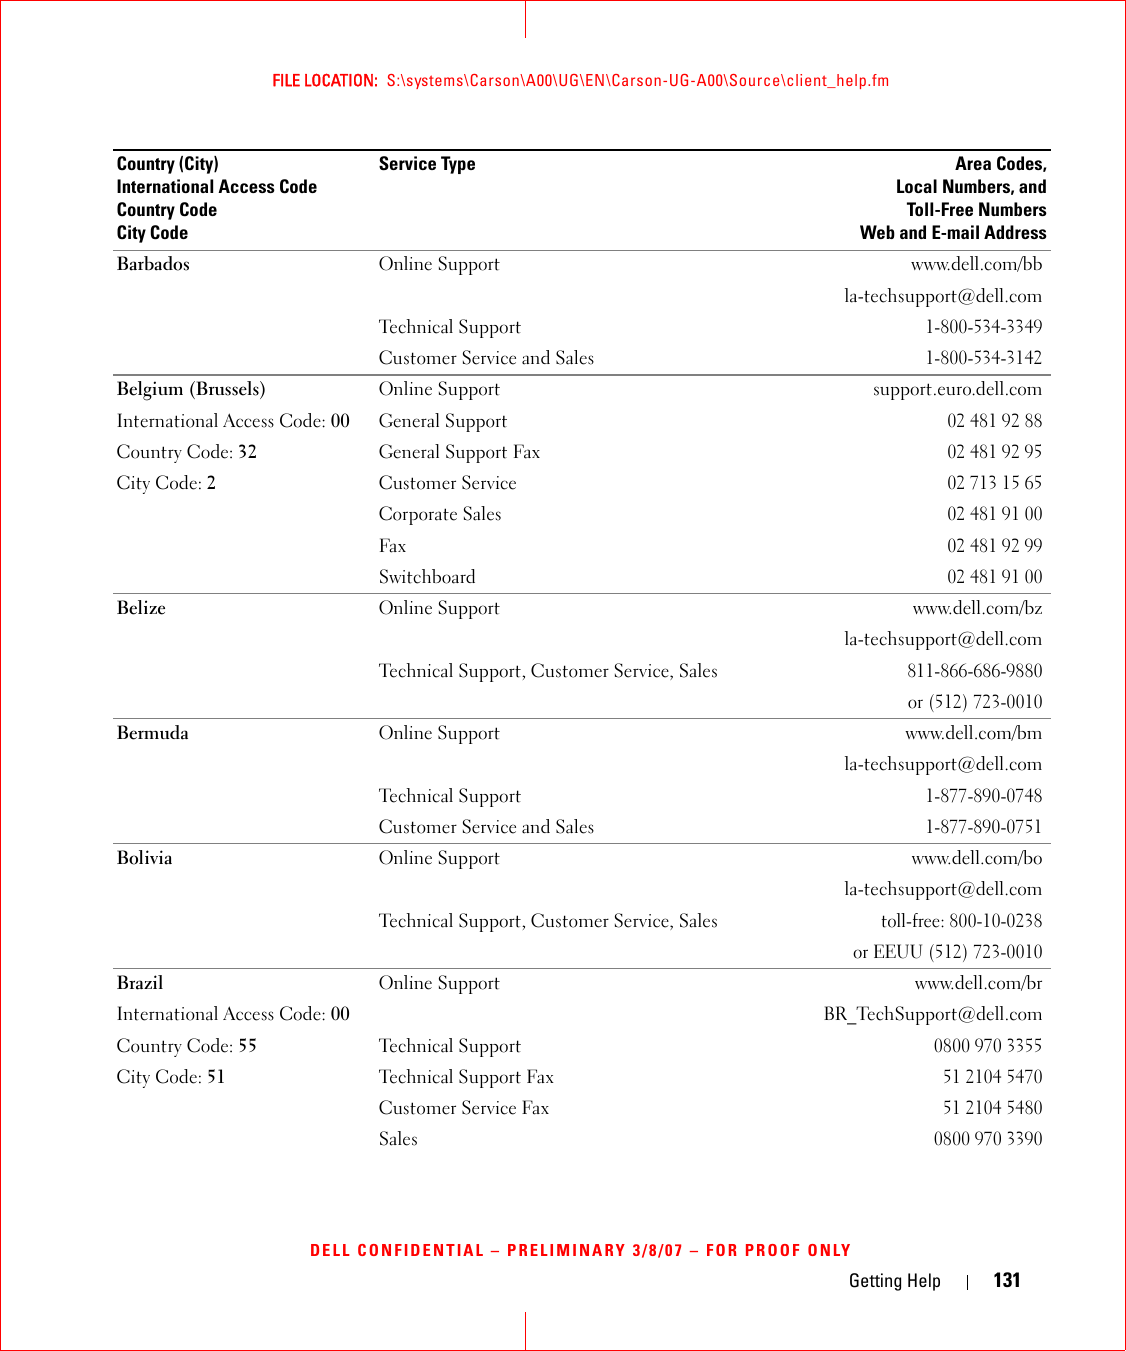
![94 Reinstalling Software NOTE: The User Account Control window may appear. If you are an administrator on the computer, click Continue; otherwise, contact your administrator to continue.Scroll down the list to see if any device has an exclamation point (a yellow circle with a [!]) on the device icon.If an exclamation point is next to the device name, you may need to reinstall the driver or install a new driver (see "Reinstalling Drivers and Utilities" on page 94).Reinstalling Drivers and Utilities NOTICE: The Dell Support website at support.dell.com and your Drivers and Utilities media provide approved drivers for Dell™ computers. If you install drivers obtained from other sources, your computer might not work correctly.Using Windows Device Driver RollbackIf a problem occurs on your computer after you install or update a driver, use Windows Device Driver Rollback to replace the driver with the previously installed version.Windows XP:1Click Start→ My Computer→ Properties→ Hardware→ Device Manager.2Right-click the device for which the new driver was installed and click Properties.3Click the Drivers tab→ Roll Back Driver.Windows Vista:1Click the Windows Vista start button,, and right-click Computer.2Click Properties→ Device Manager. NOTE: The User Account Control window may appear. If you are an administrator on the computer, click Continue; otherwise, contact your administrator to enter the Device Manager.3Right-click the device for which the new driver was installed and click Properties.4Click the Drivers tab→ Roll Back Driver.If Device Driver Rollback does not resolve the problem, then use System Restore (see "Restoring Your Operating System" on page 96) to return your computer to the operating state that existed before you installed the new driver.Using the Drivers and Utilities mediaIf using Device Driver Rollback or System Restore (see "Restoring Your Operating System" on page 96) does not resolve the problem, then reinstall the driver from the Drivers and Utilities media.1Save and close any open files, and exit any open programs. 2Insert the Drivers and Utilities media.In most cases, the CD starts running automatically. If it does not, start Windows Explorer, click your CD drive directory to display the CD contents, and then double-click the autorcd.exe file. The first](https://usermanual.wiki/Novatel-Wireless/NRM-EU860D.User-Manual-D430/User-Guide-789274-Page-96.png)
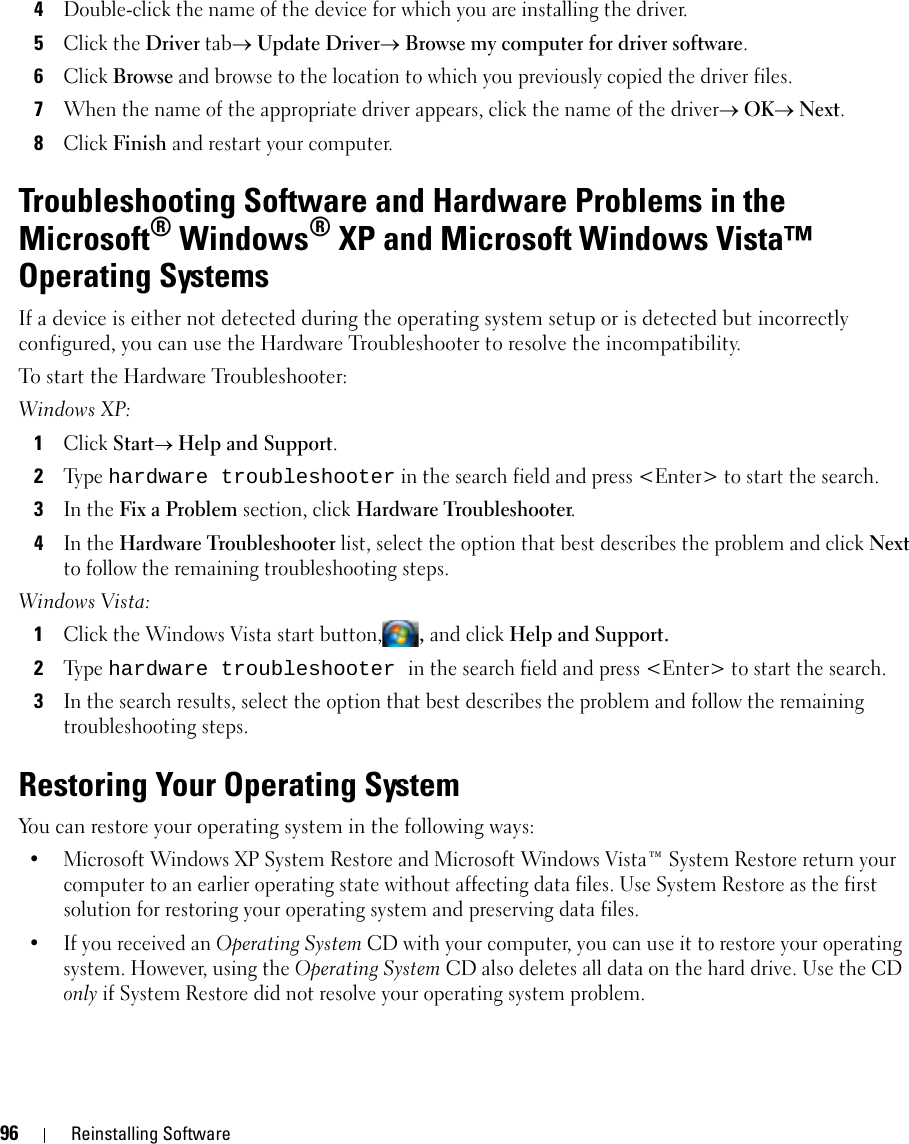

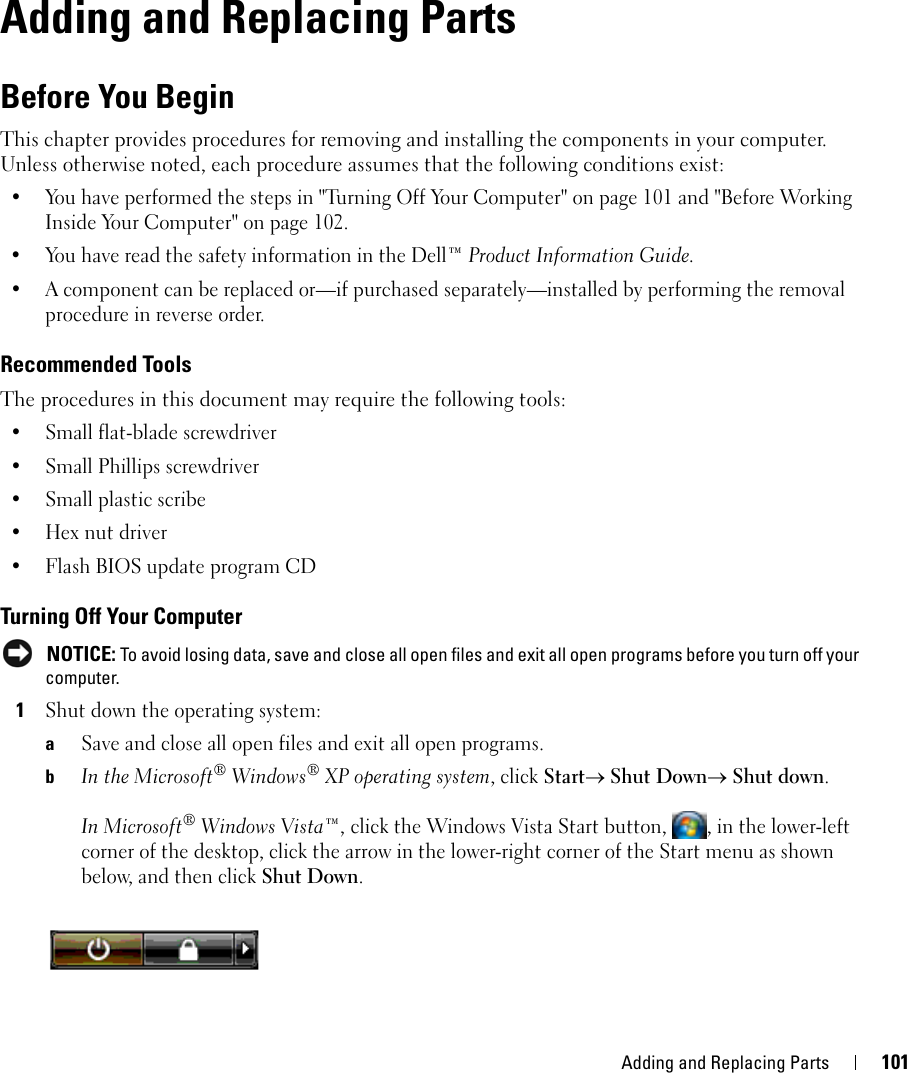
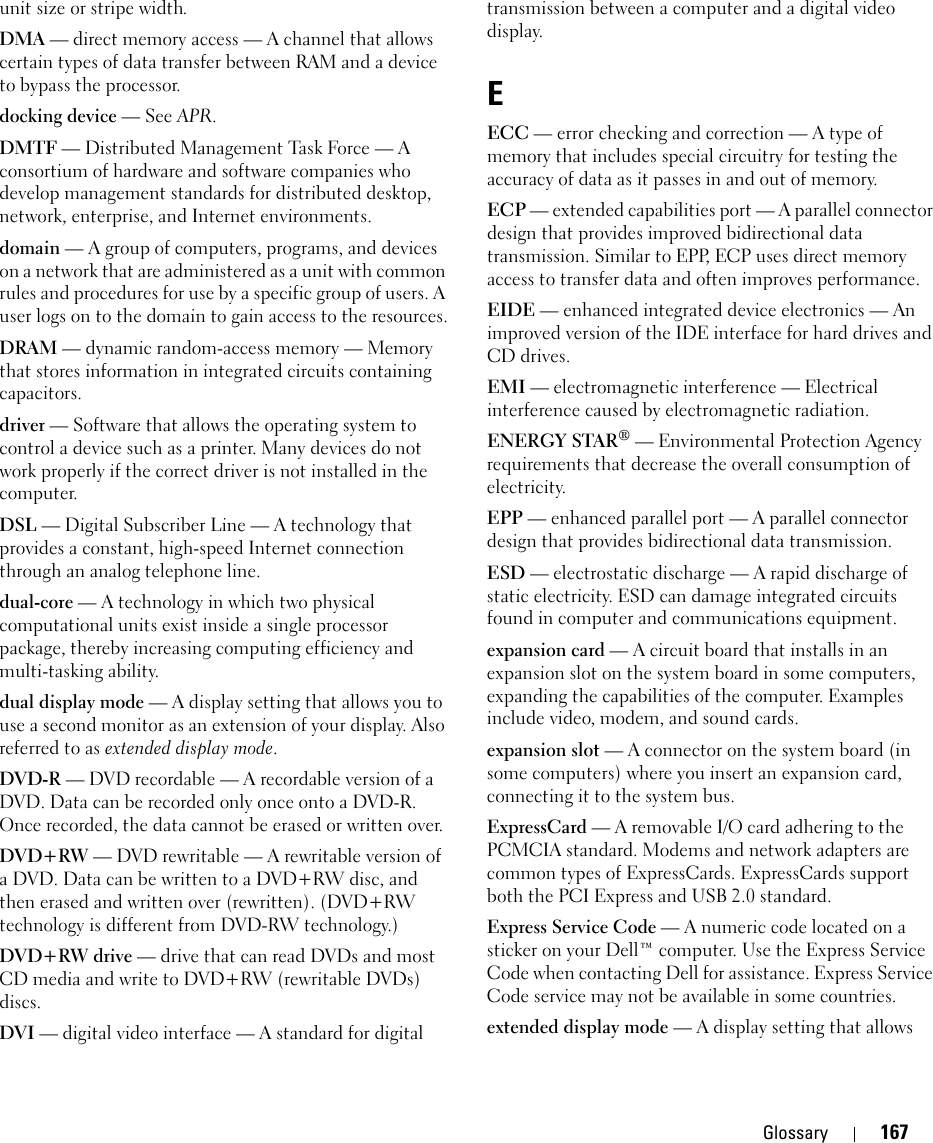
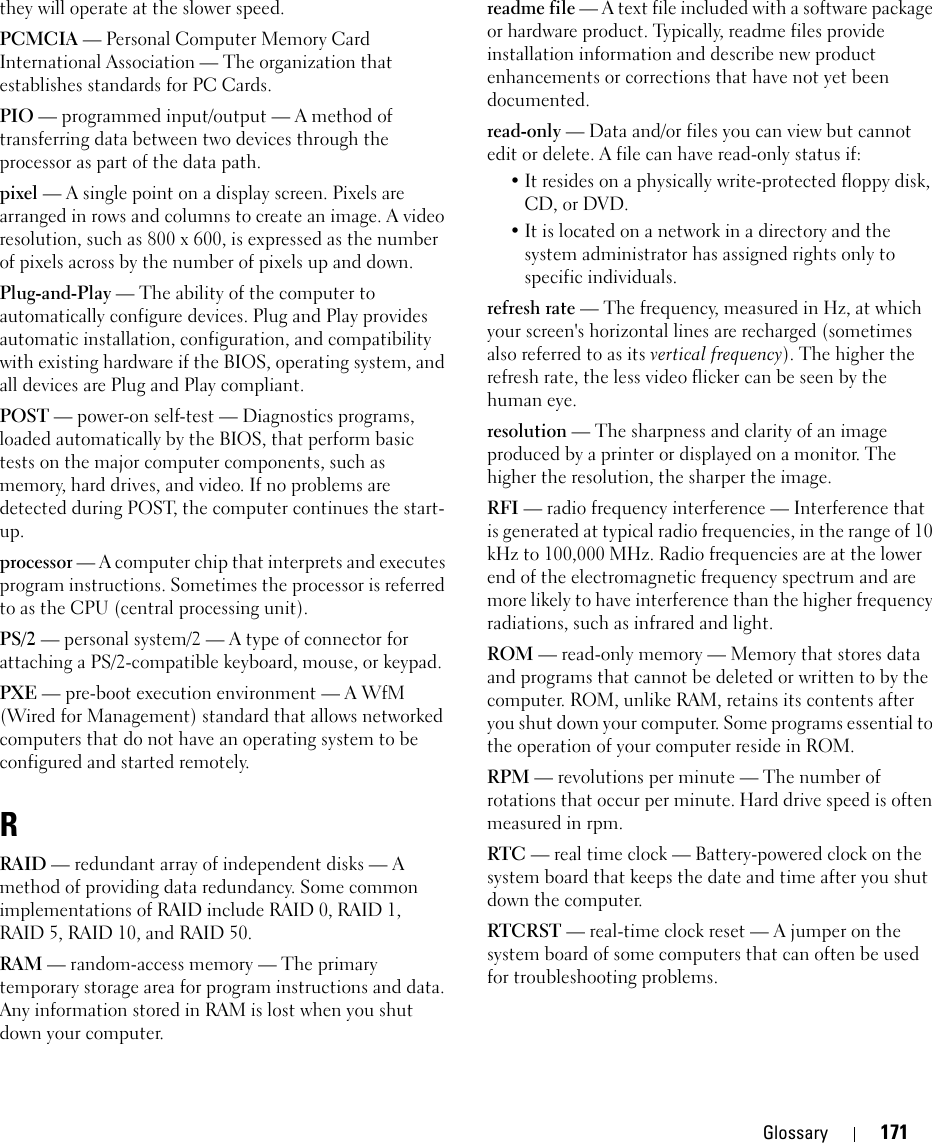
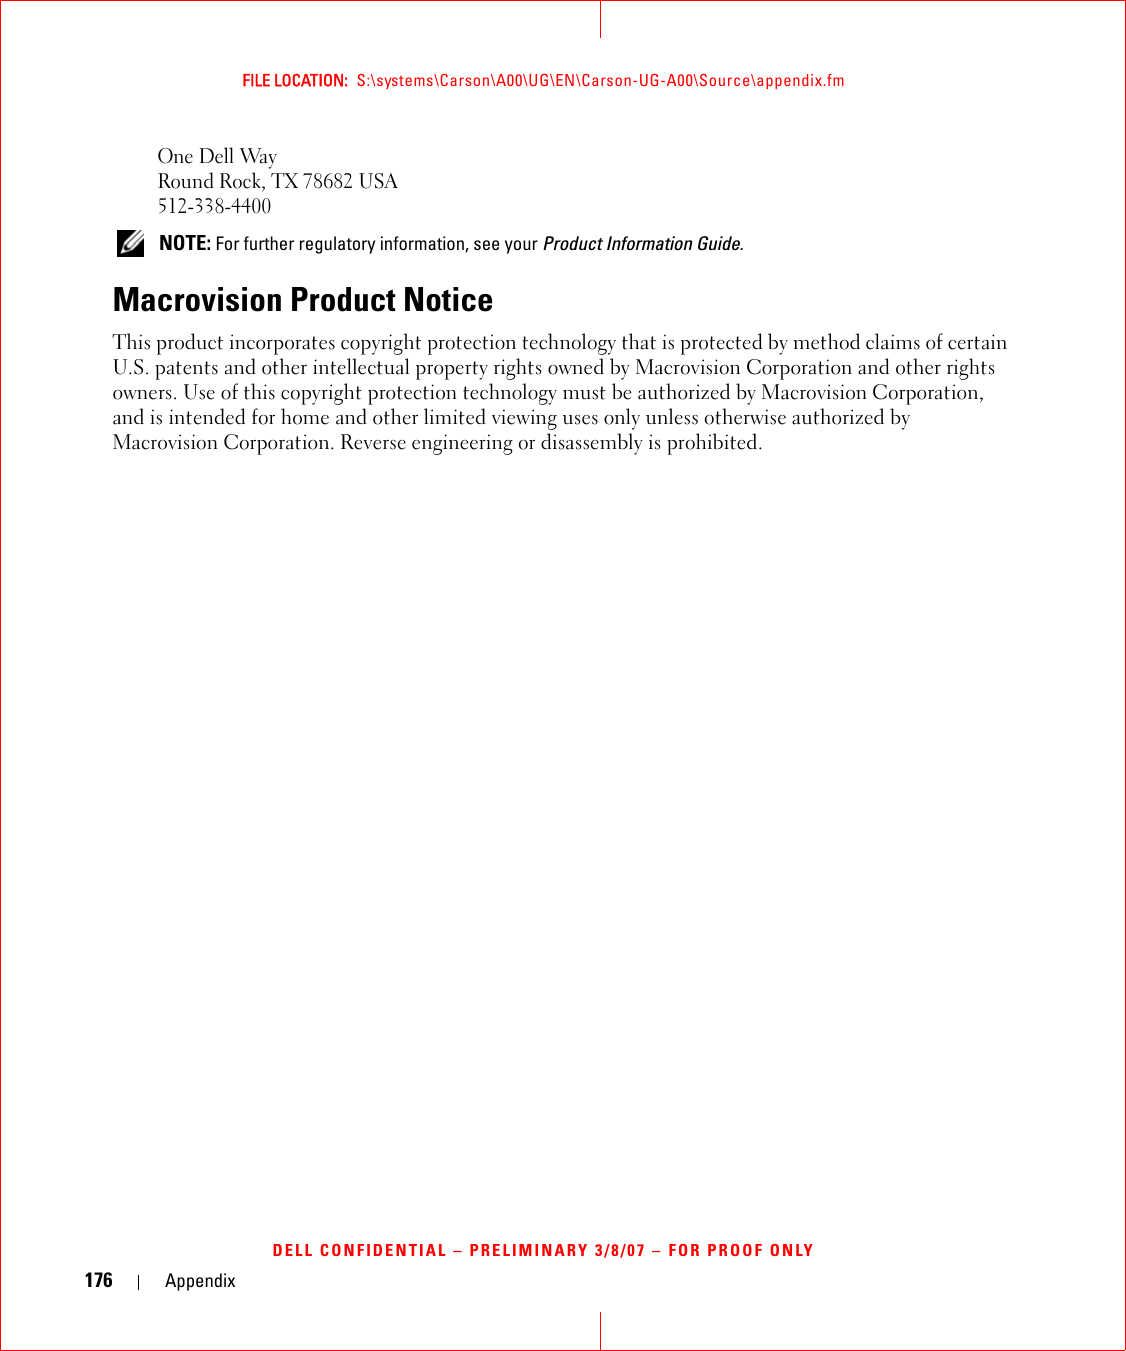
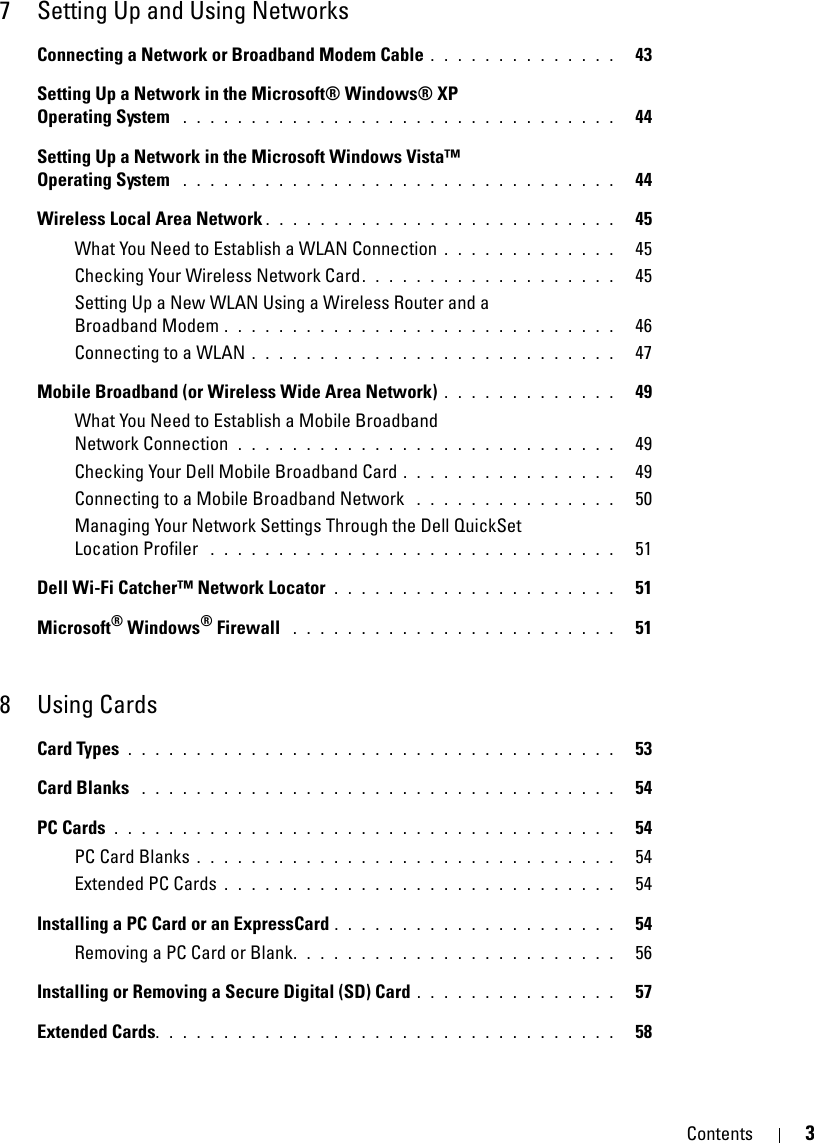
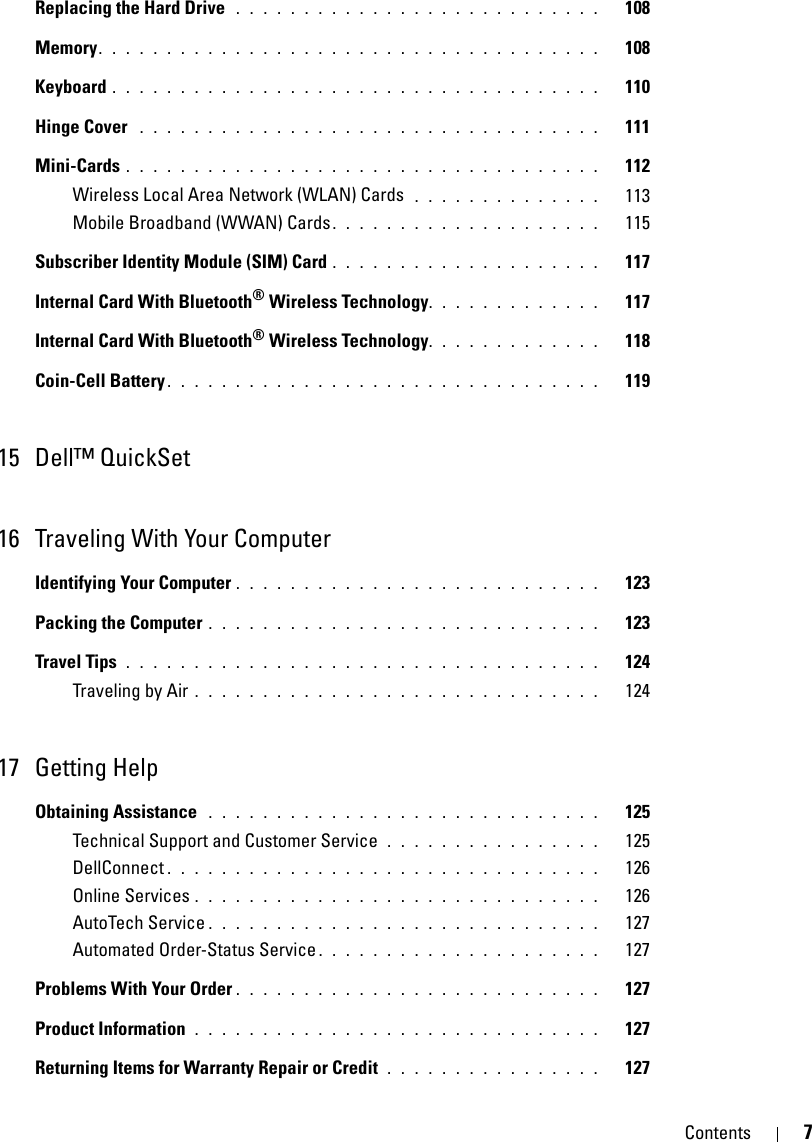
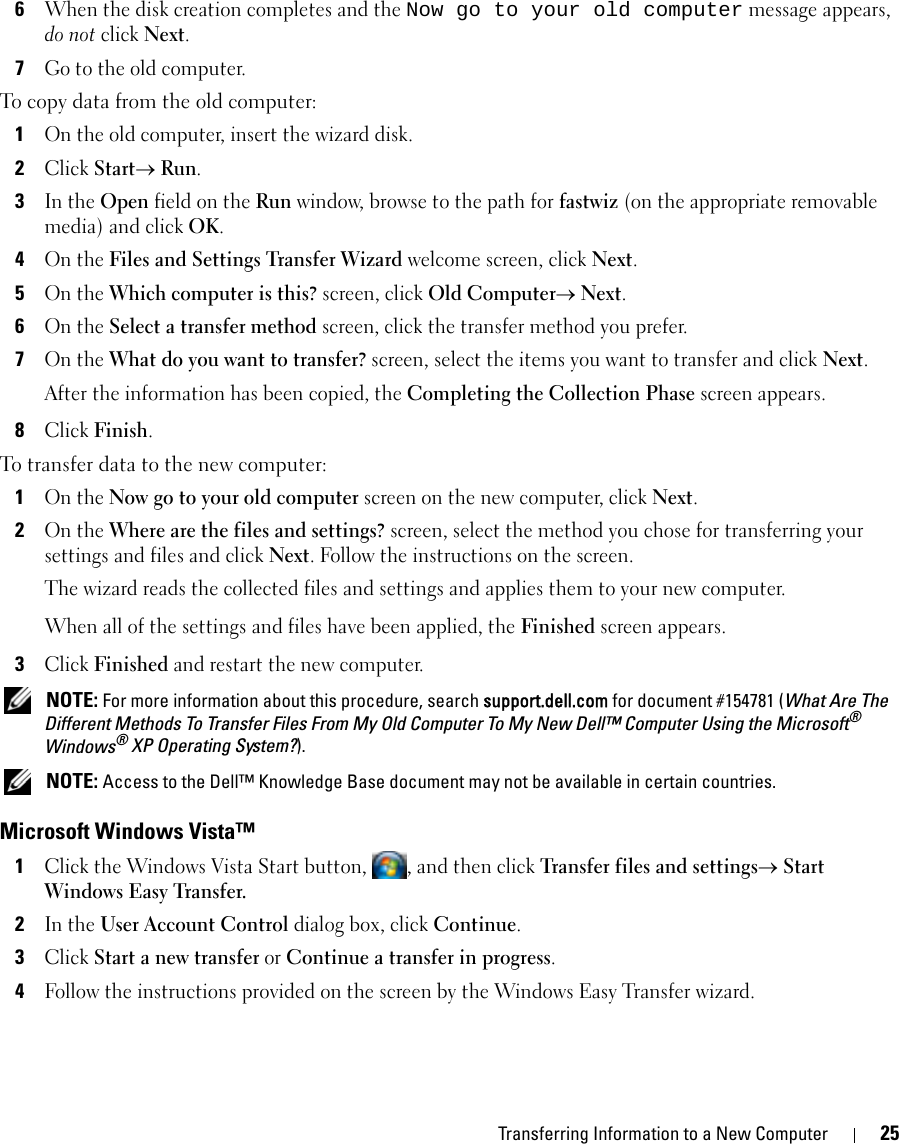
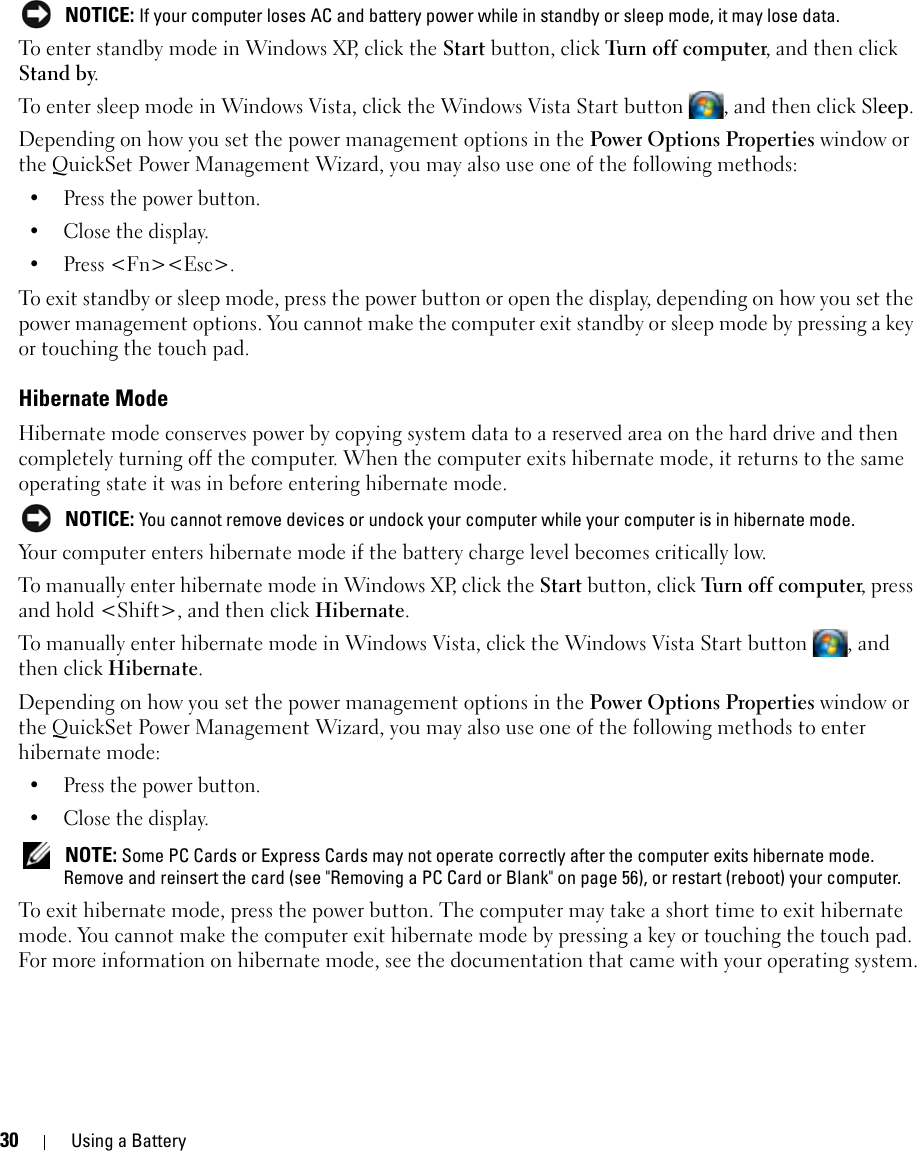
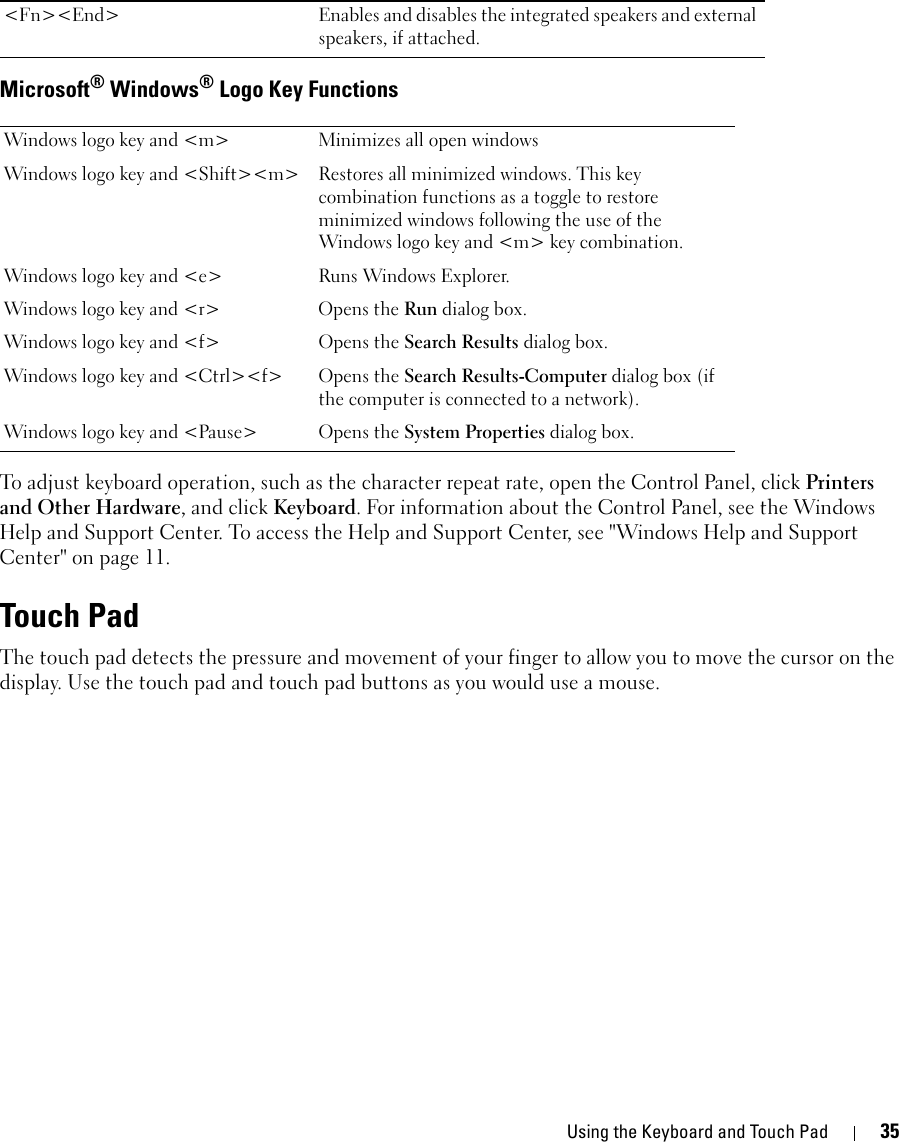
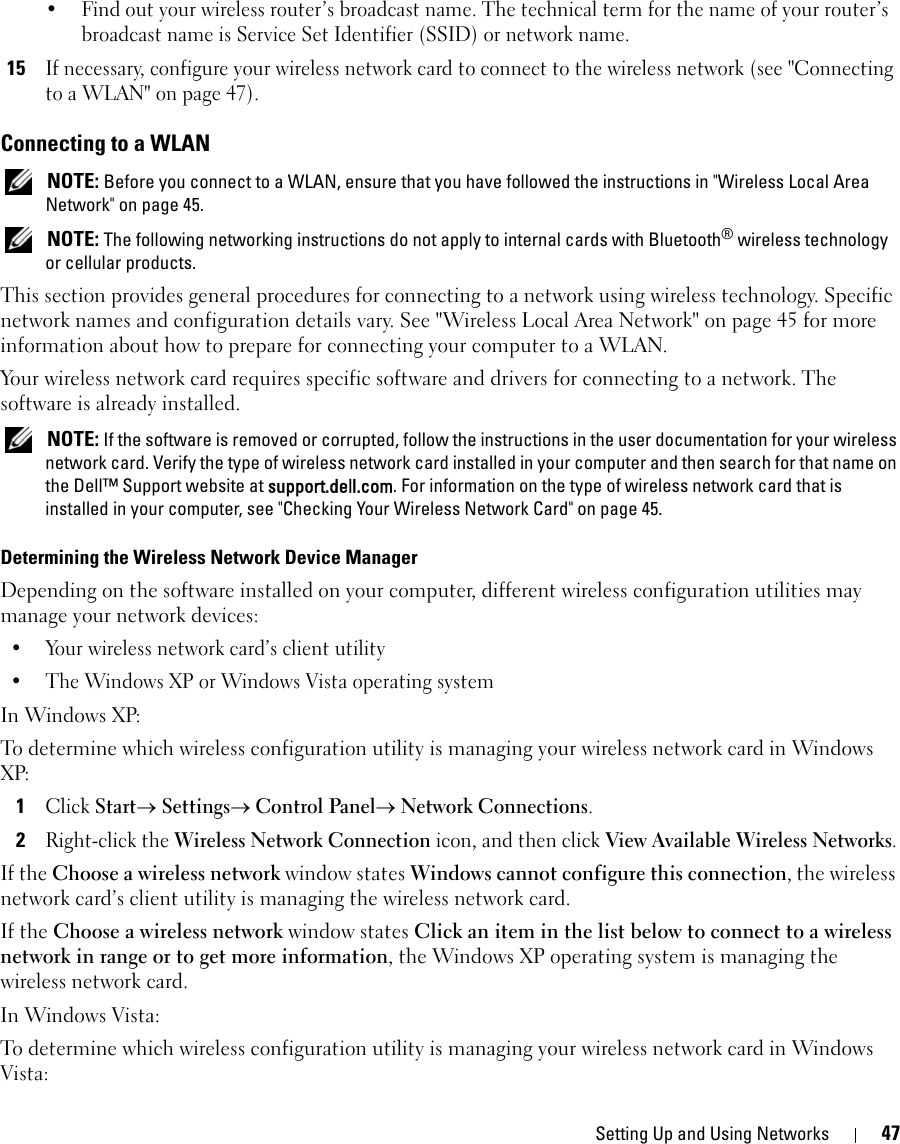
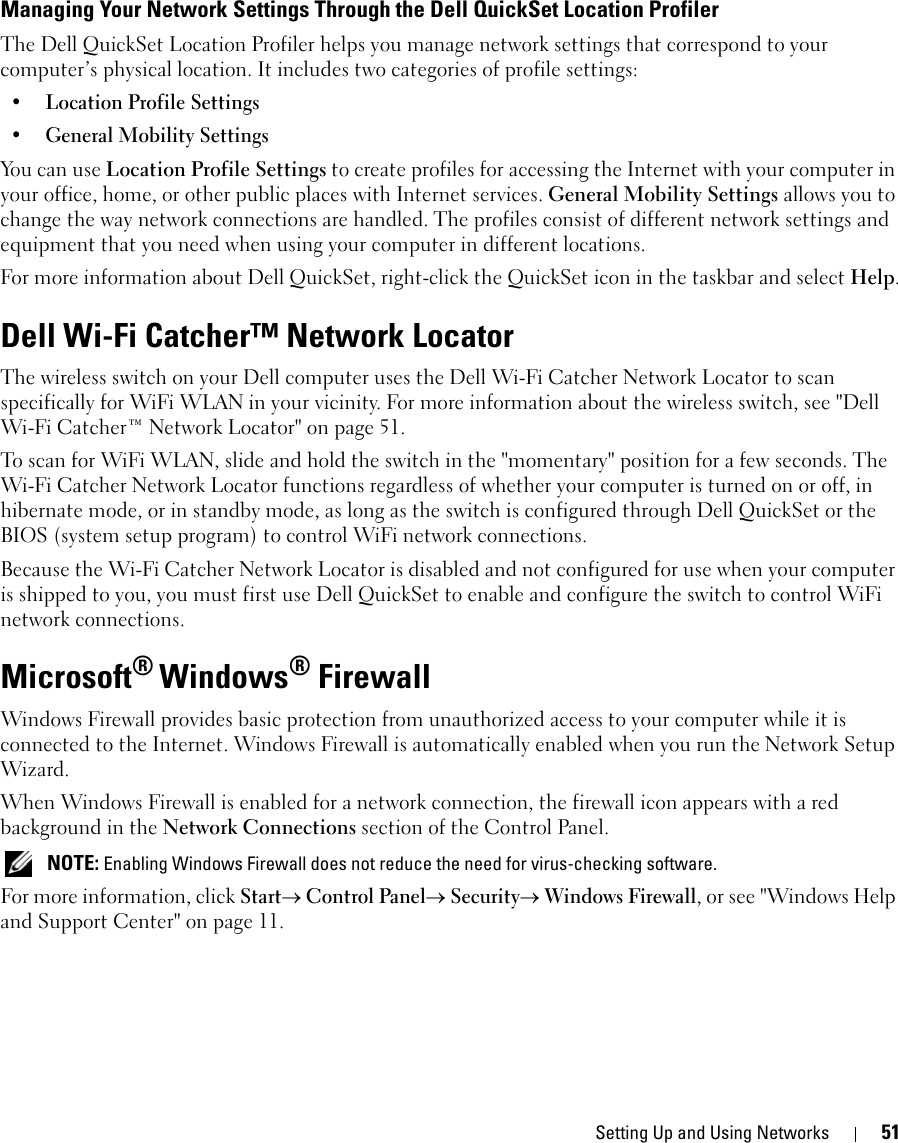
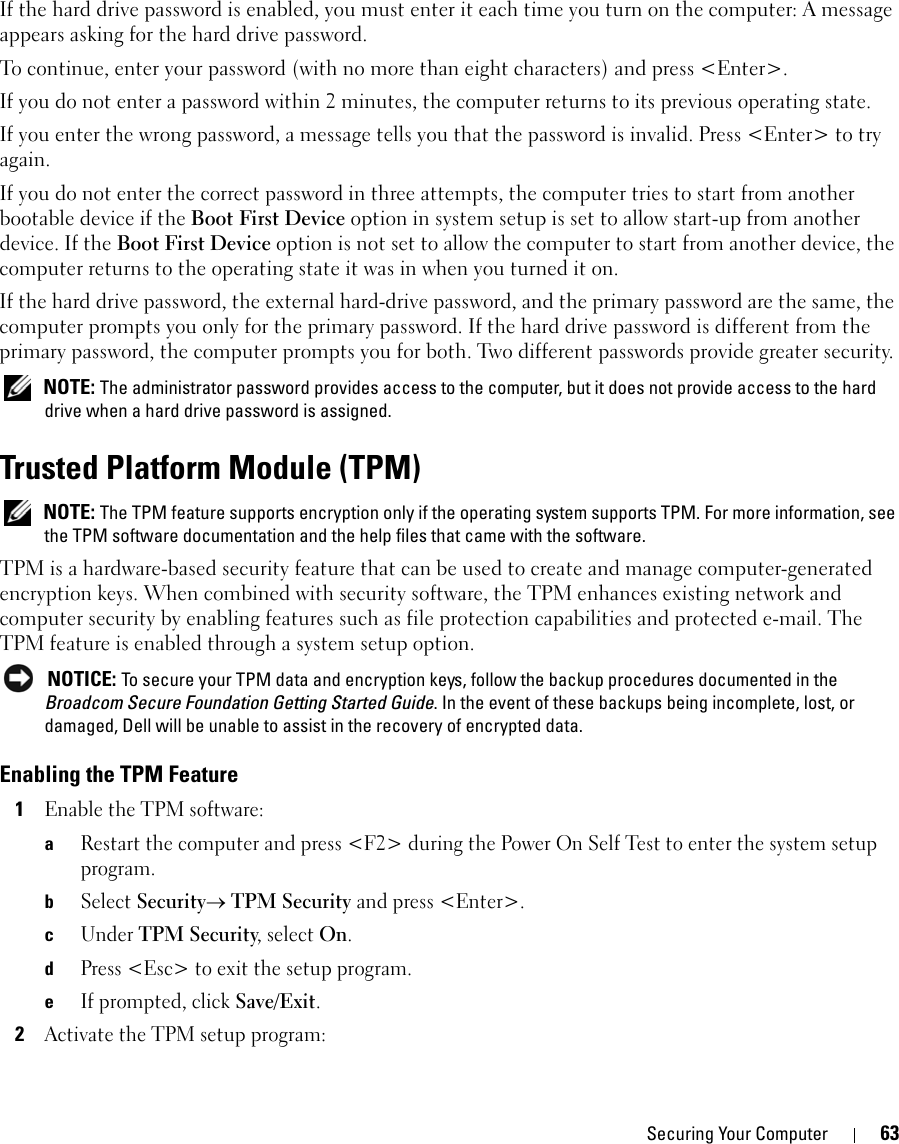
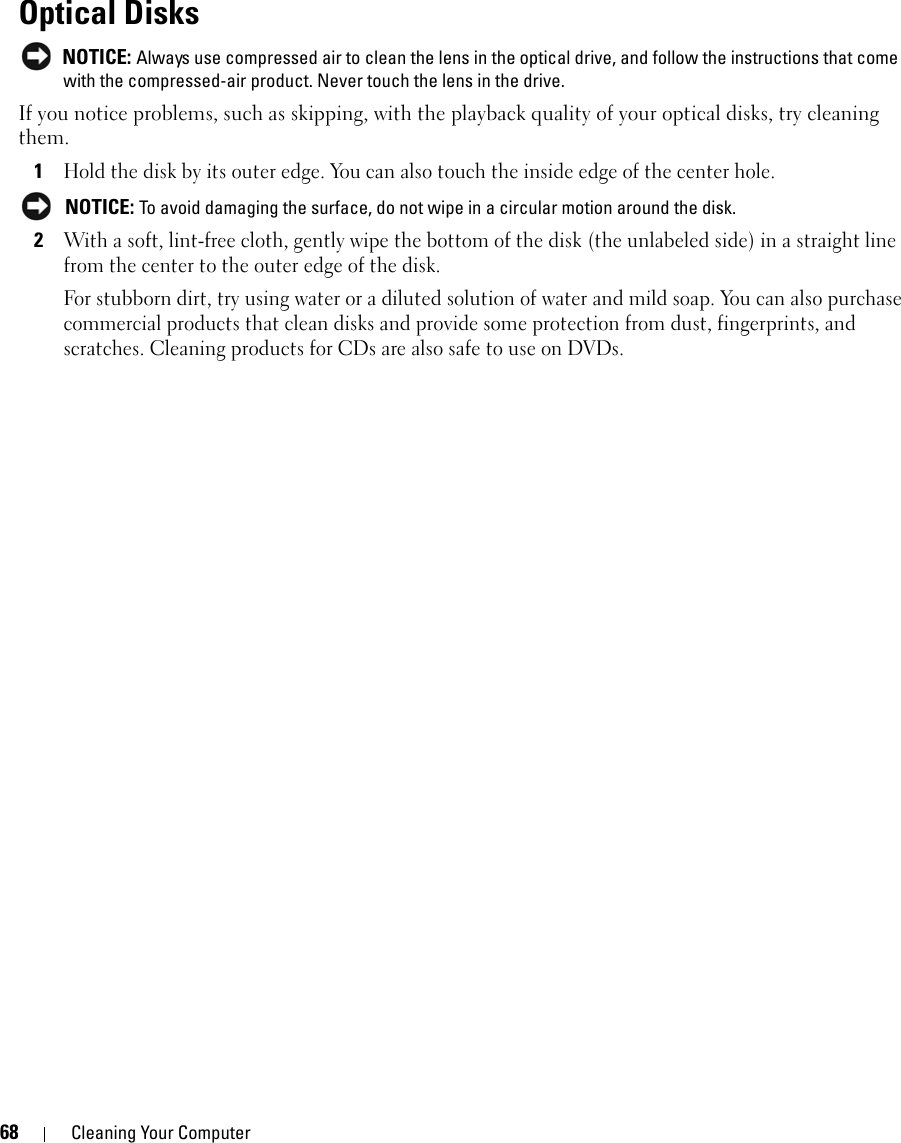
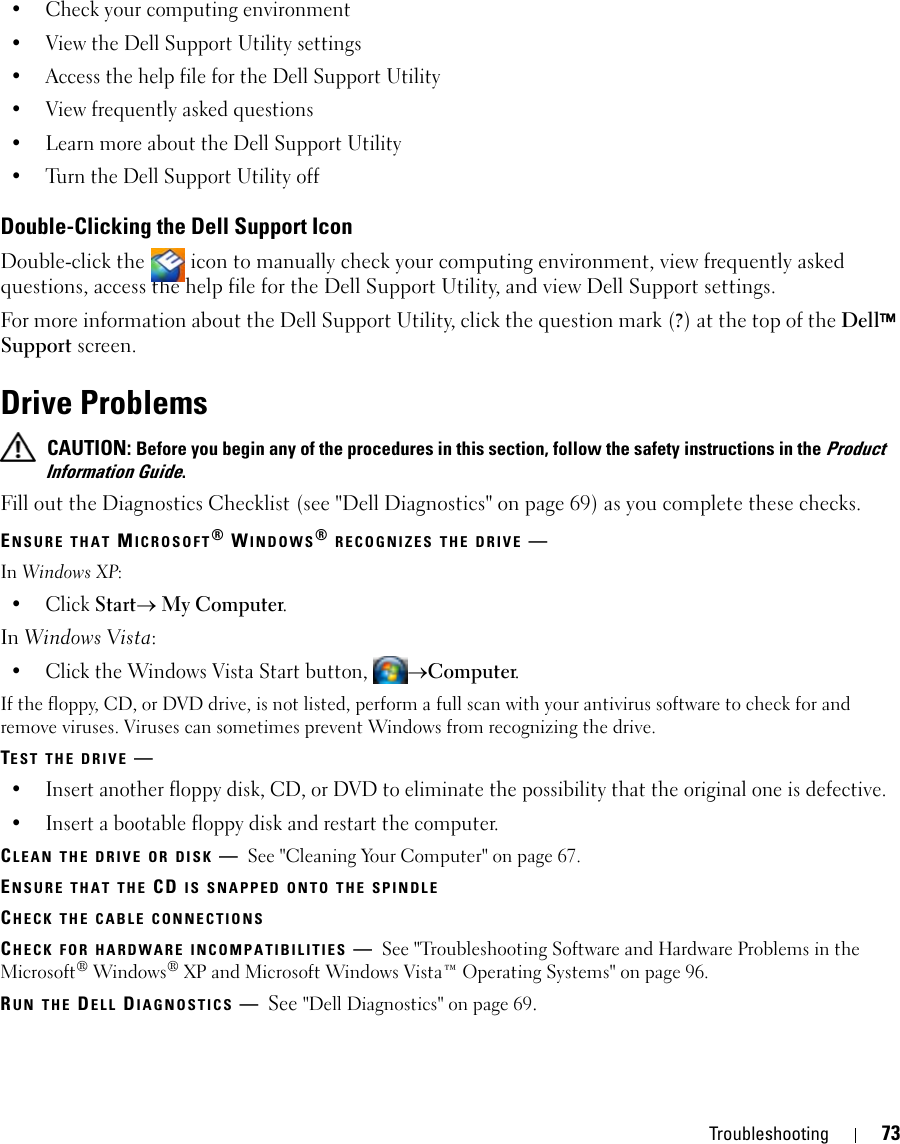
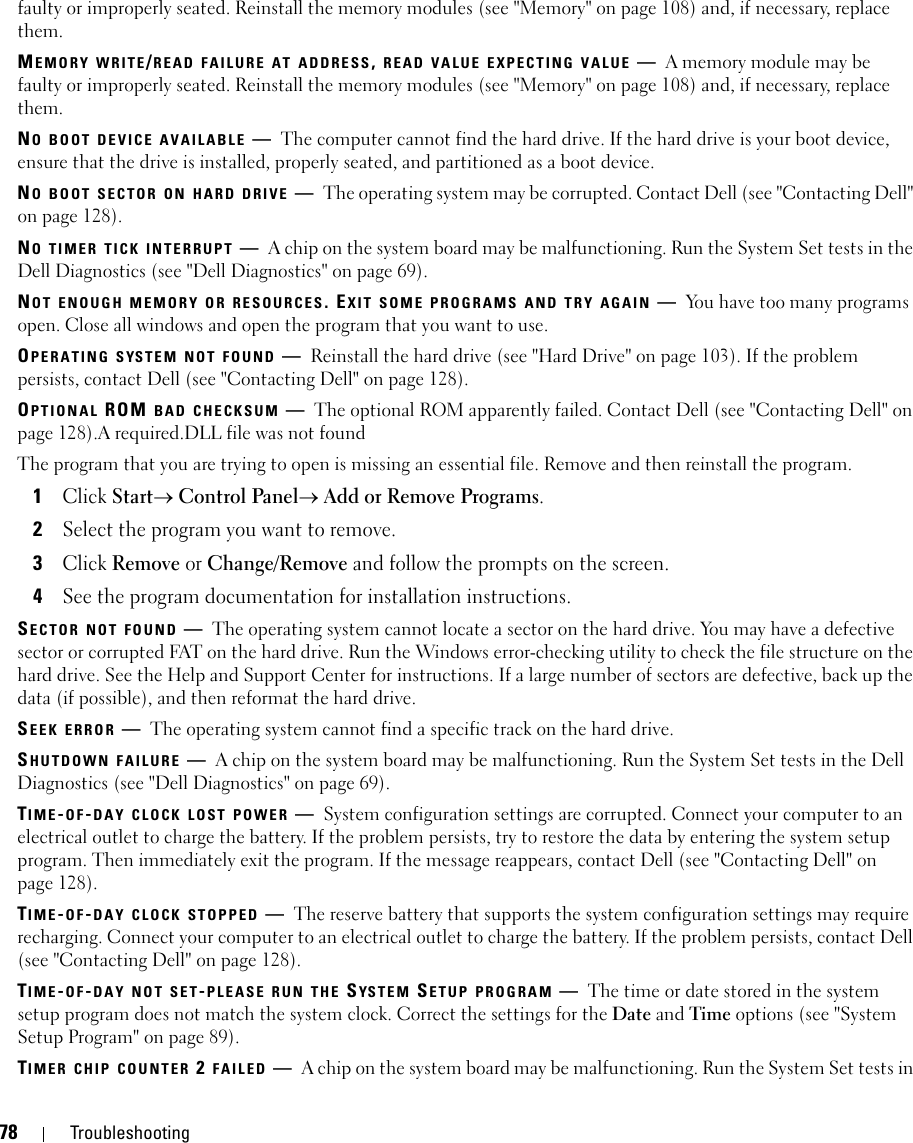
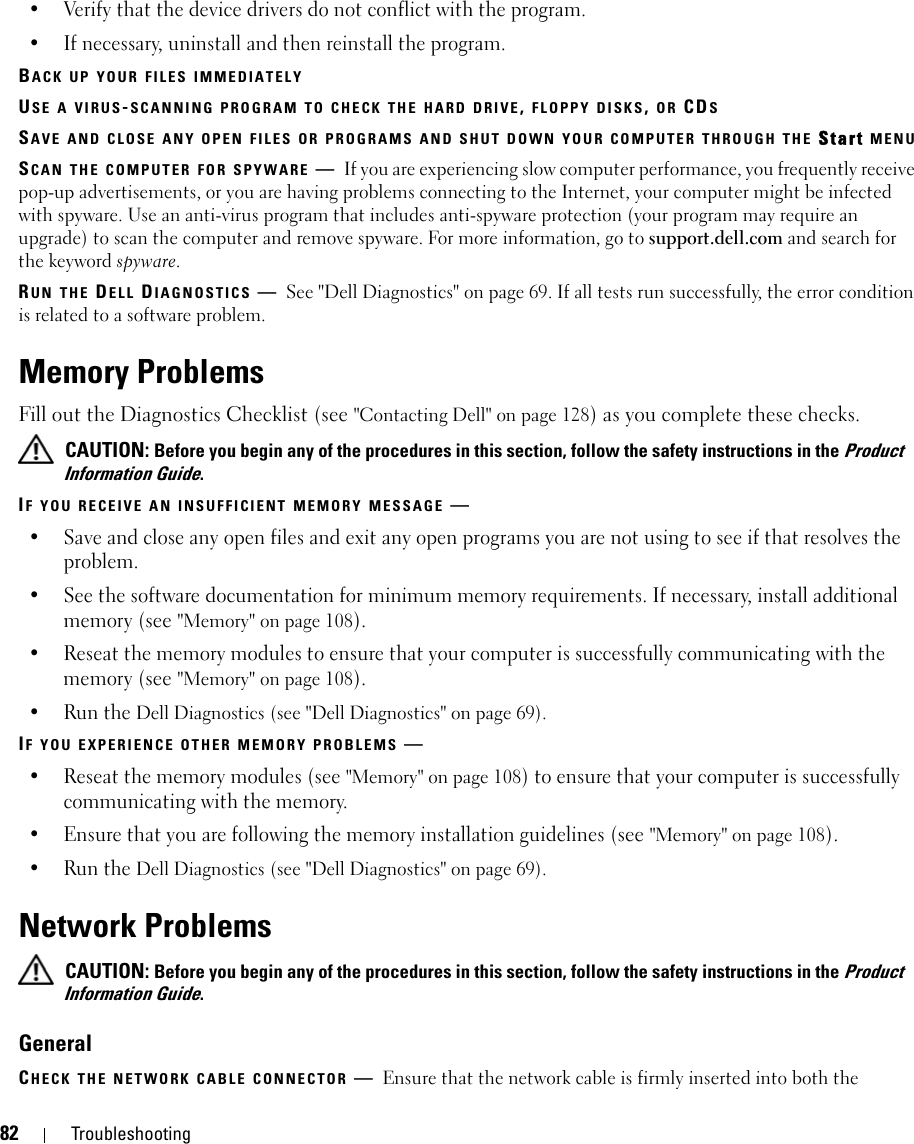
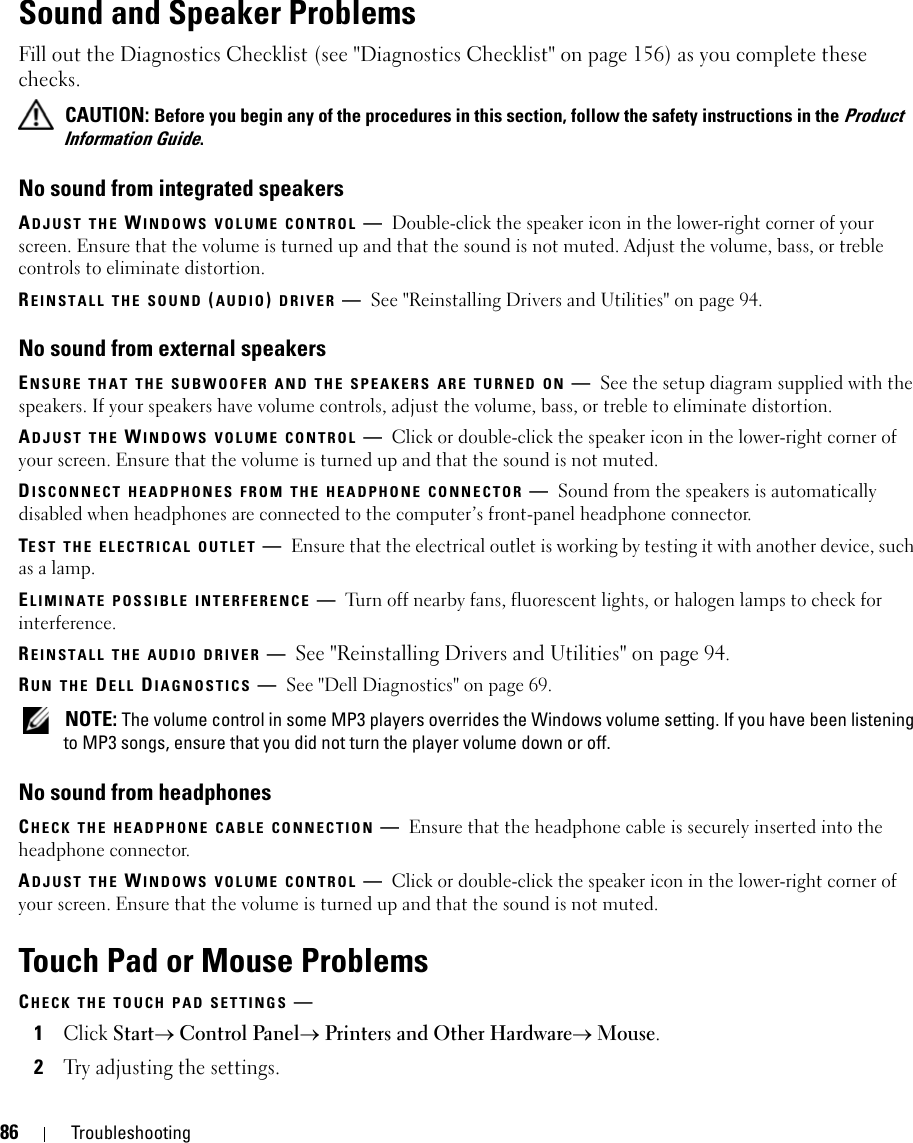
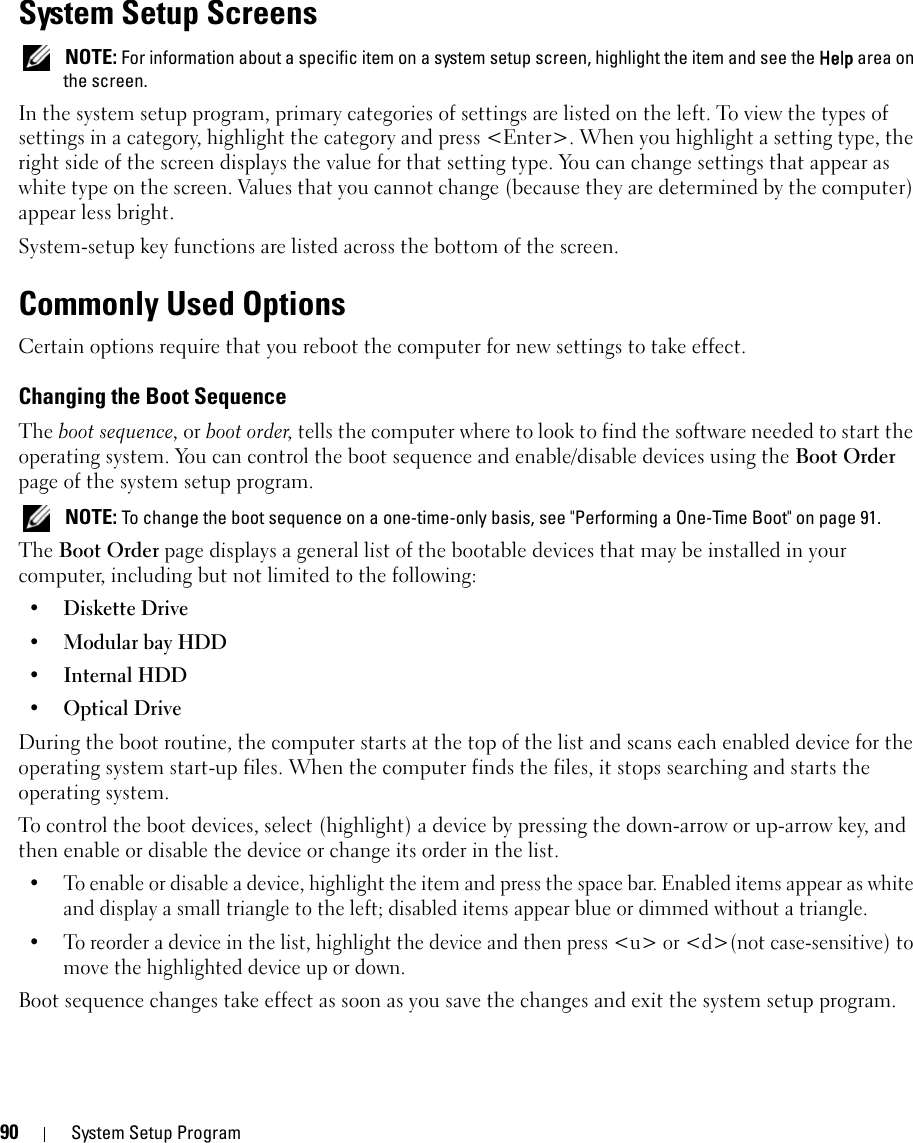
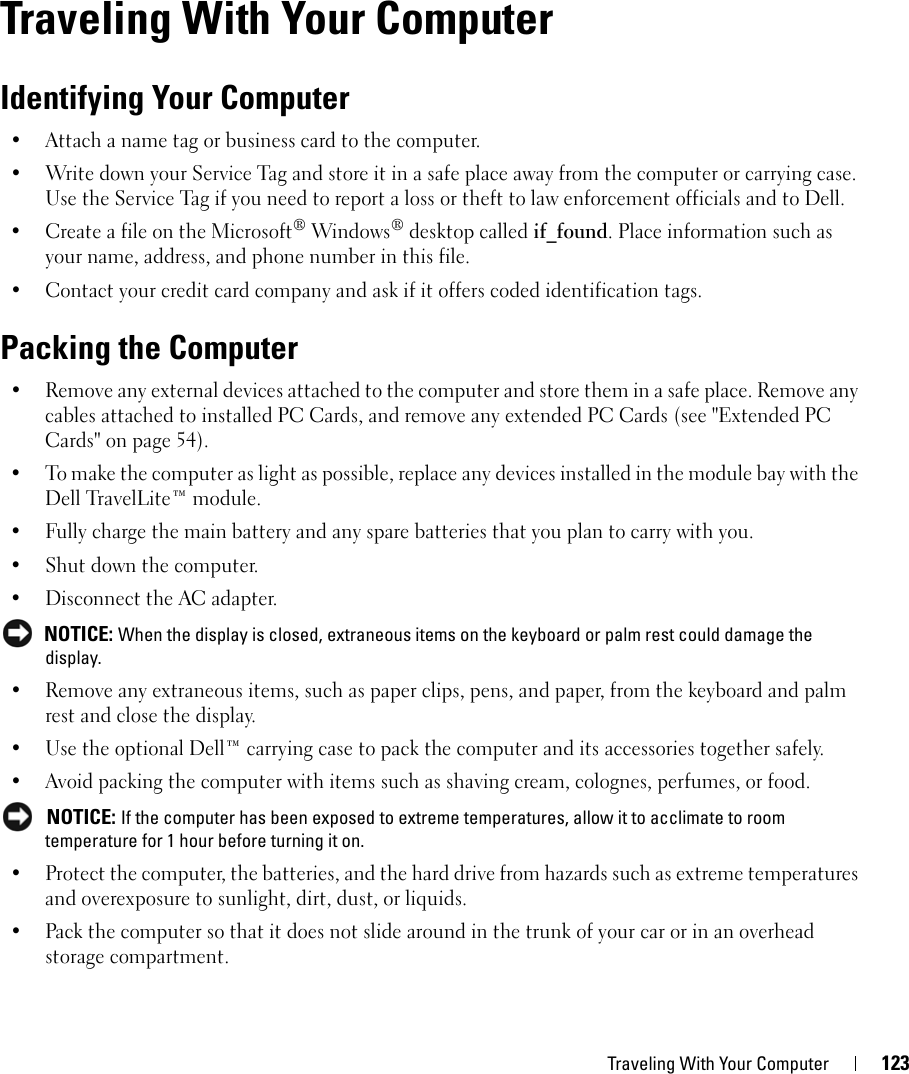
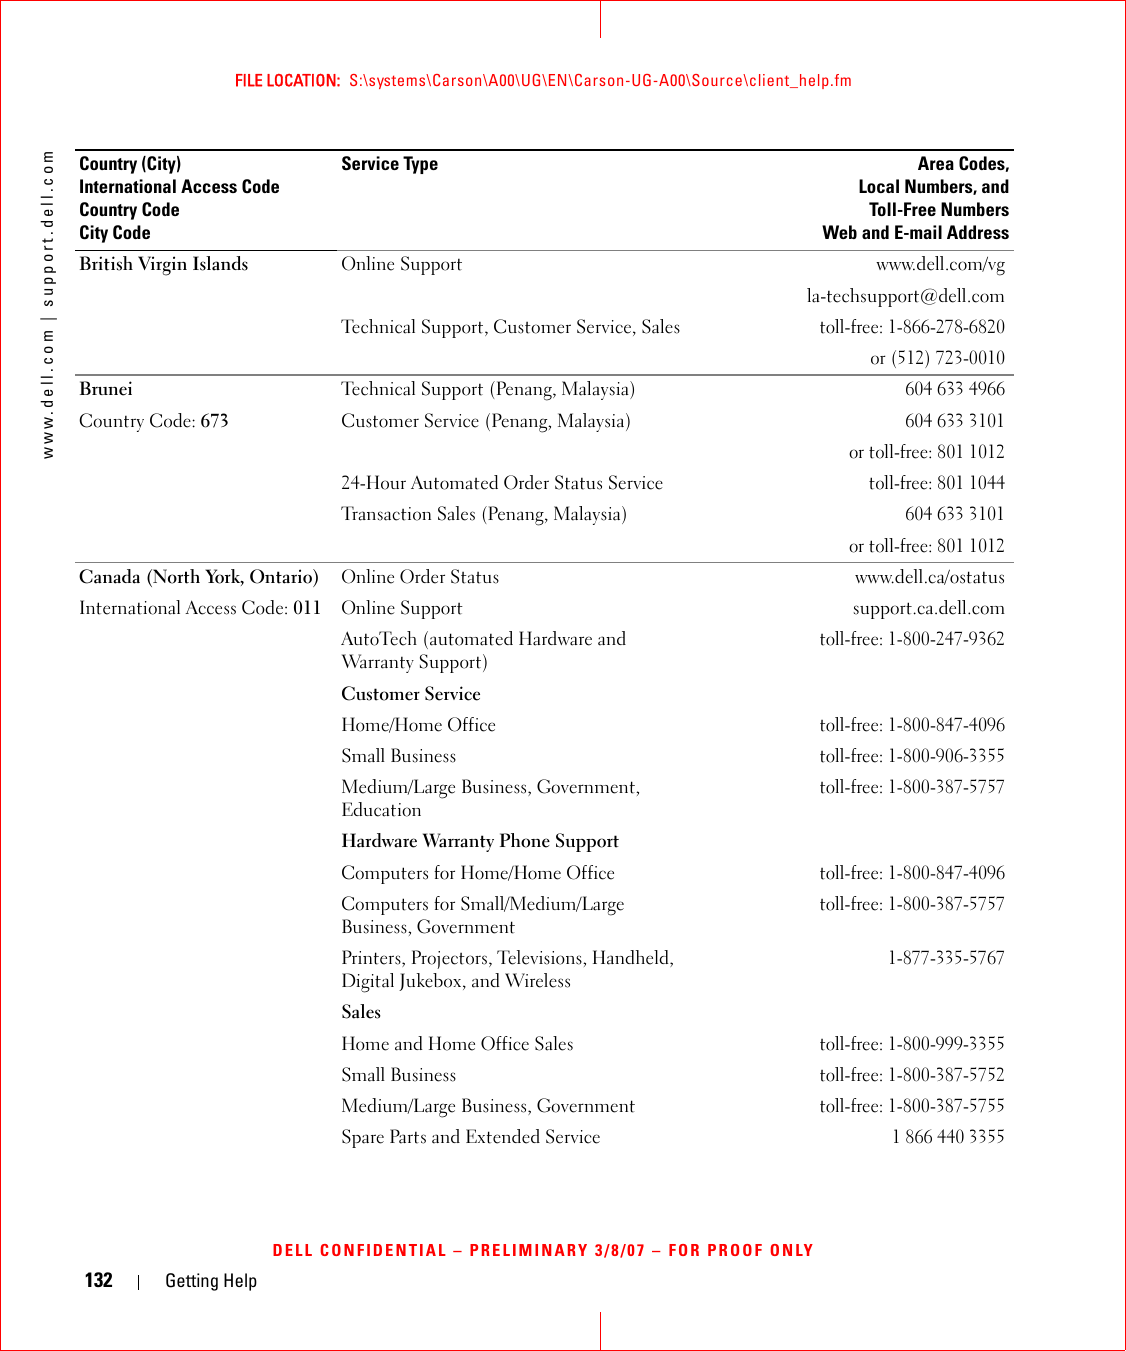
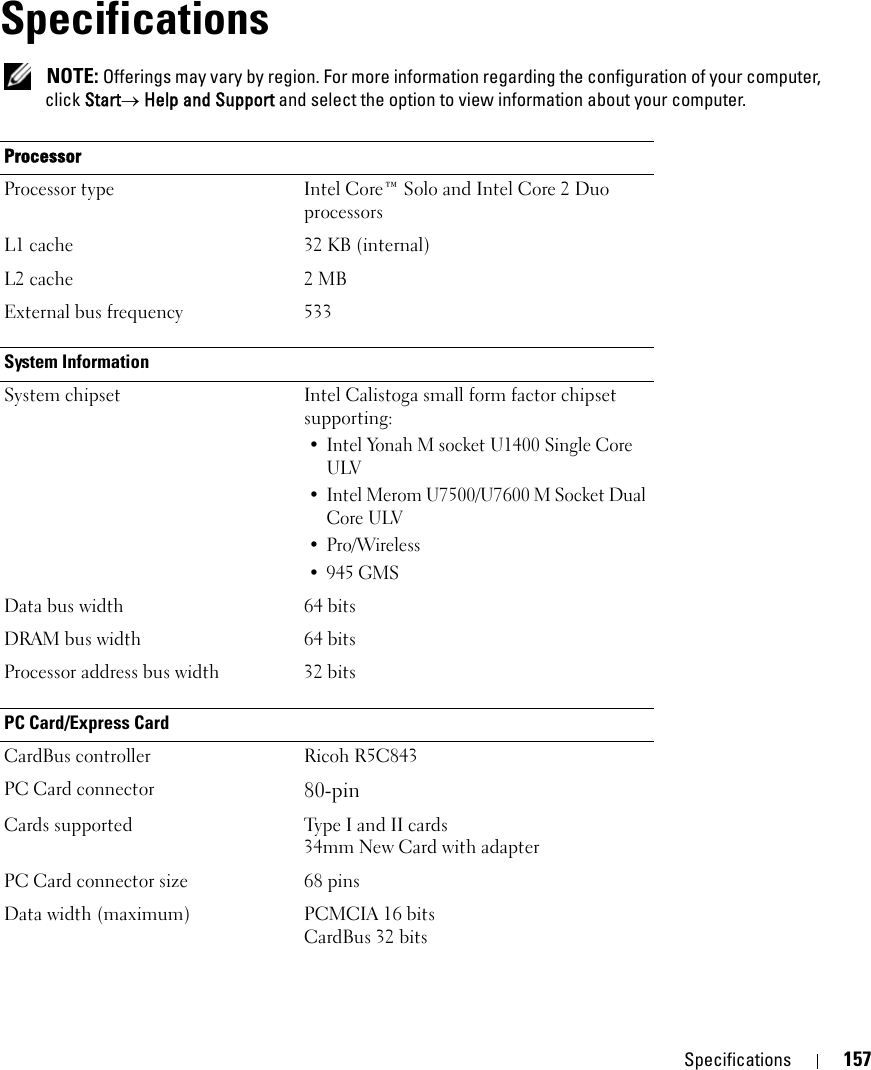
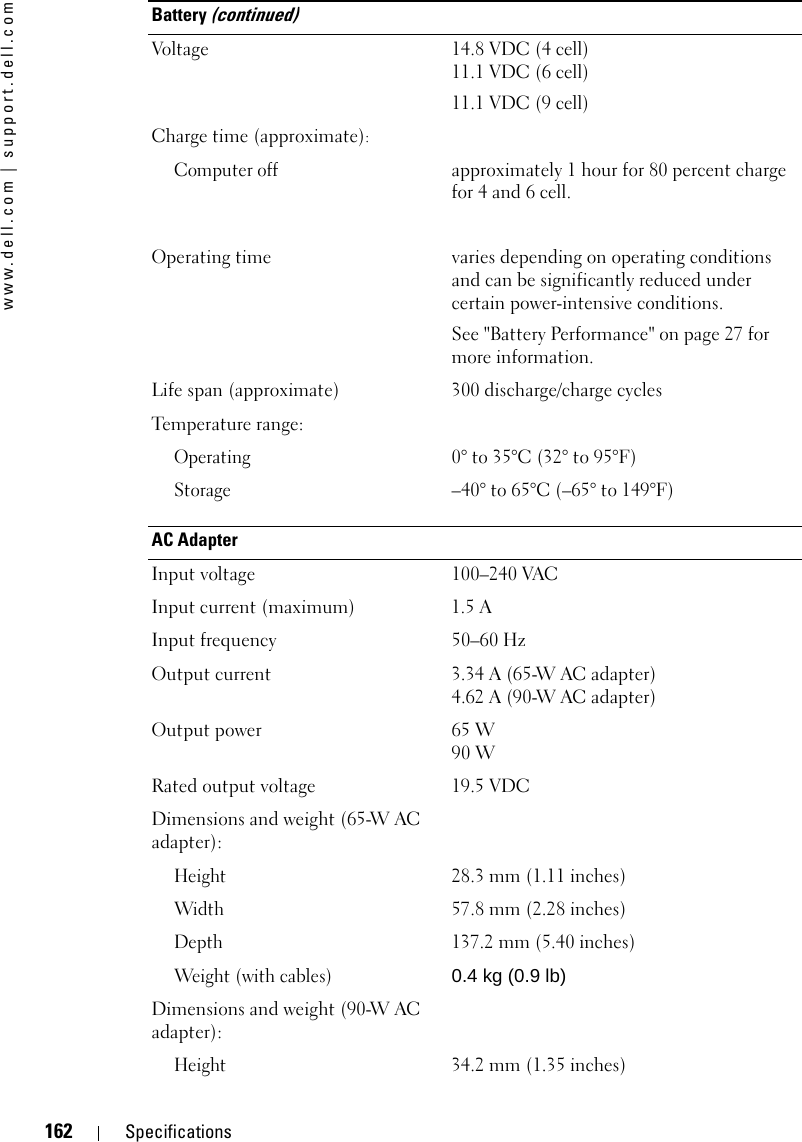
![120 Adding and Replacing Parts3Disconnect the coin-cell battery cable connector from the system board connector.4Remove the coin-cell battery from the system board.When you replace the battery, insert it at a 30-degree angle under the clip with the positive (identified by a plus [+] symbol) side up, and then push it into place. 1cable connector 2coin-cell battery12](https://usermanual.wiki/Novatel-Wireless/NRM-EU860D.User-Manual-D430/User-Guide-789274-Page-122.png)

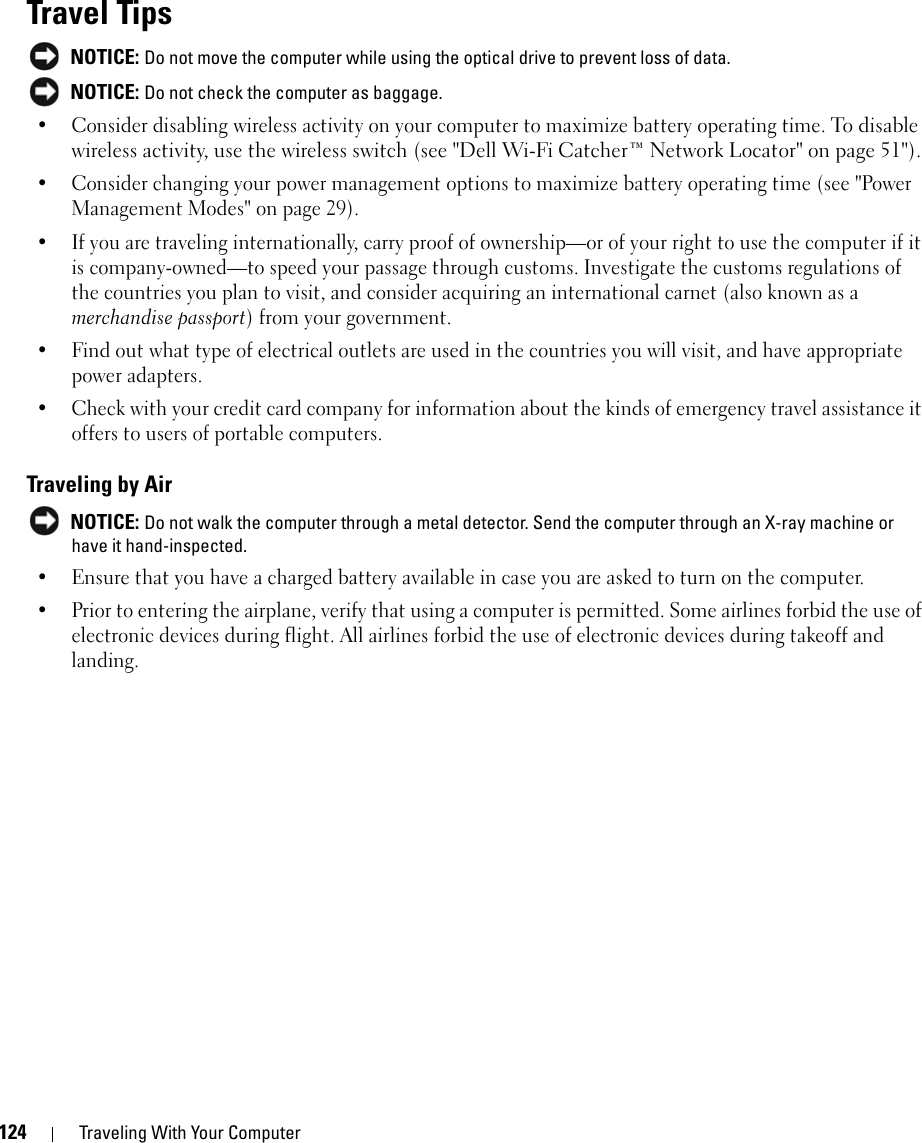

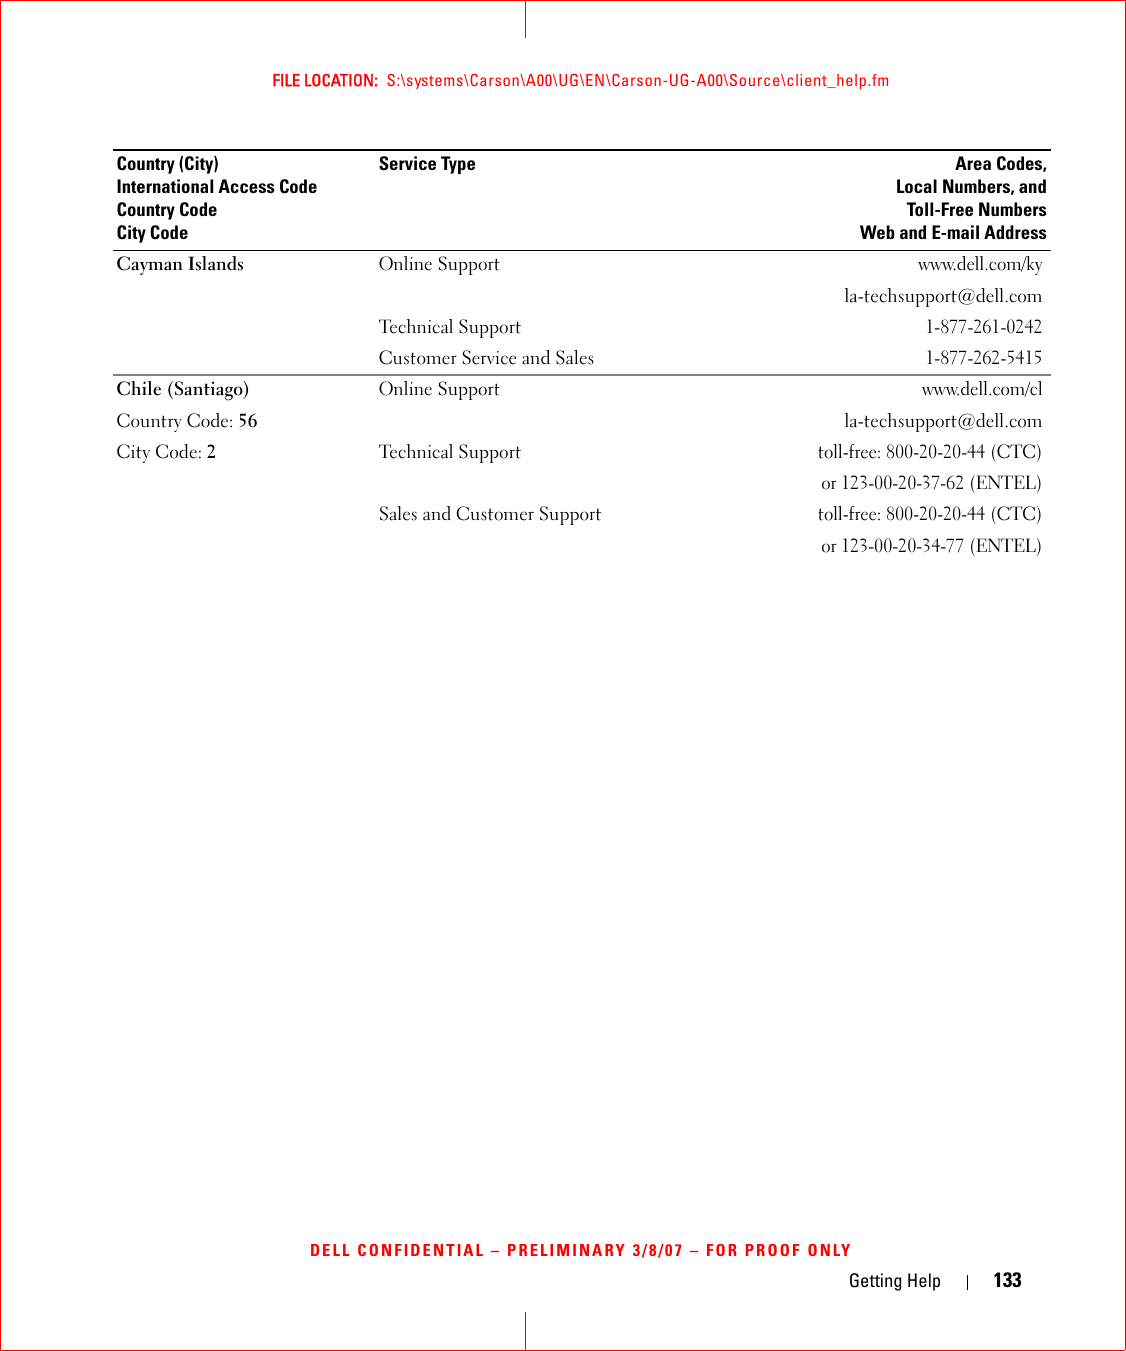


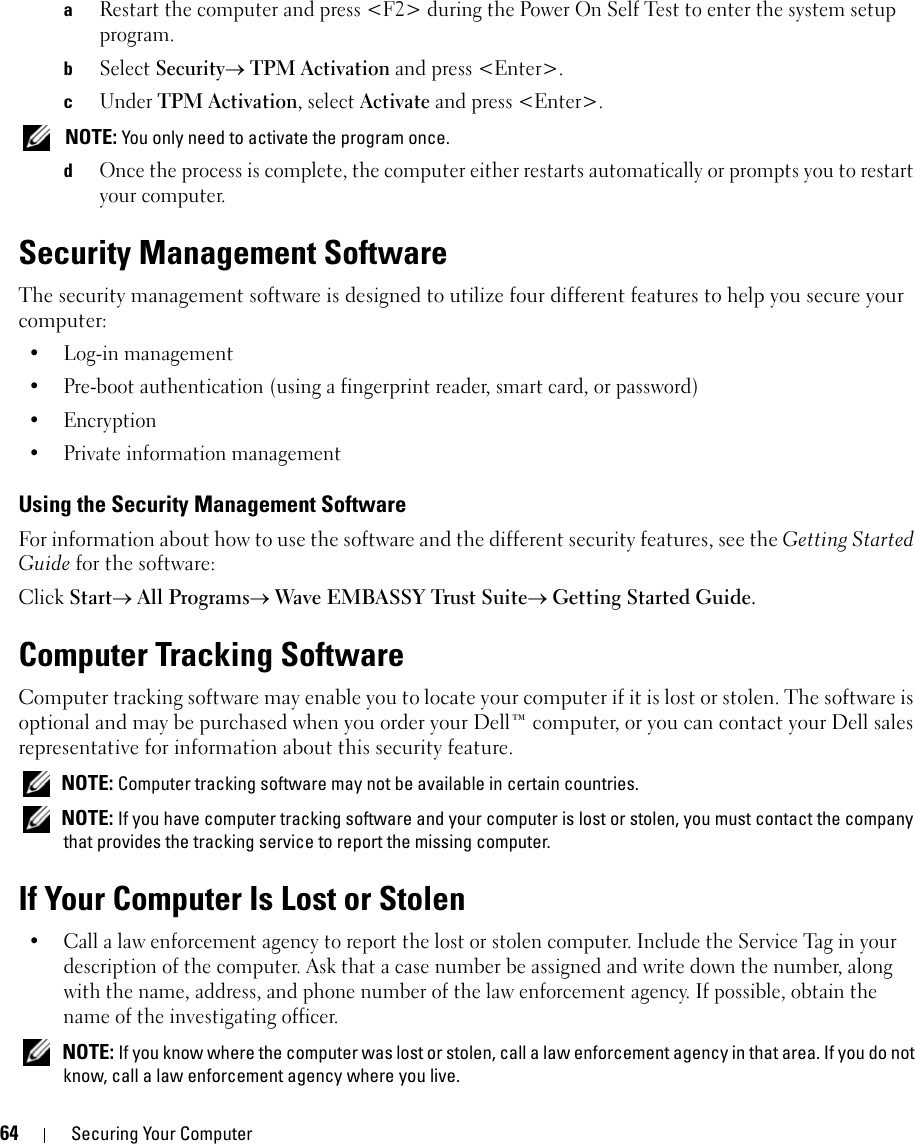
![Glossary 165GlossaryTerms in this Glossary are provided for informational purposes only and may or may not describe features included with your particular computer.AAC — alternating current — The form of electricity that powers your computer when you plug the AC adapter power cable in to an electrical outlet.ACPI — advanced configuration and power interface — A power management specification that enables Microsoft® Windows® operating systems to put a computer in standby or hibernate mode to conserve the amount of electrical power allocated to each device attached to the computer.AGP — accelerated graphics port — A dedicated graphics port that allows system memory to be used for video-related tasks. AGP delivers a smooth, true-color video image because of the faster interface between the video circuitry and the computer memory.AHCI — Advanced Host Controller Interface — An interface for a SATA hard drive Host Controller which allows the storage driver to enable technologies such as Native Command Queuing (NCQ) and hot plug.ALS — ambient light sensor — A feature that helps to control display brightness.antivirus software — A program designed to identify, quarantine, and/or delete viruses from your computer.ASF — alert standards format — A standard to define a mechanism for reporting hardware and software alerts to a management console. ASF is designed to be platform- and operating system-independent.Bbattery life span — The length of time (years) during which a portable computer battery is able to be depleted and recharged.battery operating time — The length of time (minutes or hours) that a portablue computer battery powers the computer.BIOS — basic input/output system — A program (or utility) that serves as an interface between the computer hardware and the operating system. Unless you understand what effect these settings have on the computer, do not change them. Also referred to as system setup.bit — The smallest unit of data interpreted by your computer.Blu-ray Disc™ (BD)— An optical storage technology offering storage capacity of up to 50 GB, full 1080p video resolution (HDTV required), and as many as 7.1 channels of native, uncompressed surround sound.Bluetooth® wireless technology — A wireless technology standard for short-range (9 m [29 feet]) networking devices that allows for enabled devices to automatically recognize each other.boot sequence — Specifies the order of the devices from which the computer attempts to boot.bootable media — A CD, DVD, or floppy disk that you can use to start your computer. In case your hard drive is damaged or your computer has a virus, ensure that you always have a bootable CD, DVD, or floppy disk available. Yo u r Drivers and Utilities media is an example of bootable media.bps — bits per second — The standard unit for measuring data transmission speed.BTU — British thermal unit — A measurement of heat output.bus — A communication pathway between the components in your computer.bus speed — The speed, given in MHz, that indicates how fast a bus can transfer information.](https://usermanual.wiki/Novatel-Wireless/NRM-EU860D.User-Manual-D430/User-Guide-789274-Page-167.png)