Yaesu Musen 20461X50 Scanning Receiver User Manual FTDX3000 Operating Manual
Yaesu Musen Co., Ltd. Scanning Receiver FTDX3000 Operating Manual
Contents
Users Manual 4
Page 34 FT DX
3000 OperaTing Manual
opeRAtioN oN 60-MeteR (5 MHz) bANd (u.s. ANd u.K. veRsioN oNly)
The recently-released 60-meter band is covered, in the FT DX 3000, by xed memory channels. These channels are set
to USB, and they appear between the “last” PMS channel (“P9U”) and the rst “regular” memory channel (Channel 1):
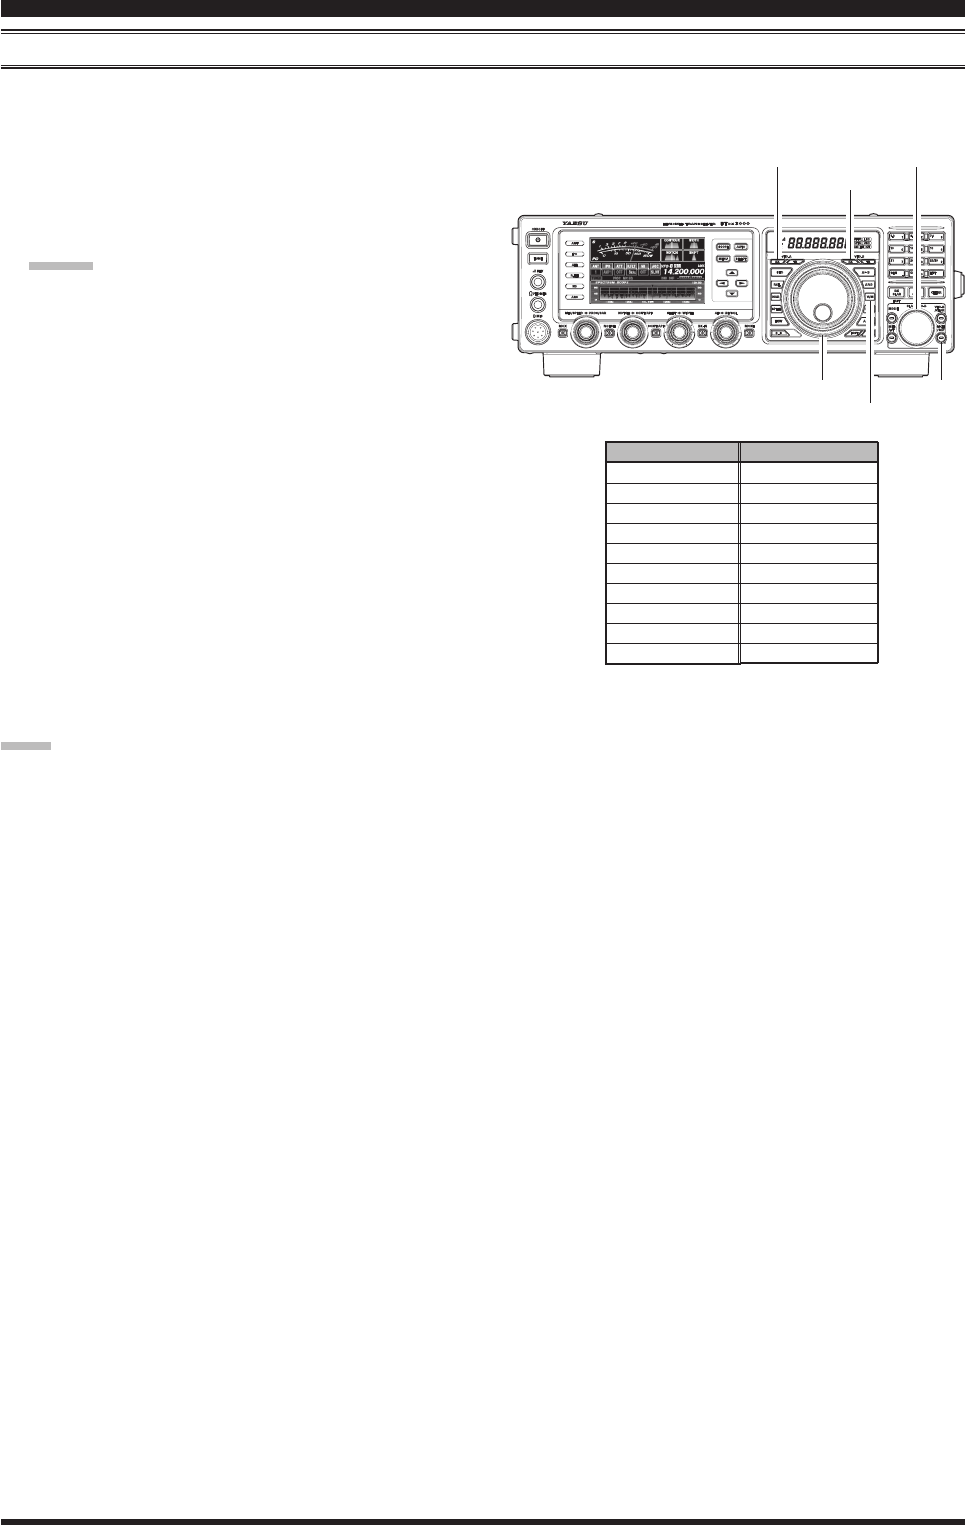
1. Press the [V/M] button once to enter the “Memory”
mode; the “MCH” icon will appear in the display
and a memory channel number will appear on the
display.
Advice:
If you can not enter the “Memory” mode, check to
see if the transceiver is in VFO-B mode (the green
[(VFO-B)RX] Indicator/Switch is illuminated). If so,
press the [(VFO-A)RX] Indicator/Switch to return
operation to VFO-A. Now, press the [V/M] button to
enter the “Memory” mode.
2. Press the [MCH] button located on the bottom right
of the [CLAR/VFO-B] knob. The LED imbedded in
the button will glow orange to signify that rotation of
the [CLAR/VFO-B] knob will allow selection of the
memory channel.
3. Memory channels (“5M-01” through “5M-10”) are
pre-programmed, at the factory, with the permitted
frequencies in the 5 MHz band, and the USB mode
is automatically selected on these channels.
4. To exit from 60-meter operation and return to the
VFO mode, just press the [V/M] button.
Note:
The frequencies and operating mode for 5 MHz band
operation are xed, and may not be changed.
Basic OperaTiOn:receiving On aMaTeur BanDs
[CLAR/VFO-B] Knob
[VFO-B(RX)] Button
[MCH] Button
[V/M] Button
[VFO-A(RX)] Button
Main Tuning Dial Knob
cHANNel NuMbeR
5M-01
5M-02
5M-03
5M-04
5M-05
5M-06
5M-07
5M-08
5M-09
5M-10
FReQueNcy
5.332000 MHz
5.348000 MHz
5.358500 MHz
5.373000 MHz
5.405000 MHz
5.332000 MHz
5.348000 MHz
5.358500 MHz
5.373000 MHz
5.405000 MHz
FCC ID: K6620461X50 / IC: 511B-20461X50
Page 35FT DX
3000 OperaTing Manual
Basic OperaTiOn:receiving On aMaTeur BanDs
clAR (clARiFieR) opeRAtioN
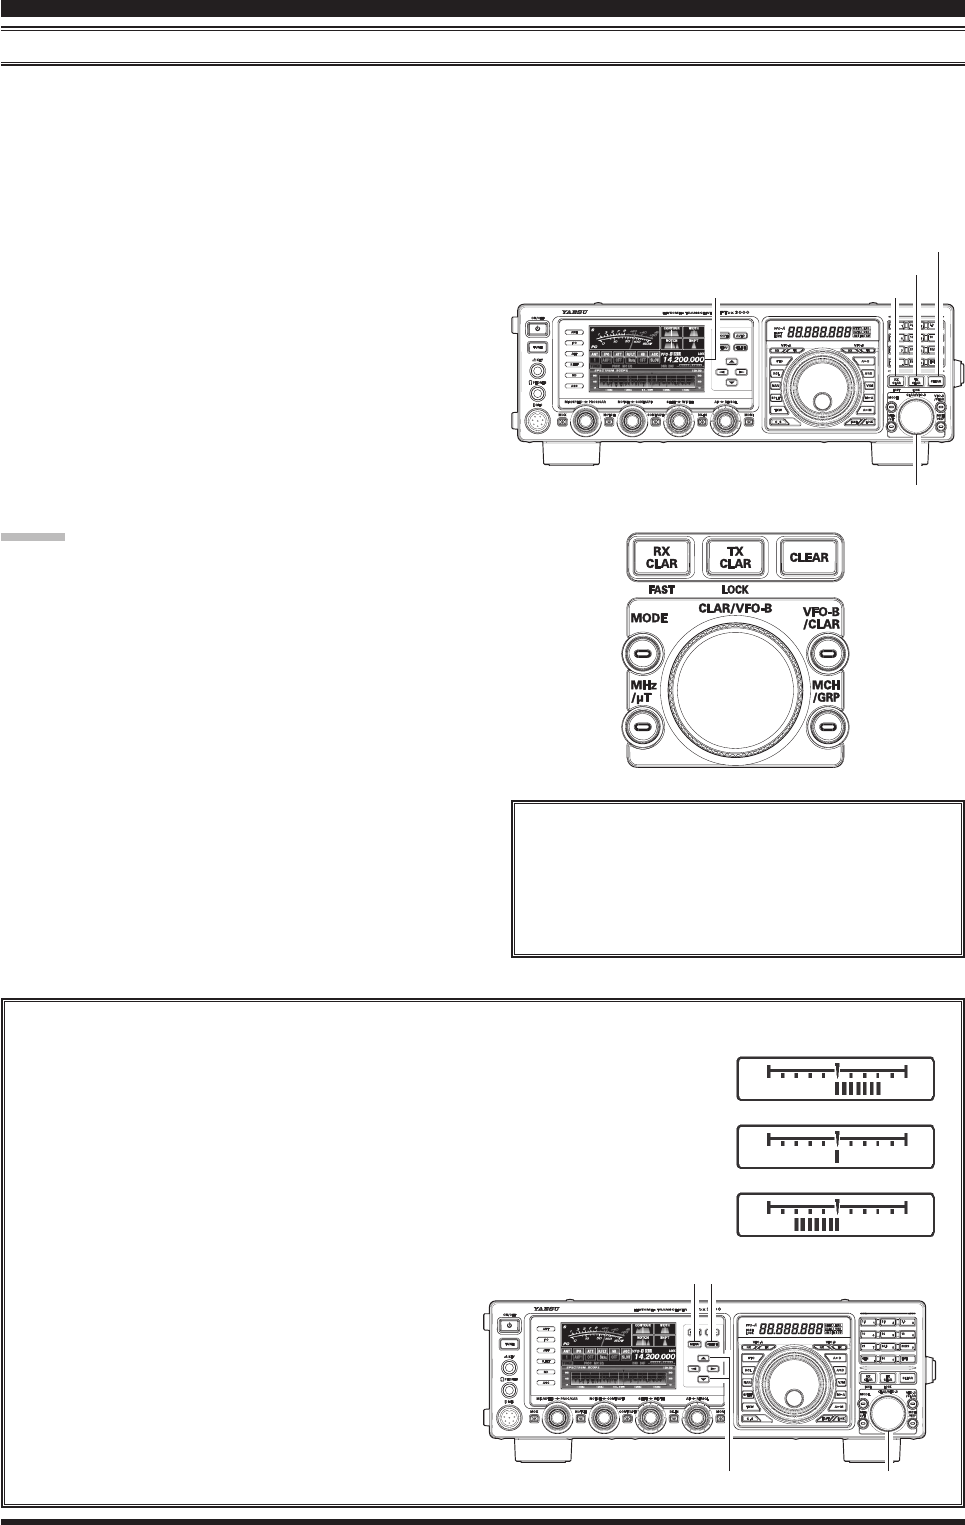
The [RX CLAR], [TX CLAR], [CLEAR] buttons and [CLAR/VFO-B] knob are used to offset the receive frequency,
the transmit frequency, or both, from their settings on the VFO-A frequency. Four small numbers on the Multi-Display
Window show the current Clarier offset. The Clarier controls on the FT DX 3000 are designed to allow you to preset
an offset (up to ±9.999 kHz) without actually retuning, and then to activate it via the Clarier’s [RX CLAR] and [TX
CLAR] buttons. This feature is ideal for following a drifting station, or for setting small frequency offsets sometimes
utilized in DX “Split” work.
Here is the technique for utilizing the Clarier:
1. Press the [RX CLAR] button. In the Multi-Display
Window, the “RX” notation will appear, and the
programmed offset will be applied to the receive fre-
quency.
2. Rotation of the [CLAR/VFO-B] knob will allow
you to modify your initial offset on the y. Offsets of
up to ±9.99 kHz may be set using the Clarier.
To cancel Clarier operation, press the [RX CLAR] but-
ton. The “RX” notation will disappear from the display.
Advice:
Turning the Clarier off simply cancels the applica-
tion of the programmed offset from the receive and/
or the transmit frequencies. To clear the Clarifier
offset, and reset it to “zero,” press the [CLEAR] but-
ton. The programmed offset is displayed in the small
multi-channel window of the frequency display.
You may also activate the clarier on the VFO-B fre-
quency. In this case, the offset frequency is set using
the Main Tuning Dial knob, instead of the [CLAR/
VFO-B] knob.
The Clarier operation (including the offset frequen-
cy) will be memorized independently on each VFO
stack of VFO-A and VFO-B.
[CLAR/VFO-B] Knob
[RX CLAR] Button
[TX CLAR] Button
[CLEAR] Button
TXCLAR
Alternately, You may apply the Clarifier offset
to the transmit frequency, without changing the
receive frequency (typically, for “split” DX pile-
ups).
[CLAR/VFO-B] Knob
[p/q] Button
TheTuningOffsetIndicatorprovidesagraphicalrepresentationoftheClarieroffset.
In the factory default setting On CW, the Tuning Offset Indicator is used for CW Cen-
ter Tuning, instead of Clarier Offset. If you wish to change this so that the Clarier
Offset is also displayed on CW, use the following procedure: [Plus (+) Offset]
[Zero Offset]
[Minus (–) Offset]
[SELECT] button
1. Press and hold in the [MENU] button for one
second to enter the Menu mode.
2. Rotate the [CLAR/VFO-B] knob or p/q button
to select Menu item “011 DISPLAY BAR DIS-
PLAY SELECT”.
3. Press the [SELECT] button then rotate the
[CLAR/VFO-B] knob or p/q button to select
“CLAR (Clarifier)” (replacing the default “CW
TUNE (CW TUNING)” selection).
4. Press the [SELECT] button, then press the
[MENU] button to save the new setting and exit
to normal operation.
Multi-Display Window
[MENU] button
FCC ID: K6620461X50 / IC: 511B-20461X50
Page 36 FT DX
3000 OperaTing Manual
Basic OperaTiOn:receiving On aMaTeur BanDs
LOCK
You may lock the setting of the Main Tuning Dial knob (for VFO-A frequency tuning) and the [CLAR/VFO-B] knob (for
VFO-B frequency tuning), to prevent accidental frequency change.
Main Tuning Dial knob Lock
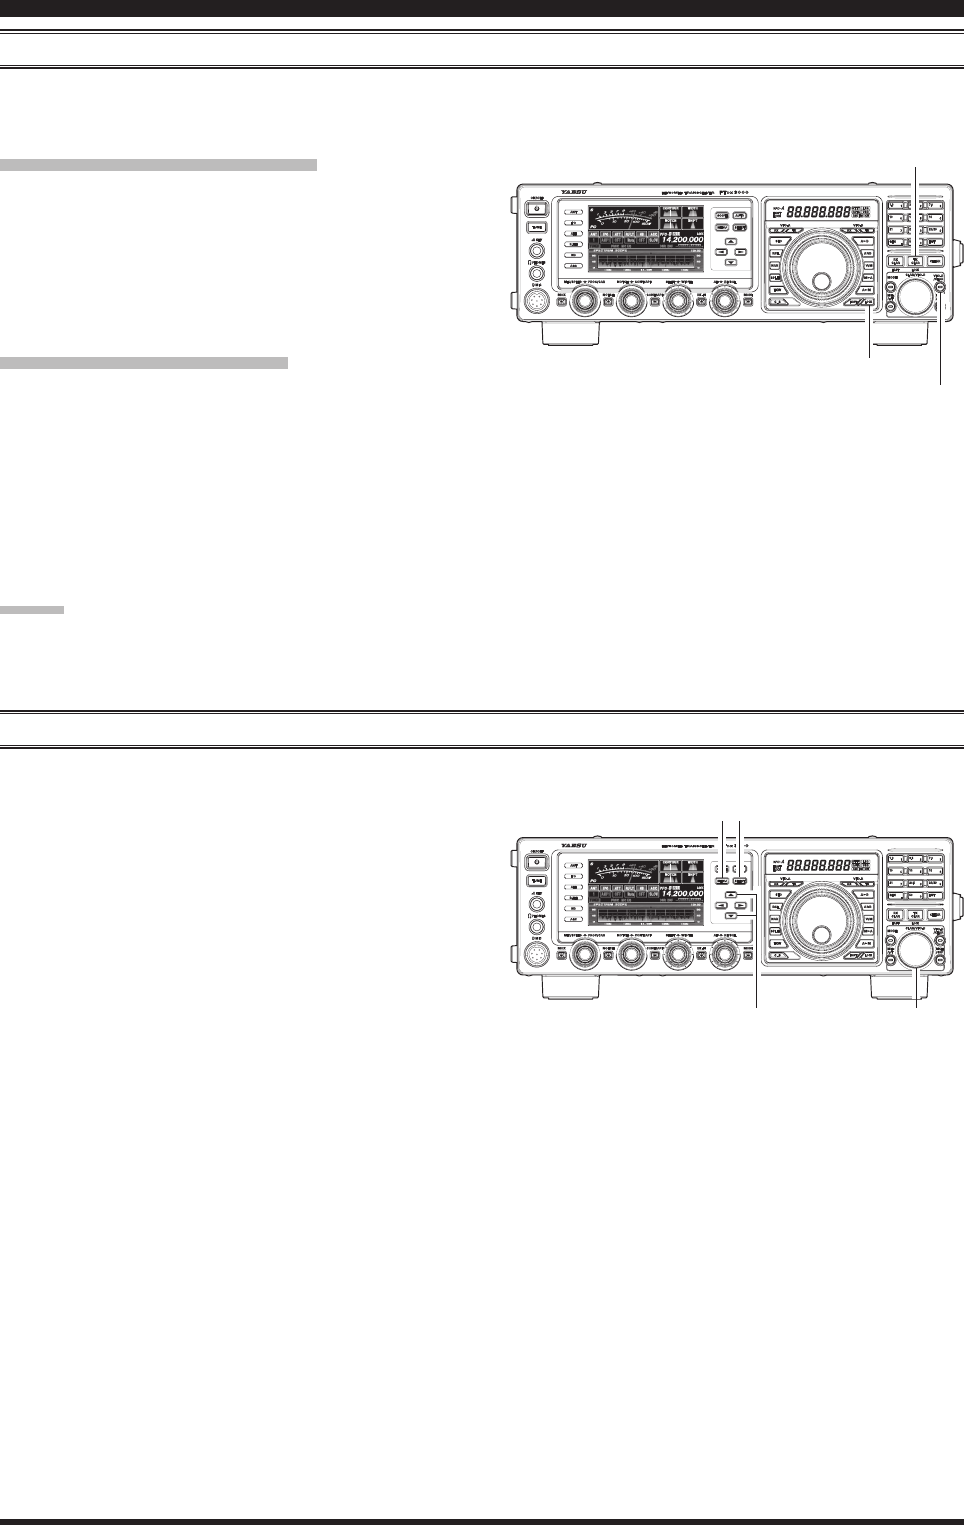
To lock the Main Tuning Dial knob, press the [(VFO-A)
RX] Indicator/Switch to illuminate the imbedded green
LED, then press the [LOCK] button that is located to
the right of the Main Tuning Dial knob. To unlock the
Dial setting, and restore normal tuning, press the [LOCK]
button once more.
[CLAR/VFO-B] knob Lock
To lock the [CLAR/VFO-B] knob, press the [VFO-B/
CLAR] button that is located to the right of the [CLAR/
VFO-B] knob. Indicator/Switch to illuminate the imbed-
ded orange LED, then press the [TX CLAR (LOCK)]
button that is located to the top of the [CLAR/VFO-B]
knob. To unlock the [CLAR/VFO-B] knob, and restore
normal tuning, press the [TX CLAR (LOCK)] button
once more.
Advice:
The lock feature will be memorized independently on
each Main Tuning Dial knob and the [CLAR/VFO-B]
knob.
DIMMER
The illumination level of the display may be adjusted via Menu item “005 DISP DIM VFD”.
To adjust the illumination level:
1. Press and hold in the [MENU] button for one second
to enter the Menu mode.
2. Rotate the [CLAR/VFO-B] knob or p/q button to
select Menu item “010 DISPLAY DIMMER TFT”.
3. Press the [SELECT] button then rotate the [CLAR/
VFO-B] knob or p/q button to select the desired
illumination level.
4. Press the [SELECT] button, then press the [MENU]
button to save the new setting and exit to normal op-
eration.
[TX CLAR(LOCK)] Button
[VFO-B/CLAR] Button
[LOCK] Button
[CLAR/VFO-B] Knob
[p/q] Button
[SELECT] button
[MENU] button
FCC ID: K6620461X50 / IC: 511B-20461X50
Page 37FT DX
3000 OperaTing Manual
cOnvenience FeaTures
usiNg tHe vFo-b
[A
B] Button
[CLAR/VFO-B] Knob
[A
B] Button
Main Tuning Dial Knob
[clAR/vFo-b] KNob tuNiNg RAte
opeRAtiNg Mode 1 step 1 diAl RotAtioN
NoRMAl [FAst] NoRMAl [FAst]
LSB/USB/CW/AM/ 10 Hz 2 kHz
RTTY/PKT(LSB) [100 Hz] [20 kHz]
FM/PKT(FM) 100 Hz [1 kHz]
20 kHz [200 kHz]
[ ] : [FAST] switch set to “ON”
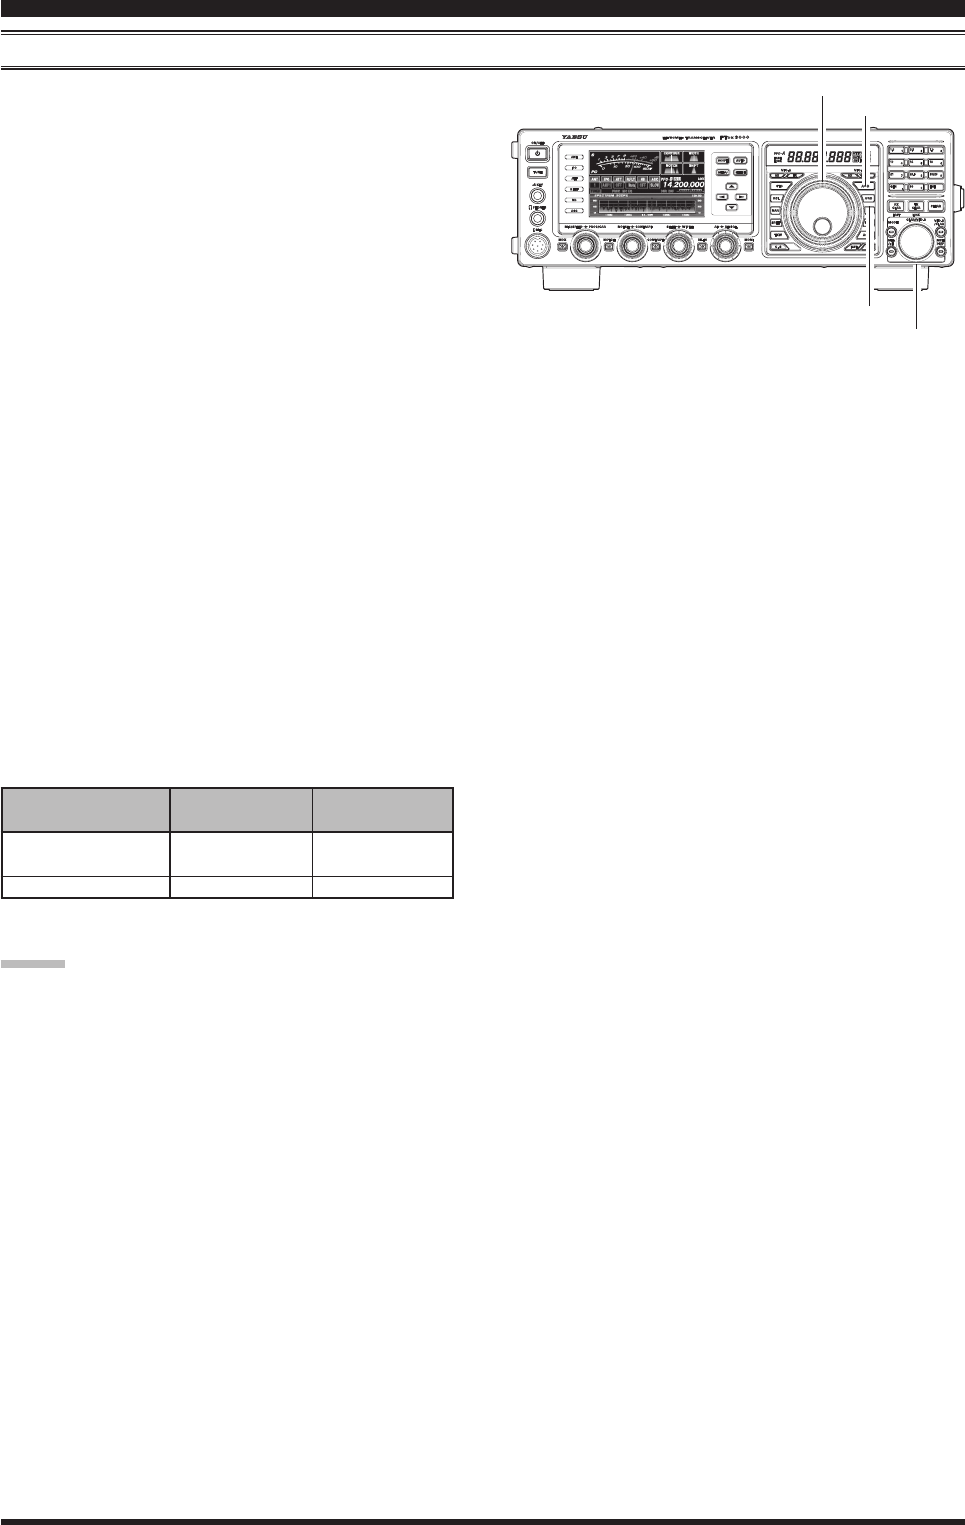
VFO-B operates similar to VFO-A, which you should
be familiar with by now. However, the [CLAR/VFO-B]
knob, instead of the Main Tuning Dial knob selects the
frequency for VFO-B (See box below for tuning rate).
The two VFOs make simple transmit/receive split fre-
quency operation possible. Use various combinations
of the four VFO red and green transmit and receive
switches to set up split frequency operation. The [SPLIT]
button also sets up split frequency operation. See page
69 for details about Split-Frequency Operation.
The frequency and mode data can be transferred from
VFO-A to VFO-B by pressing the [A
B] button, don’t
forget that this will overwrite any settings that were in
VFO-B previously. Also, the contents of the two VFOs
can be swapped (with no loss of data) by pressing the
[A
B] button.
Most of the interference reduction features, which are
described later, can also be used on VFO-B.
Two things you cannot do with VFO-B that you can do
with VFO-A, are store the contents of VFO-B directly
into a memory, and set the Clarifier offset. For these
functions you need to swap the VFO-B with the VFO-A
by pressing the [A
B] button, then store the contents
into the memory or set the Clarier.
Advice:
It is possible to set the frequency change over one dial
rotation, separately for the CW mode, using the Menu
items “084 TUN DIALSTP” and “085 TUN CW FINE”.
FCC ID: K6620461X50 / IC: 511B-20461X50

Page 38 FT DX
3000 OperaTing Manual
nOTe
FCC ID: K6620461X50 / IC: 511B-20461X50
Page 39FT DX
3000 OperaTing Manual
cOnvenience FeaTures
bANd stAcK opeRAtioN
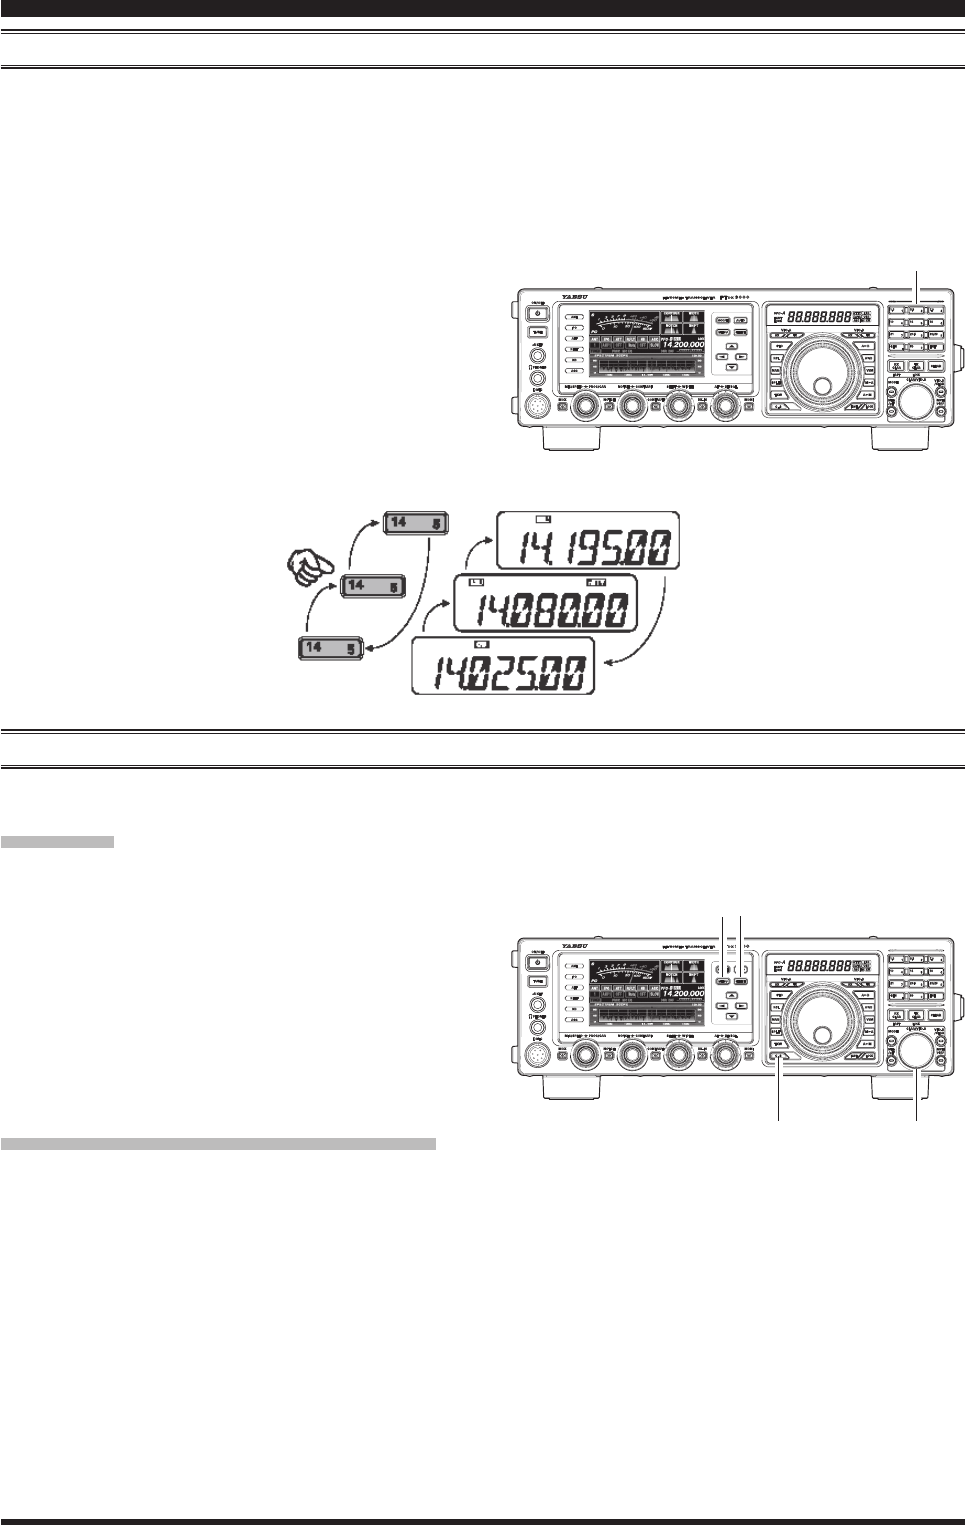
The FT DX 3000 utilizes a triple band-stack VFO selection technique, that permits you to store up to three favorite fre-
quencies and modes onto each band’s VFO register. For example, you may store one frequency each on 14 MHz CW,
RTTY, and USB, then recall these VFOs by successive, momentary presses of the [14] MHz band button. Each Amateur
band key may similarly have up to three frequency/mode settings applied. Both the VFO-A and VFO-B systems have
their own, independent, band stacks.
A typical setup, for the 14 MHz band, might be arranged like this:
1. Program 14.025 MHz, CW Mode, then press the [14]
MHz band button;
2. Program 14.080 MHz, RTTY Mode, then press the
[14] MHz band button;
3. Program 14.195 MHz, SSB Mode, then press the [14]
MHz band button.
With this conguration, successive momentary presses
of the [14] MHz band button will allow you to step se-
quentially through these three VFOs.
c.s (custoM switcH)
The front panel [C.S] button may be programmed to directly access an often-used Menu Mode selection.
[BAND] Button
C.S Setup
1. Press and hold in the [MENU] button for one second
to engage the Menu mode; the Menu list will appear
on the display.
2. Rotate the [CLAR/VFO-B] knob or p/q button
to select the Menu item you want to access with the
front panel [C.S] button.
3. Press the [C.S] button to lock in your selection.
4. Press the [SELECT] button, then press the [MENU]
button to save the new conguration and exit to nor-
mal operation.
Menu Selection Recall via [C.S] button
Press the [C.S] button.
The programmed Menu item will appear on the dis-
play. You may now rotate the [CLAR/VFO-B] knob to
change the setting of this menu item. Press and hold the
[MENU] button for one second, when you are done, to
save the new conguration and exit to normal operation.
[SELECT] Button
[C.S] Button [CLAR/VFO-B] Knob
[MENU] Button
FCC ID: K6620461X50 / IC: 511B-20461X50