NCR RSD Atlanta 7710GA2 Electronic Pricing Transmitter User Manual Chapter 11
NCR Corporation, RSD - Atlanta Electronic Pricing Transmitter Chapter 11
Contents
- 1. Users Manual Cover
- 2. Users Manual Front
- 3. Users Manual Glossary
- 4. Users Manual Index
- 5. Users Manual Appendix A
- 6. Users Manual Appendix B
- 7. Users Manual Appedix C
- 8. Users Manual Appedix D
- 9. Chapter 1
- 10. Chapter 2
- 11. Chapter 3
- 12. Chapter 4
- 13. Chapter 5
- 14. Chapter 6
- 15. Chapter 7
- 16. Chapter 8
- 17. Chapter 9
- 18. Chapter 10
- 19. Chapter 11
- 20. Chapter 12
- 21. Chapter 13
Chapter 11
SmarTalker II and Rail Installation
SmarTalker IIs
This section provides information about SmarTalker IIs, rail and clip
attachment, and SmarTalker II installation.
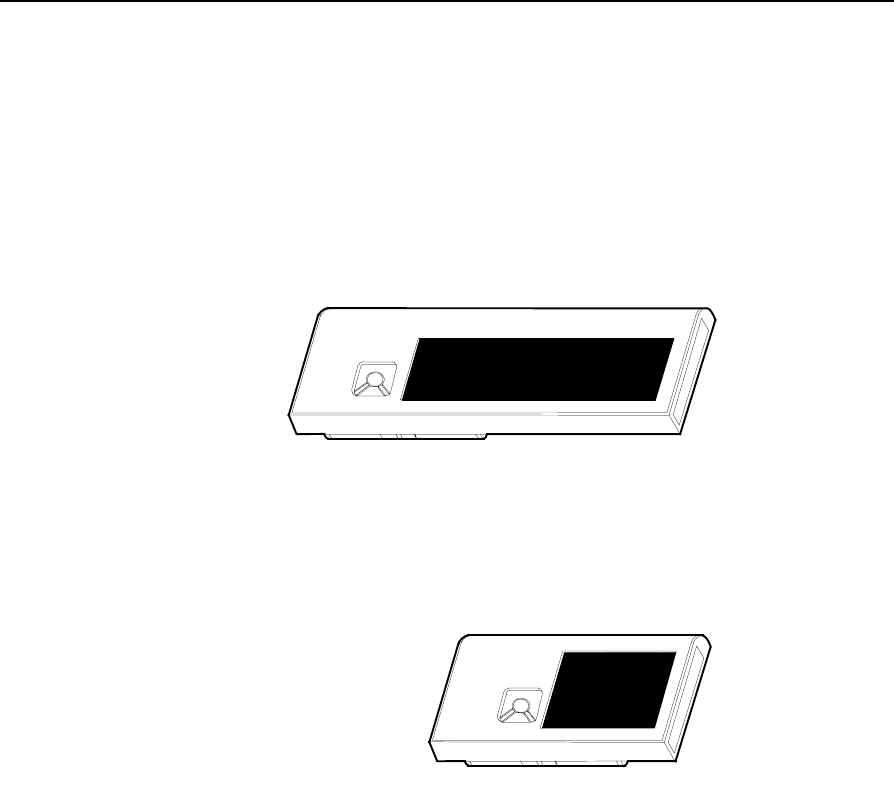
The 8-character and 2x6-character SmarTalker II standard-size tags are
the same size and both look like the following illustration.
16903
SmarTalker II, Standard Size
The 2x4-character and 2x5-character SmarTalker II small-size tags are
the same size and both look like the following illustration.
16912
SmarTalker II, Small Size
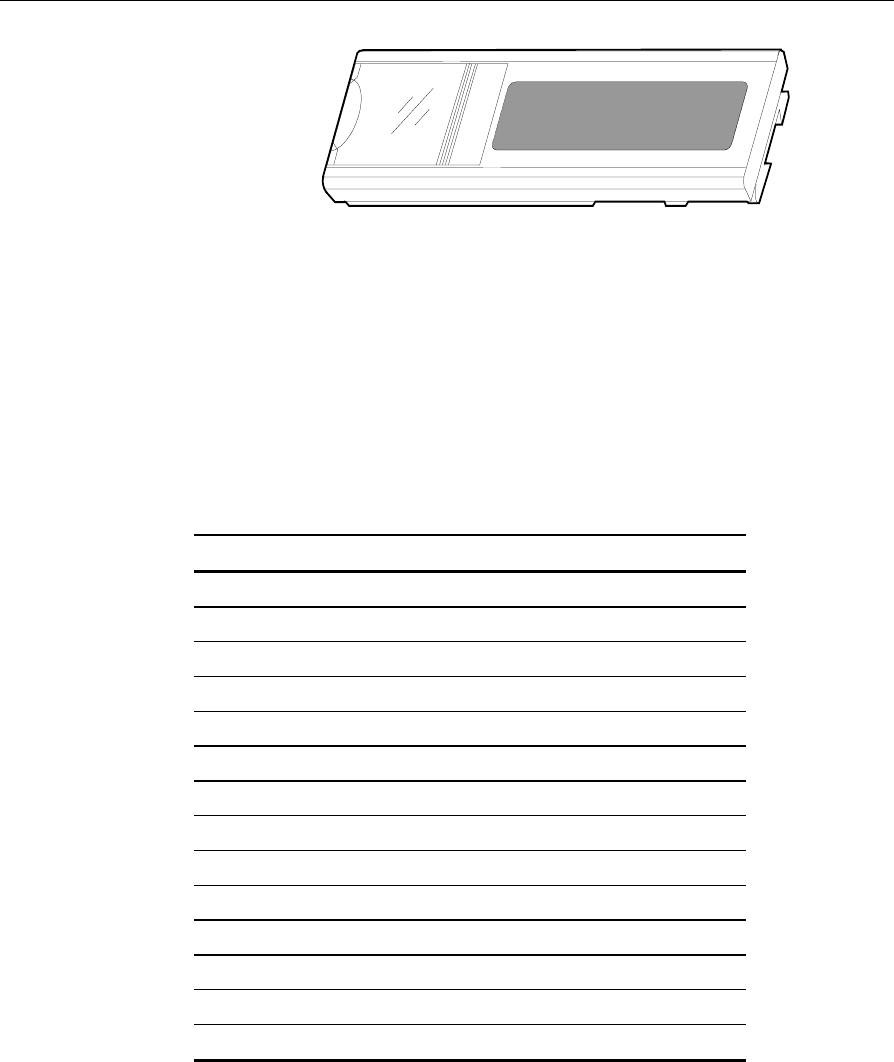
The 2x4-character and 2x5-character SmarTalker II small-size tags are
the same size and both look like the following illustration.
11
11-2 SmarTalker II and Rail Installation
17068
SmarTalker II, Signage
Attaching the Bracket
When installing a shelf rail, keep in mind that the viewing angle of
SmarTalker II is very important. Your completed installation should
provide the best combination of visibility and lack of glare.
The following table provides optimum viewing angles for SmarTalker
II tags. The angles are based an average person’s eye height of 1.59 m
(62.6 in.) and average shelf-viewing distance of .91 m (36 in.).
Shelf Height (in.) Optimum Angle Up (+) or Down (-) from Vertical
6.0 +57.0
12.0 +54.2
18.0 +51.0
24.0 +47.2
30.0 +42.7
36.0 +37.3
42.0 +30.9
48.0 +23.4
54.0 +14.8
60.0 +5.4
66.0 -4.2
72.0 -13.3
78.0 -21.5
84.0 -28.6

SmarTalker II and Rail Installation 11-3
Tools for Each Installer
Tape Measure, minimum length 25 ft. 1
Large, wide-blade flat-head screwdriver with
round (not square shank) 1
16 oz. Metal carpenter’s claw hammer (for
hammering shelf rail pins) or fencing tool (an
integrated hammer with nail pulling pliers)
1
Nail pulling pliers or “nippers” (for shelf pin
removal) 1
Cloth or leather tool pouch with multiple pockets
(for holding small shelf rail parts) 1
Clamp with swivel pads (to hold rail to shelf) 1
Knee Pads 1 pair
Site Installation Tools
Band saw* or Hacksaw (not a wood saw) 1
Miter Box (for use with hacksaw) 1
Utility Knife (for cleaning cut ends of shelf rails) 1
Tools Per Store (for On-Going Maintenance)
Band saw* or Hacksaw (not a wood saw) 1
Miter Box (for use with hacksaw) 1
Utility Knife 1
Large, wide-blade flat-head screwdriver with
round (not square) shank 1
16 oz. Metal carpenter’s claw hammer 1
* A band saw is easier to use, but a hacksaw can be used instead.
11-4 SmarTalker II and Rail Installation
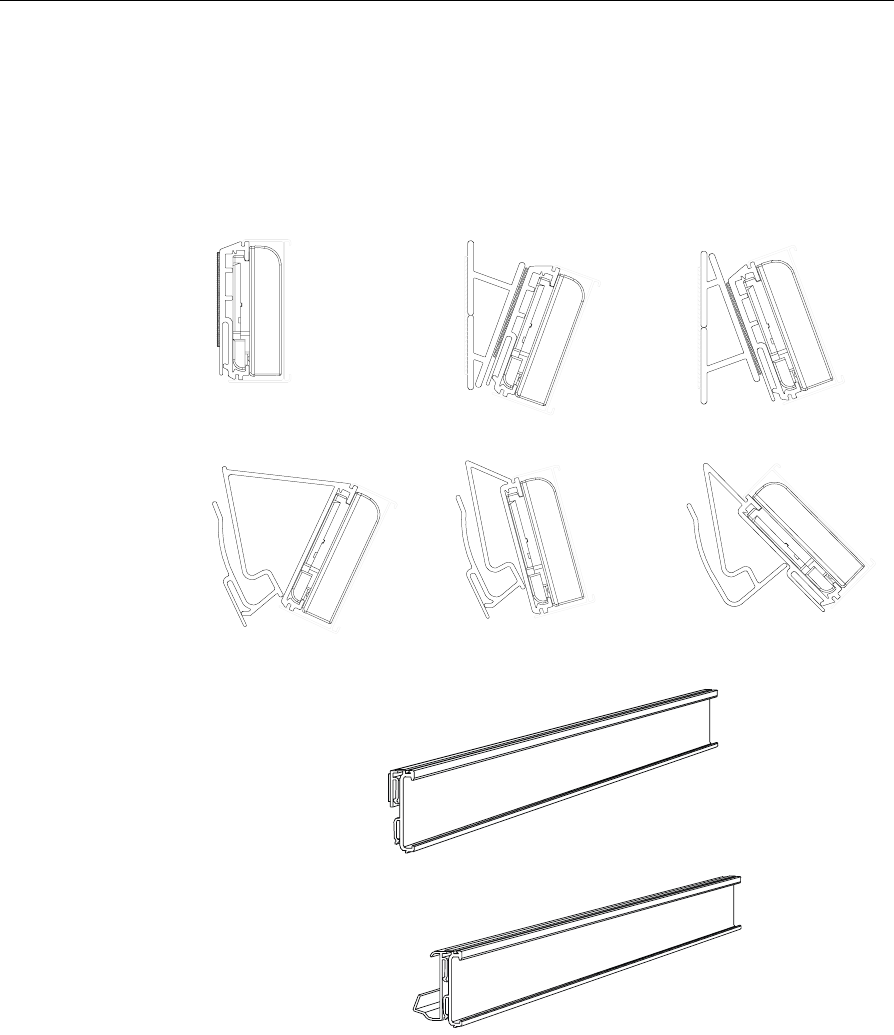
Installing SmarTalker II Shelf Rails
NCR representatives can direct you to third-party suppliers who can
supply you with a wide variety of SmarTalker II shelf rails
The following illustrations show some of the possibilities.
SmarTalker II and Rail Installation 11-5
Installing SmarTalker II C-channel Clips
SmarTalker IIs (standard-size and small-size) can be installed into a
clip that is installed on a shelf’s C-channel. The C-channel clip is
available from NCR in three versions: 0 degrees, 25 degrees, and 40
degrees. The following illustrations show these clips.
16915
0-Degree C-channel Clip
16916
25-Degree C-channel Clip
16917
40-Degree C-channel Clip
11-6 SmarTalker II and Rail Installation
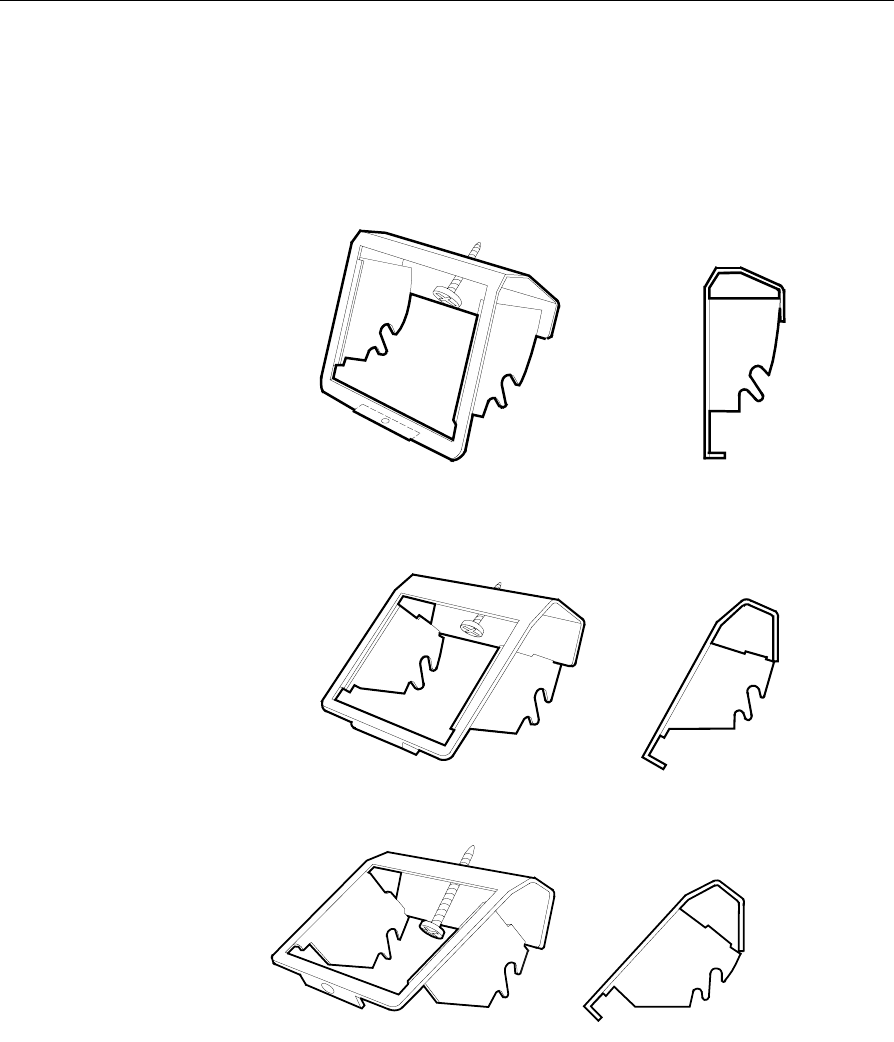
To install a 0-degree, 25-degree, or 40-degree C-channel clip, place the
appropriate notch in the clip onto the bottom lip of the C-channel and
tighten the screw.
The following illustration shows a 0-degree C-channel clip installed on
a shelf’s C-channel.
16926
SmarTalker II and Rail Installation 11-7
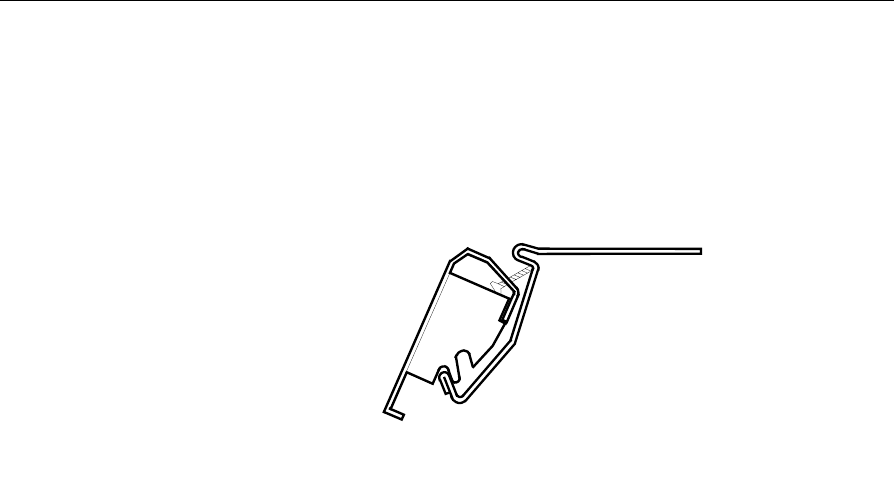
Installing a SmarTalker II in a C-channel Clip
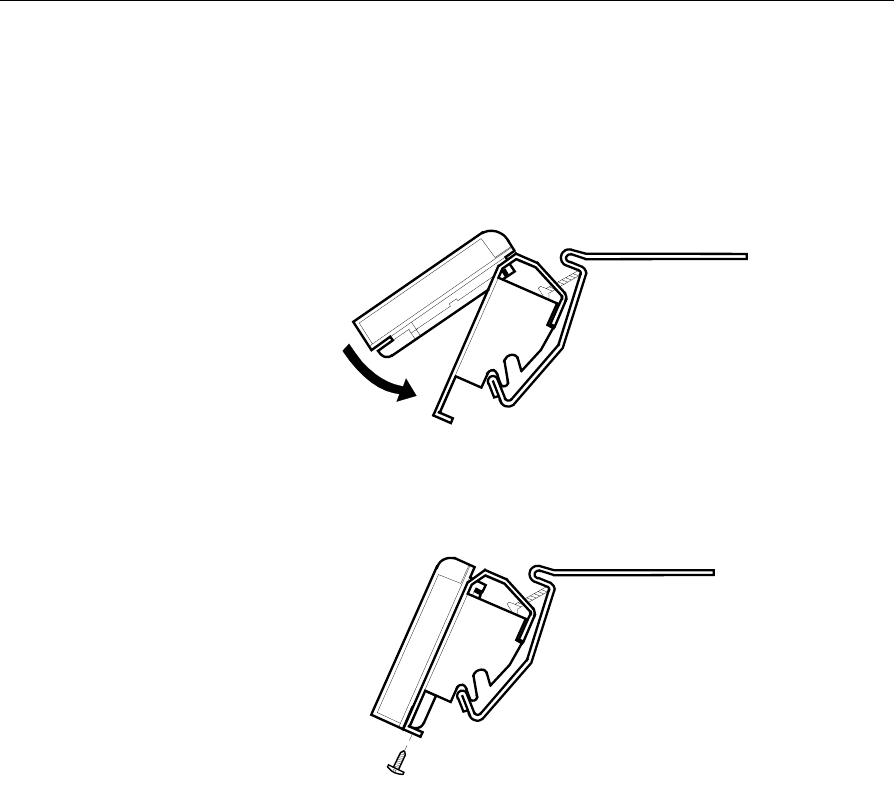
To install a SmarTalker II in a C-channel clip, place the top of the tag
into the top of the clip and press the bottom of the tag into the bottom
of the clip until it snaps into place.
16927
To prevent theft, an optional security screw can be installed in the
bottom of the clip as shown in the following illustration.
16928
The screw is a 2-56 x ¼” phillips pan-head, self-tapping screw that can
be purchased from NCR.
To remove a SmarTalker II from a C-channel clip, use a screwdriver to
remove the optional security screw if it is installed, then use two
fingers to push up the pawls on the back of the tag and the tag will
pop out of the clip.

11-8 SmarTalker II and Rail Installation