Sintai Optical CWFB124 Wi-Fi module User Manual Part 6
Sintai Optical (Shenzhen) Co., Ltd. Wi-Fi module Part 6
Contents
- 1. User Manual.pdf
- 2. User Manual Part 1.pdf
- 3. User Manual Part 2.pdf
- 4. User Manual Part 3.pdf
- 5. User Manual Part 4.pdf
- 6. User Manual Part 5.pdf
- 7. User Manual Part 6.pdf
- 8. User Manual Part 7.pdf
- 9. User Manual Part 8.pdf
- 10. User Manual Part 9.pdf
- 11. User Manual 1.pdf
- 12. User Manual 2.pdf
- 13. User Manual (1 of 4).pdf
- 14. User Manual (2 of 4).pdf
- 15. User Manual (3 of 4).pdf
- 16. User Manual (4 of 4).pdf
- 17. User Manual (1 of 2).pdf
- 18. User Manual (2 of 2).pdf
- 19. User Manual (1 of 5).pdf
- 20. User Manual (2 of 5).pdf
- 21. User Manual (3 of 5).pdf
- 22. User Manual (4 of 5).pdf
- 23. User Manual (5 of 5).pdf
User Manual Part 6.pdf
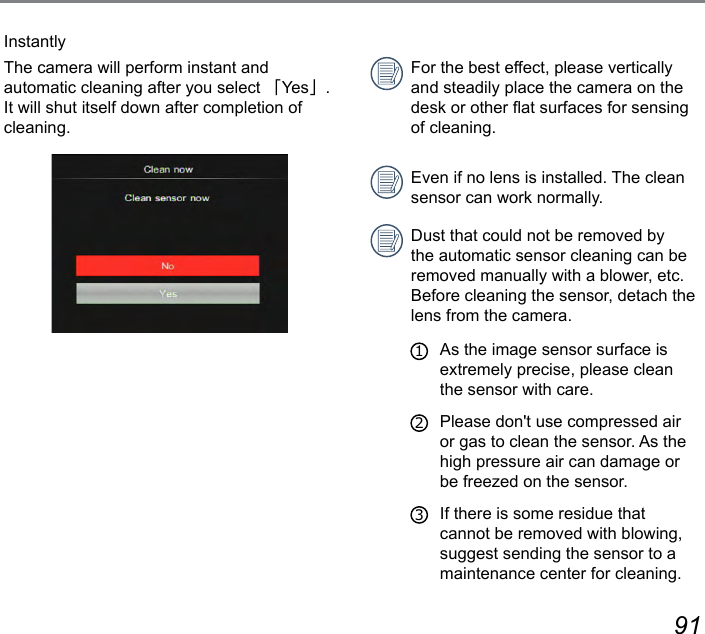
![92 9392 93Viewing Photos and Videos8In quicking reviewing pictures and videos taken vertically or horizontally, they all keep obverse when being played back vertically or horizontally. For viewing taken photos and videos on the LCD screen:1. After pressing the button, the last photo or video clip taken will be displayed on the LCD screen.2. Press the [ ] / [ ] button to roll pictures or videos saved in memory card or built-in memory.3. To play a selected video clip, press the button to enter the Movie Playback Mode.An operation guide appears on the screen when playing back a video. Press concerned buttons to directly enable corresponding functions.Under Playback PausedPlayFrame BackwardFrame ForwardCapture VideosCancel PlayPauseRewindFast ForwardCancel Play00:00:0000:00:00 00:00:0000:00:00 Clockwise Volume Up Counterclockwise Volume DownVolumeMute](https://usermanual.wiki/Sintai-Optical/CWFB124.User-Manual-Part-6-pdf/User-Guide-2154023-Page-2.png)
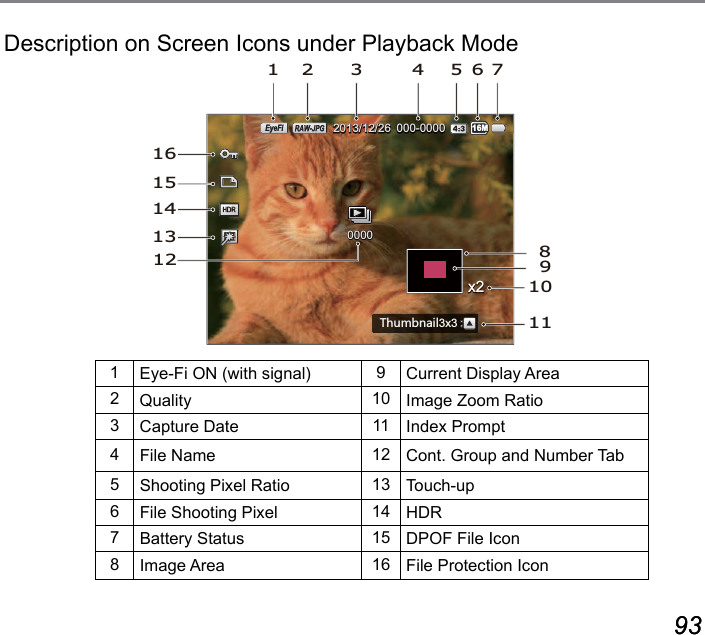
![94 95Thumbnail ViewFor displaying thumbnails of pictures and videos on the screen under playback mode.1. Press the [ ] button to switch displaying 3x3.2. When the 3x3 thumbnails are displayed, you may press the arrow button fast to select one picture or video to view.Select index modeSelect index mode3. Press the button to restore it to the original size.4. Press the button to select index mode. 4 options in [Index Mode] :• Single Index• Date Folder• Cont. Group• Play Slide ShowWhen the icon appears, it means this is a video le. (Including the time-lapse movie les)When the icon appears, it means this is a continuous group le.](https://usermanual.wiki/Sintai-Optical/CWFB124.User-Manual-Part-6-pdf/User-Guide-2154023-Page-4.png)
![94 95Photos and Video DeletionUnder the single playback mode, you may press the [ ] button to delete pictures and videos.To delete photos or videos:1. Press the button to enter playback screen.2. Press the [ ] / [ ] button to select pictures or videos to be deleted.3. A prompt of deletion is displayed on the screen after press the [ ] button.4. Press the [ ] / [ ] button to select [ Delete One ] or [ Exit ] and then press the button to conrm.Erased photos/video clips cannot be recovered.Please refer to page 101 for instructions on deleting more than one image at a time.](https://usermanual.wiki/Sintai-Optical/CWFB124.User-Manual-Part-6-pdf/User-Guide-2154023-Page-5.png)
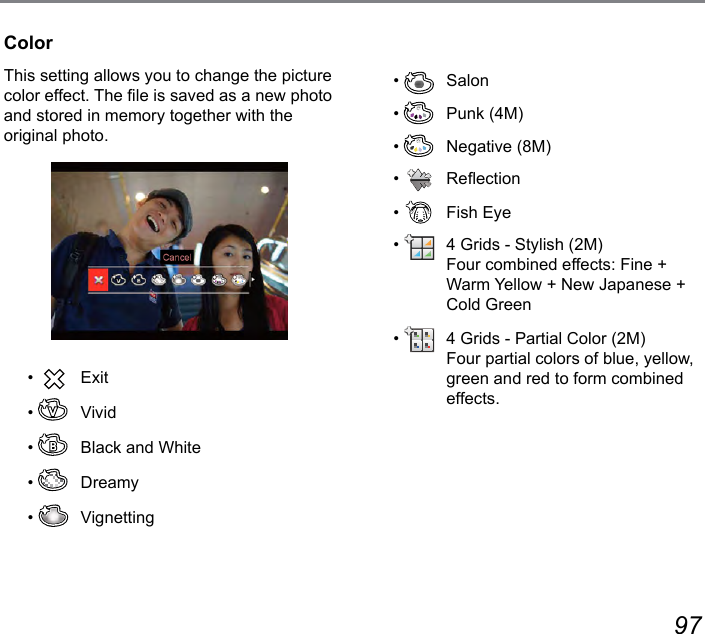
![96 97Introduction on Functions of Playback OK MenuMode: 1. Press the button to enter PLAYBACK screen and select a picture and then press the button to enter the menu. 5 options in [Playback OK Menu]:• Rotate• Color• HDR• Touch-up• Resize2. Press the [ ] / [ ] button to select the shooting menu to be set and then press the button to conrm.3. Press the [ ] / [ ] button to select options of the shooting menu to be set and then press the button to conrm.Please refer to the sections below to know details of each setting.RotateYou can use this setting to change the orientation of the picture.• Exit• Turn Left• Turn RightVideos, Time-lapse Movie and panoramic pictures cannot be rotated.The rotated picture le will replace the original photo.](https://usermanual.wiki/Sintai-Optical/CWFB124.User-Manual-Part-6-pdf/User-Guide-2154023-Page-6.png)
![98 99HDRWith the HDR function, pictures that are overexposed may be corrected to optimize the highlights and lowlights captured to more accurately represent the actual scene.• Exit• HDRHDR is not applicable to panoramic pictures.Select [ ] with HDR:000-00000000/00/00:N[SHTGOR3x316MPictures with HDR touch-up will be saved as new les in the memory together with originals.](https://usermanual.wiki/Sintai-Optical/CWFB124.User-Manual-Part-6-pdf/User-Guide-2154023-Page-8.png)
![98 99Touch-upThe beauty feature mentioned here is the individual beautication for three effects, beauty mode allows you to select from single, two, or all three effects combined.• Exit• Red-Eye Reduction• Skin Soften• Eye Brightening• Eye EnlargementSelect [ ] with touch-up:000-00000000/00/00:N[SHTGOR3x316M](https://usermanual.wiki/Sintai-Optical/CWFB124.User-Manual-Part-6-pdf/User-Guide-2154023-Page-9.png)
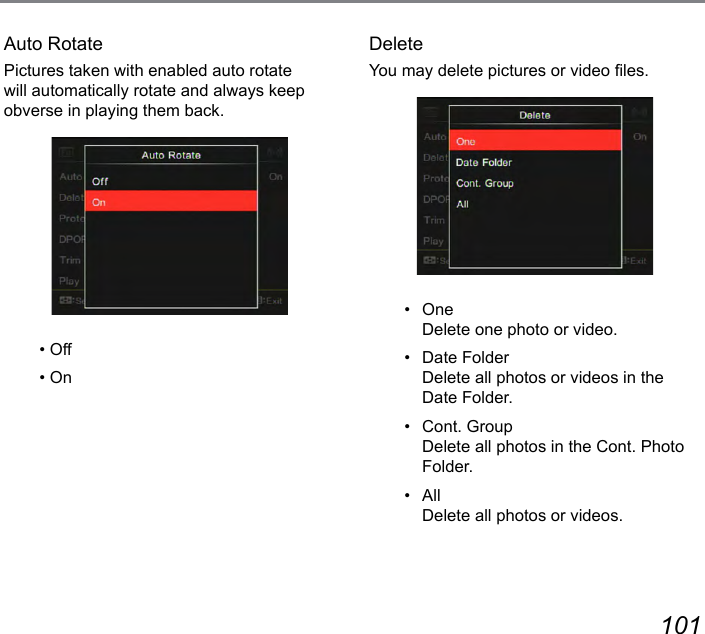
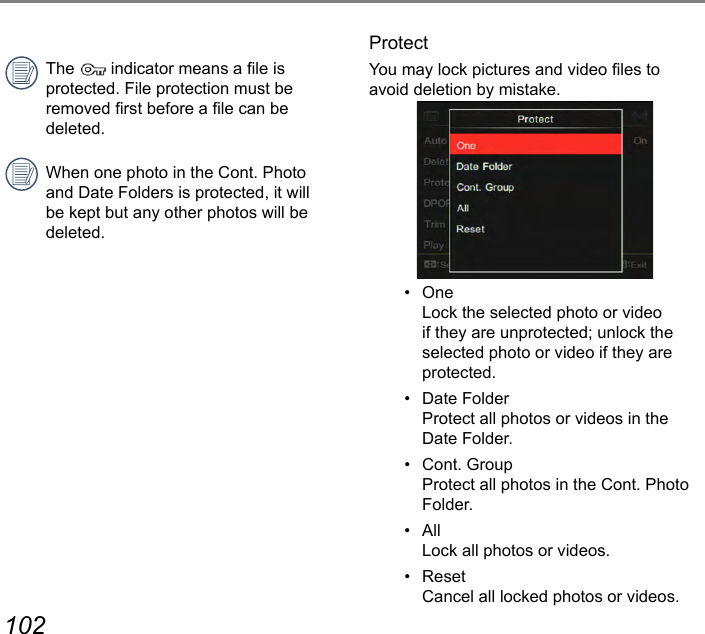
![100 101ResizeThis setting allows you to resize a picture to a particular resolution and saves it as a new picture.• Exit• Resize to 1024x768• Resize to 640x480Only for adjusting pictures with high resolution to those with low resolution.Introduction on Playback Menu6 options in [ Playback Menu ] :• Auto Rotate• Delete• Protect• DPOF• Trim• Play Slide Show](https://usermanual.wiki/Sintai-Optical/CWFB124.User-Manual-Part-6-pdf/User-Guide-2154023-Page-10.png)
![102 103DPOFThe DPOF feature allows you to compile and select a group of pictures that you would like to print and will save your selection on the memory card so that you can use the memory card to print without having to individually specify the photos you want to print.• One• All• ResetThe printer that supports DPOF is needed for printing.TrimThe Trim Setting allows you to crop photos and save them as new pictures.1. Select [ Yes ] to conrm trimming; press the [ ] to select the aspect ratio and press the [ ] / [ ] / [ ] / [ ] button to adjust the part you want to trim2. Press the button and the「Save change?」prompt appears. Select 「 」to change and save the picture. Select「 」to cancel changes and return to the trim prompt screen.](https://usermanual.wiki/Sintai-Optical/CWFB124.User-Manual-Part-6-pdf/User-Guide-2154023-Page-13.png)
![104 105If no continuously shot video les are saved in the memory, the camera will give a warning message when you select the mode of continuous group for quick review. Then, the camera will return to the playback mode and cancel changing settings of playback mode of continuous shot.Press the [ ] / [ ] button to select options to be set and then press the button to enter the menu.• Exit• Type 1: Slow-in and slow-out• Type 2: Separate interlacing on the left and right• Type 3: Block spread in](https://usermanual.wiki/Sintai-Optical/CWFB124.User-Manual-Part-6-pdf/User-Guide-2154023-Page-15.png)
![106 107Continuous Capture Group PlaybackPlayback of Images in Fast (4M) Continuous Group:1. Press the button to enter playback screen.2. Press the [ ] / [ ] button to select pictures in continuous group.3. Press the button to start playback.000-00000000/00/00:N[SHTGOR3x316M00000000 0000000-00000000/00/0016MPauseCancel Play (back to full size playback for continuous group)Cont. Group PlayingPlayingPausePausePlayPrevious photo (loop available only in continuous group)Next photo (loop available only in continuous group)Cancel Play (back to full size playback for continuous group)](https://usermanual.wiki/Sintai-Optical/CWFB124.User-Manual-Part-6-pdf/User-Guide-2154023-Page-17.png)
![108 109Time-lapse Movie PlaybackFor playing back time-lapse movie in continuous group:1. Press the button to enter playback mode.2. Press the [ ] / [ ] button to select time-lapse pictures.3. Press the button to start playing back.00:00:00000-00000000/00/00:N[SHTGOR3x316M00:00:0000:00:00 00:00:0000:00:00PauseRewindFast ForwardCancel PlayPlayFrame BackwardFrame ForwardCancel PlayTime-lapse Movie Playing PausePlaying Pause](https://usermanual.wiki/Sintai-Optical/CWFB124.User-Manual-Part-6-pdf/User-Guide-2154023-Page-18.png)
![108 109Panoramic animation playing is to play full size image in accordance with the shooting direction. After playing, it will automatically return to the static screen of panoramic image.1. Press the button to enter playback screen.2. Press the [ ] / [ ] button to select panorama videos.3. Press the key to play in selected shooting direction.In the process of panoramic animation playback, press the key to stop playing and return to the playback screen.Gravity induction will not be detected during panorama play or pause.Animation panorama play000-00000000/00/00:N[SHTGOR3x32MPauseCancel PlayVideo Panorama Playing Pause](https://usermanual.wiki/Sintai-Optical/CWFB124.User-Manual-Part-6-pdf/User-Guide-2154023-Page-19.png)
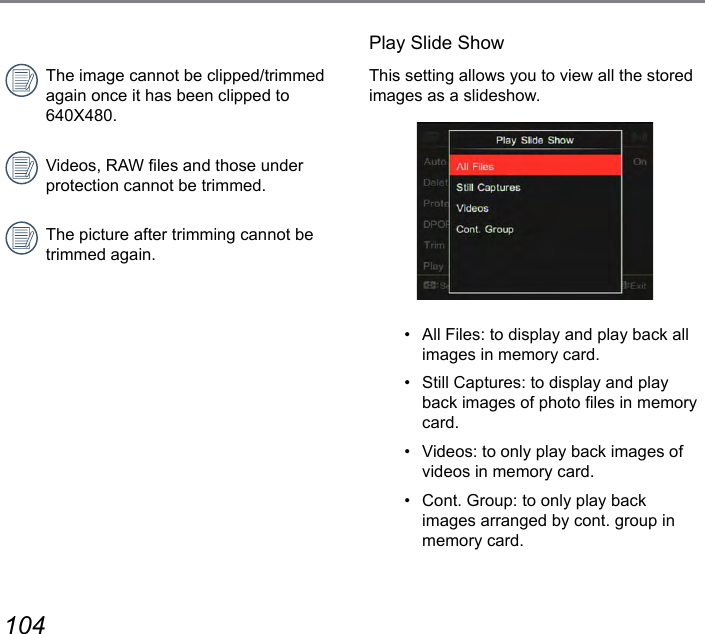
![110 1114. Press the [ ]/[ ] button to select play effect and then press the button to conrm.ExitThis setting allows you to view all the stored images as a slideshow.1. Press the button to enter playback screen.2. Press the [ ] button to switch displaying 3x3 and then press the button to select the index mode.3. Press the [ ] / [ ] button to select slide show playback and then press the button to conrm.SlideshowPlayingSlide Show](https://usermanual.wiki/Sintai-Optical/CWFB124.User-Manual-Part-6-pdf/User-Guide-2154023-Page-20.png)