Sintai Optical CWFB124 Wi-Fi module User Manual Part 3
Sintai Optical (Shenzhen) Co., Ltd. Wi-Fi module Part 3
Contents
- 1. User Manual.pdf
- 2. User Manual Part 1.pdf
- 3. User Manual Part 2.pdf
- 4. User Manual Part 3.pdf
- 5. User Manual Part 4.pdf
- 6. User Manual Part 5.pdf
- 7. User Manual Part 6.pdf
- 8. User Manual Part 7.pdf
- 9. User Manual Part 8.pdf
- 10. User Manual Part 9.pdf
- 11. User Manual 1.pdf
- 12. User Manual 2.pdf
- 13. User Manual (1 of 4).pdf
- 14. User Manual (2 of 4).pdf
- 15. User Manual (3 of 4).pdf
- 16. User Manual (4 of 4).pdf
- 17. User Manual (1 of 2).pdf
- 18. User Manual (2 of 2).pdf
- 19. User Manual (1 of 5).pdf
- 20. User Manual (2 of 5).pdf
- 21. User Manual (3 of 5).pdf
- 22. User Manual (4 of 5).pdf
- 23. User Manual (5 of 5).pdf
User Manual Part 3.pdf
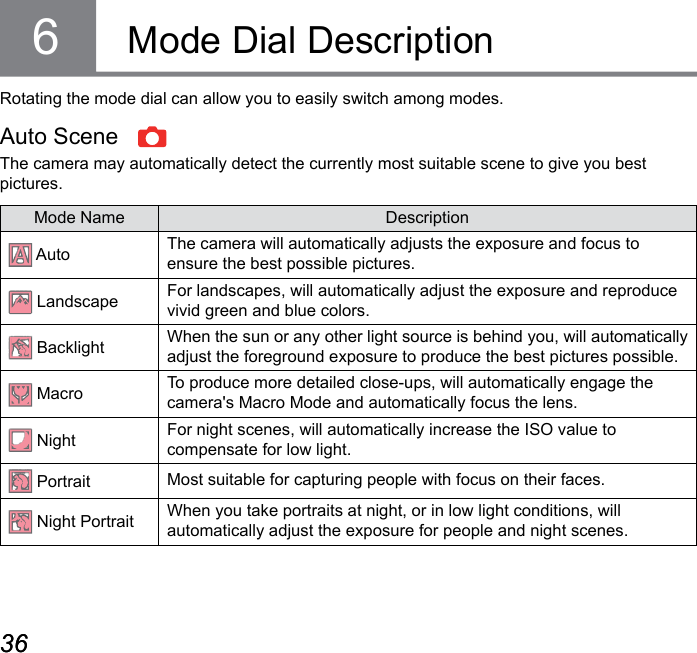
![36 3736 37For adjusting the EV and ISO values.Program AE Shutter priority For adjusting the shutter speed, EV and ISO values. The camera may automatically set the aperture value according to the set shutter speed and ISO value to obtain a most suitable exposure value.Aperture priorityFor adjusting the aperture size, EV and ISO values. The large aperture is to highlight the object focused through blurring the background, while the small aperture is for clear focusing on both the background and the object.Manual ModeFor manually setting the aperture, shutter speed and ISO value.Please refer to the table below if any nonadjustable options in mode (O: Optional X: Not optional)Aperture Shutter EV ISOX (Display)X (Display) O OX (Display) O O OOX (Display) O OO O X (Display) OOptionsMode1. Rotate the mode dial to select the mode you want.2. Press the [ ] button to enter setting.3. Press the [ ] / [ ] to select the items to be adjusted.4. Press the [ ] / [ ] to adjust parameters.](https://usermanual.wiki/Sintai-Optical/CWFB124.User-Manual-Part-3-pdf/User-Guide-2154020-Page-2.png)
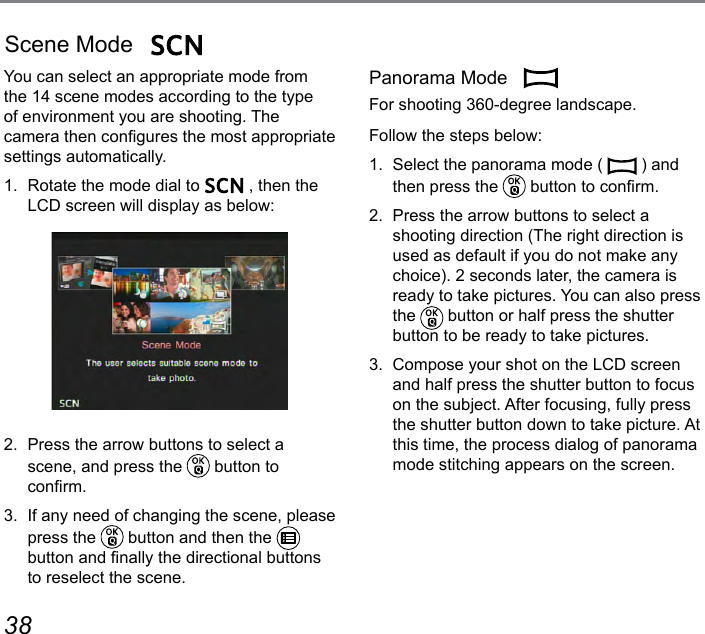
![38 39Save OKCancel0/000F00.04. Rotate the camera according to the set direction. When the range of rotation meets the internal settings of the camera, the progress dialog along the indication arrow partially turns red. When it completely turns red, panorama mode shooting is nished.Panoramic image can be played back by the method of ash playing. Please see the animation panoramic playback on page 109.In the course of panoramic shot, you may press the shutter or button to interrupt shooting and save the video that has been shot.Press the [ ] button to cancel shooting with pictures not saved. During panorama mode shooting, when the moving direction of the camera is wrong or the angle deviates from the internal settings, the LCD shows a warning message「Improper alignment. Please try again.」and the current pictures taken are saved.The movie size is 2M in the course of panoramic shot.Handheld Night Reduce blur when shooting low light/ illuminated scenes.Quickly take 4 photos below 8M (including 8M) and then overlap as a clear night image.Smile shutter cannot be used under this mode.Clear night pictures also can be taken easily without the tripod.](https://usermanual.wiki/Sintai-Optical/CWFB124.User-Manual-Part-3-pdf/User-Guide-2154020-Page-4.png)
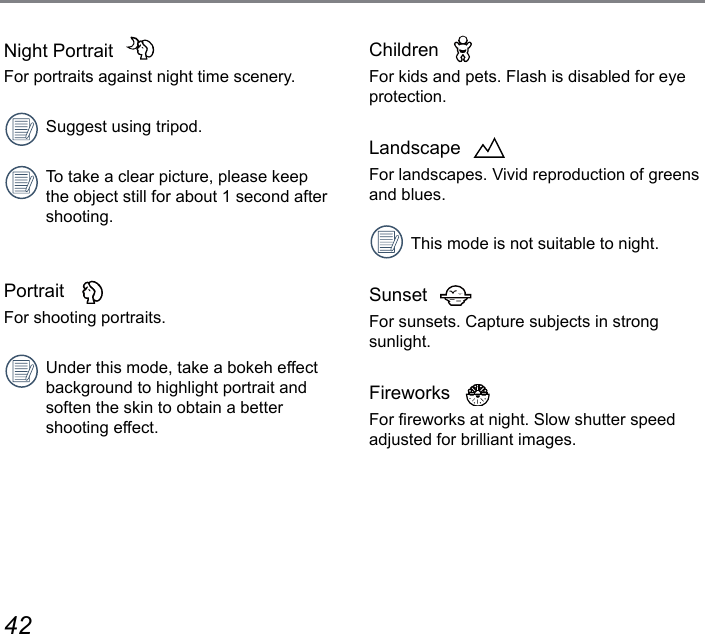
![40 41Beautier Make skin rosy and beautiful.Please follow the following steps to operate:1. Select the face beautier ( ) and then press the button to conrm.2. Press again the button to enter options.3. Press the [ ] / [ ] button to select option ( ).4. Roll the [ ] to select an option and then press the button to conrm.• Effect 1: Skin Soften• Effect 2: Skin Soften + Eye Brightening• Effect 3: Skin Soften + Eye Brightening + Eye Enlargement](https://usermanual.wiki/Sintai-Optical/CWFB124.User-Manual-Part-3-pdf/User-Guide-2154020-Page-5.png)

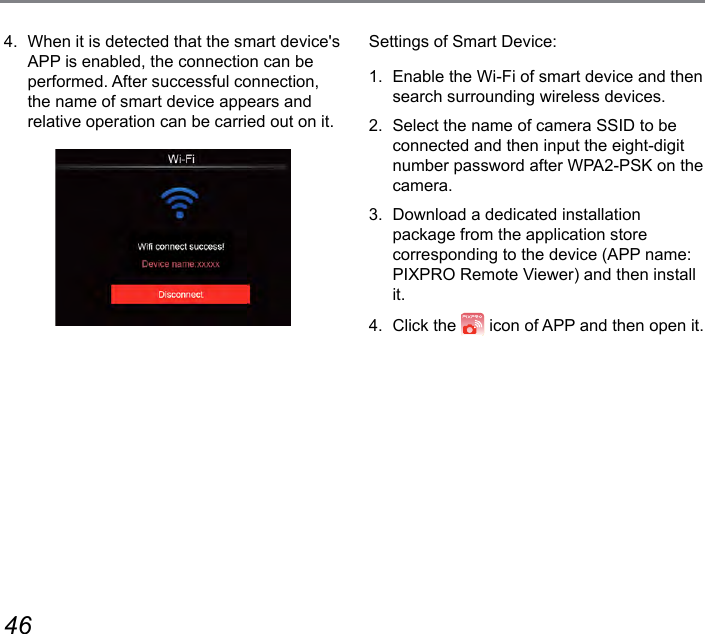
![44 45Make image transmission and remote control by connecting smart device with Wi-Fi.Matters needing attention before use: The system version of your smart device should be iOS 4 and above or Android 2.3 and above. If not, please upgrade the system of your device rst. Please don't use the camera in places with strong magnetic eld, static or wave interference (e.g. near a microwave oven), as which may cause failure to receive signals. Please keep the distance between camera and smart device within 10m without any signal shielding or interference. Please don't use the wireless connection on a plane. Only one-to-one connection is allowed for camera and smart device.1. Rotate the mode dial to and then enter the Wi-Fi selection interface.2. Press the [ ] / [ ] button to select and set options.• 「Settings」 : Customize the Wi-Fi settings for the camera system.• 「Station」 : Conguring the primary Wi-Fi base station.• 「AP Mode」: Conguring device as AP mode to Wi-Fi connect.Wi-Fi](https://usermanual.wiki/Sintai-Optical/CWFB124.User-Manual-Part-3-pdf/User-Guide-2154020-Page-9.png)
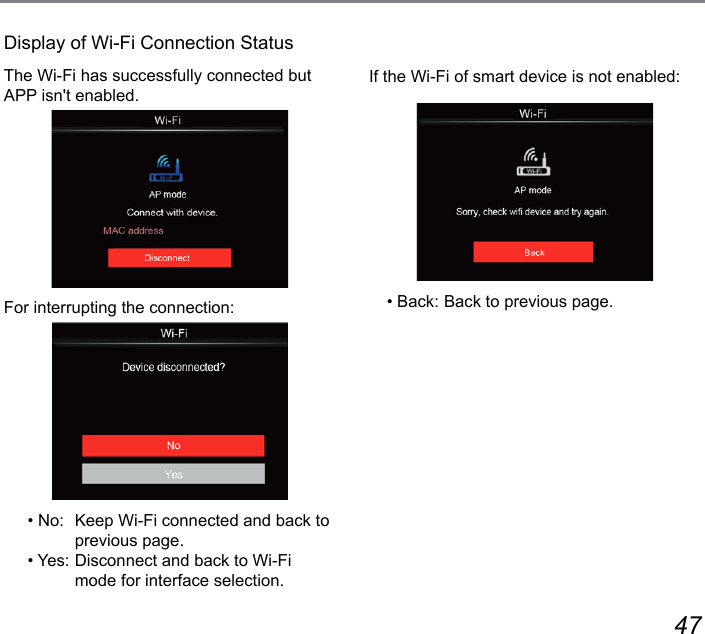
![44 45AP ModeSettings of Camera: This camera may connect with your smart device through Wi-Fi.1. Select and press the button to enter the setting interface.2. Press the [ ]/[ ] button to select options to be adjusted, and press the button to enter the option setting interface.• Refresh: Camera automatically updates a group of passwords.• Back: Back to previous page.After connection with smart device, the LCD closes and stays dark.Rotate the mode dial to disconnect.If the Wi-Fi is disconnected, the LCD restores its display.](https://usermanual.wiki/Sintai-Optical/CWFB124.User-Manual-Part-3-pdf/User-Guide-2154020-Page-10.png)
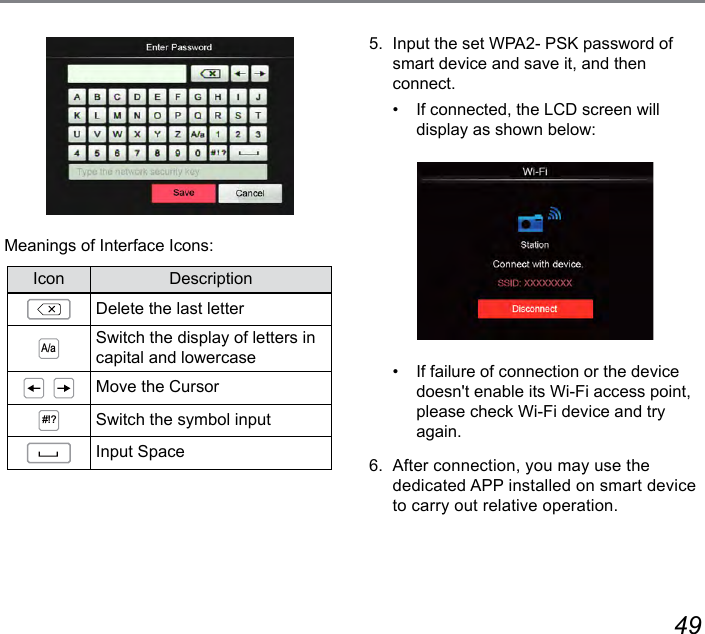
![48 49Station ModeMake image transmission and remote control by connecting the camera with Wi-Fi access point of smart device.1. Enable the Wi-Fi access point of smart device.2. Select the on camera and then press the button to conrm connection with smart device.3. Press the [ ] / [ ] button to select the name of smart device to be connected and then press the button to conrm. Then, the camera enters the password input interface.Press the [ ] / [ ] button to select:• Scan: Search again surrounding wireless devices.• : Select the name of device to be connected.• Back: Back to previous page.4. Press the [ ] / [ ] / [ ] / [ ] button or roll the jog dial to select and then press the button to conrm your selection. Enter the password of WPA2- PSK after saving.](https://usermanual.wiki/Sintai-Optical/CWFB124.User-Manual-Part-3-pdf/User-Guide-2154020-Page-13.png)
![50 51DSC DeviceThe default name of DSC device is「Kodak S-1」. Change the name of DSC device through keystroking.For the method of input, please refer to the introduction on password input on Page 49.Check the MAC addressCheck the wireless MAC address of this camera.SettingThe name of this camera can be changed through keystroking.1. Select the and then press the button to enter the setting interface.2. Press the [ ] / [ ] button to select options to be adjusted and then press the button to enter the menu.3. Press the button to conrm settings and then skip the menu.](https://usermanual.wiki/Sintai-Optical/CWFB124.User-Manual-Part-3-pdf/User-Guide-2154020-Page-15.png)
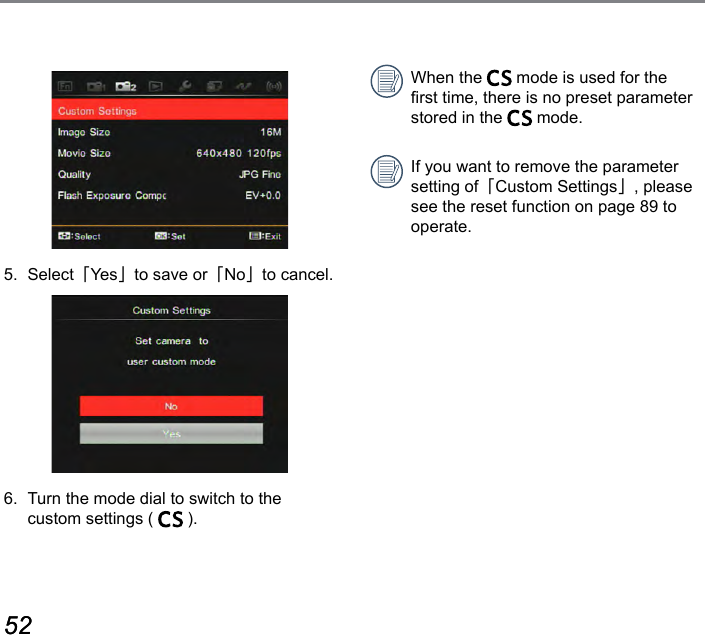
![50 51The user can store the frequently used shooting modes and parameters and switch to this mode for quick adjustment.Settings under mode (unset state or state after reset):1. Rotate the mode dial to , and then the camera enters the setting interface as shown below:2. As shown in the picture, press the [ ] / [ ] button to select a scene and then press the button to enter the shooting interface.3. As shown in the picture, press the button to select whether the setting of mode goes on or not.CS SettingFor setting under other modes (except the mode):1. Select any mode or scene mode to be stored.2. Set your desired parameters in the current mode.3. Press the button and then the [ ] / [ ] button to select 2 .4. Select 「Custom Settings」and then press the button to enter the menu.](https://usermanual.wiki/Sintai-Optical/CWFB124.User-Manual-Part-3-pdf/User-Guide-2154020-Page-16.png)
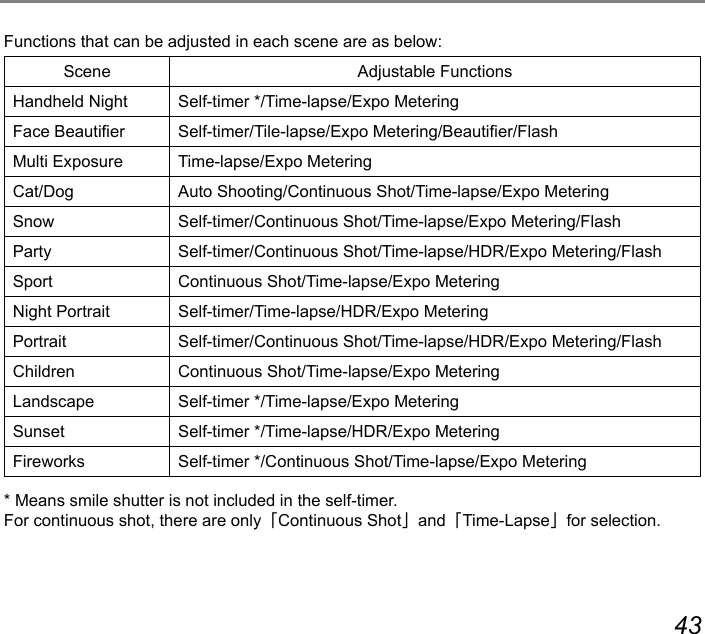
![52 5352 53Introduction on Functions of ButtonsFor setting the single, self-timer, continuous shot, time-lapse, HDR or AE bracketing (Functions that can be enabled under each mode may be different).Please follow the following steps to set:1. Press the [ ] button to enter the setting interface.2. Press the [ ] / [ ] button to select options to be adjusted.• Single Capture a single shot only.• Self-timer 2 sec A single picture is shot 2 seconds after the Shutter Button is pressed.• Self-timer 10 sec A single picture is shot 10 seconds after the Shutter Button is pressed.• Self-timer Smile Press the Shutter Button and a picture will be taken immediately after a smile is detected.• Continuous Shot For taking more than one picture continuously.• Cont. Shot-Fast (4M) For continuous shot with 4M pixels.7Introduction of Functions of Timer/ Self-timer ButtonMode:](https://usermanual.wiki/Sintai-Optical/CWFB124.User-Manual-Part-3-pdf/User-Guide-2154020-Page-18.png)
![54 55Time-lapse Movie:1 Only FHD and HD pixels are selectable. The default pixel is FHD 30fps in enabling the time-lapse movie.2 Fully press the shutter button to start shooting; press this button again to stop shooting and then the le will be merged and saved automatically.3 999 pictures at most can be taken.4 Sound cannot be recorded.Prohibit the ash working when shooting with HDR. Suggest using tripod.Introduction of Functions of Lock ButtonMode: Lock the current AE and AF ranges.This function cannot be enabled until the AE/AF Lock option is selected rst with the button. See P74 for detailed operation.Before use, please refer to contents on P74 to use the button to set what you want.Then, follow the following steps to operate:Press the [ ] button to lock the AE value and the AF range. (Press the button again to release the lock)ISO000000/000F00.0EV00:00:00 000016M+0.0+0.0](https://usermanual.wiki/Sintai-Optical/CWFB124.User-Manual-Part-3-pdf/User-Guide-2154020-Page-20.png)