Sintai Optical CWFB124 Wi-Fi module User Manual Part 5
Sintai Optical (Shenzhen) Co., Ltd. Wi-Fi module Part 5
Contents
- 1. User Manual.pdf
- 2. User Manual Part 1.pdf
- 3. User Manual Part 2.pdf
- 4. User Manual Part 3.pdf
- 5. User Manual Part 4.pdf
- 6. User Manual Part 5.pdf
- 7. User Manual Part 6.pdf
- 8. User Manual Part 7.pdf
- 9. User Manual Part 8.pdf
- 10. User Manual Part 9.pdf
- 11. User Manual 1.pdf
- 12. User Manual 2.pdf
- 13. User Manual (1 of 4).pdf
- 14. User Manual (2 of 4).pdf
- 15. User Manual (3 of 4).pdf
- 16. User Manual (4 of 4).pdf
- 17. User Manual (1 of 2).pdf
- 18. User Manual (2 of 2).pdf
- 19. User Manual (1 of 5).pdf
- 20. User Manual (2 of 5).pdf
- 21. User Manual (3 of 5).pdf
- 22. User Manual (4 of 5).pdf
- 23. User Manual (5 of 5).pdf
User Manual Part 5.pdf
![66 67The MF assist needs to be enabled with the button. (See P79 for details)After enabling manual focus (non AF+MF):ISO000000/000F00.0EV00:00:00 000016M+0.0+0.0If the lens focus ring is operated or the jog dial is rolled [ ] again, the AF enlargement frame will appear on the LCD screen. After a best position you want is obtained through manual adjustment, press the button to close the AF enlargement frame and make the camera back to normal shooting screen. Semi-pressing the shutter button will have no effect; you need to fully press the shutter button to take a normal photo.](https://usermanual.wiki/Sintai-Optical/CWFB124.User-Manual-Part-5-pdf/User-Guide-2154022-Page-1.png)
![66 67The focus frame displayed after enabling the auto + manual focus depends on the settings of AF area (center-AF/multi-AF).0/000F00.0Semi-press the shutter button for auto focus and then rotate the lens focus ring or the [ ], to focus on areas enlarged on the screen. Press the button to close the AF enlargement frame and make the camera back to normal framing screen and then press the shutter to take a normal photo.After semi-pressing the shutter, shooting will be carried out mainly based on manual focus settings. If the shutter is semi-pressed again for AF after completion of manual focus, shooting will be carried out mainly based on the nal AF settings.](https://usermanual.wiki/Sintai-Optical/CWFB124.User-Manual-Part-5-pdf/User-Guide-2154022-Page-2.png)
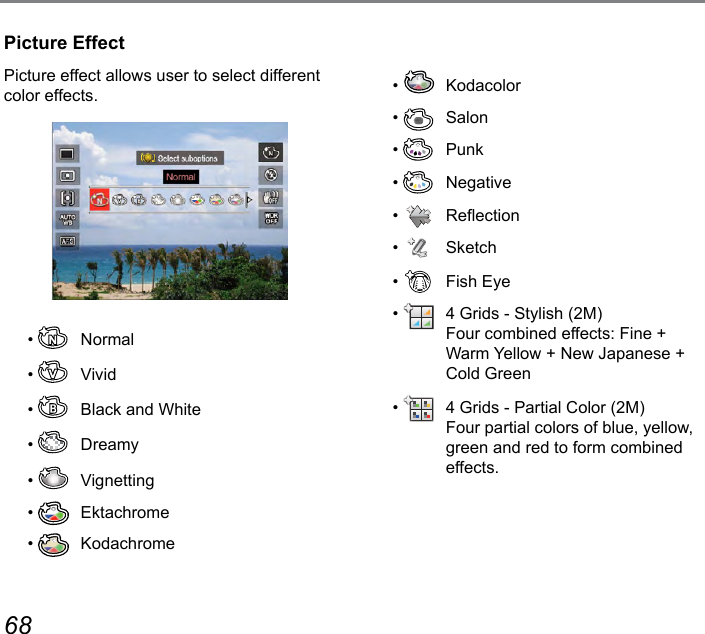
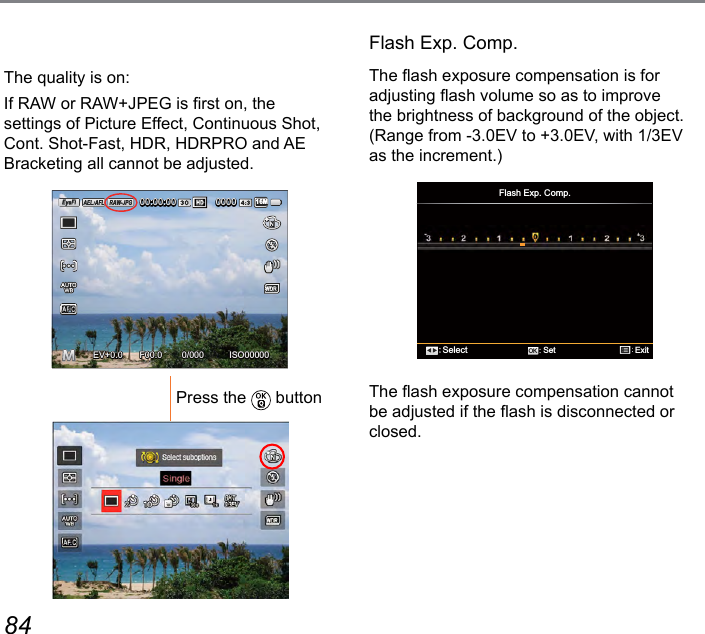
![72 73Mode: 1. Press the button to enter the menu.2. Press the [ ] / [ ] button to select.8 options in「 Menu」:• Fn Settings • Shoot Settings 1 • Shoot Settings 2 2• Playback Menu (See P100 for details)• Normal Settings • File & Firmware Settings • Connection Settings (See P112 for details)• Wi-Fi (See P44 for details)Functions that can be enabled are different under each mode.Introduction on Functions of Menu Button3. Press the [ ] / [ ] button to select the setting options and the Press the button to enter the menu.4. Press the [ ] / [ ] button to select and the Press the button to conrm.Please refer to the sections below to know details of each option.](https://usermanual.wiki/Sintai-Optical/CWFB124.User-Manual-Part-5-pdf/User-Guide-2154022-Page-7.png)
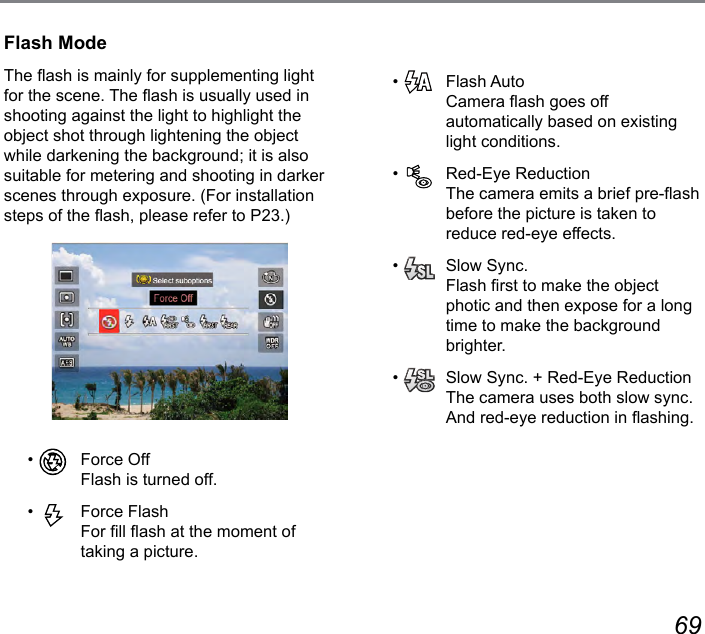
![74 75AE/AF LockFor simultaneously locking current AE value and AF range.• [AE-L]: AE Lock For locking the current AE value. (Only the AE lock works in shooting with manual focus.)• [AF-L]: AF Lock For locking the current AF value. (Only the AF lock works in shooting under manual exposure mode.)• [AE/AF-L]: AE/AF Lock For simultaneously locking the current AE value and the AF range.Button Functions (Referred Pages)Fn1/Fn2Image Size (P81)Movie Size (P82)Quality (P83)Focus Mode (P65)AF Area (P62)Metering Mode (P62)Flash mode (P69)Picture Effect (P68)Beautier (P40)WB Mode (P63)WDR (P71)OIS (P70)Fn1 is for picture effect while Fn2 for AF Area by default.](https://usermanual.wiki/Sintai-Optical/CWFB124.User-Manual-Part-5-pdf/User-Guide-2154022-Page-9.png)
![84 85Normal Settings6 options in [ Normal Settings ] :• Sound Settings• Power Saver• LCD Brightness• Language• World Time• Date & TimeSound SettingsWith this setting you may adjust the volume of sound in pressing buttons.Press the [ ] / [ ] button to adjust the volume and then press the button to conrm your setting.](https://usermanual.wiki/Sintai-Optical/CWFB124.User-Manual-Part-5-pdf/User-Guide-2154022-Page-20.png)
![86 87Power SaverPower Saver This setting allows you to save power and get the maximum possible running time for your camera's batteries. Follow the steps below to turn the LCD screen and camera off automatically after a consecutive period of inactivity.• Auto• Normal• BestPower SaverLCD power off timeTurn off timeAuto 3 min 5 minNormal 1 min 3 minBest 30 s 1 minLCD BrightnessUse this setting to adjust the brightness of your LCD screen.Press the [ ] / [ ] button to adjust the brightness of screen and then press the button to conrm your setting.LanguageRefer to the “Reset your language” section on page 30.](https://usermanual.wiki/Sintai-Optical/CWFB124.User-Manual-Part-5-pdf/User-Guide-2154022-Page-21.png)
![86 87World TimeWhen traveling abroad, you may use this function to display local time on the screen.1. Press the [ ] / [ ] button to select the places of departure ( ) and destination ( ) .2. Press the [ ] / [ ] button to select a city with same time shown in the eld and then press the button to conrm your setting.Date & TimeRefer to the “Reset Date/Time” section on page 31.File & Firmware Settings6 options in [File & Firmware Settings] :• Format• Copy to Card• File Numbering• Reset Settings• FW Version• Cleaning Mode](https://usermanual.wiki/Sintai-Optical/CWFB124.User-Manual-Part-5-pdf/User-Guide-2154022-Page-22.png)
![88 89FormatPlease note: formatting enables you to delete all contents in the memory card and built-in memory, including protected photo and movie les.1. Press the ] / [ ] button to select [ Yes ] or [ No ] and then press the button to conrm your setting.2. If you select「Ye s」the camera formats its memory.Note that when you perform the Format Memory function, it only formats the active memory. If a memory card is inserted, the memory card is active and will be formatted. If there is no memory card, the internal memory is active and the internal memory will be formatted. Formatting the memory card will not automatically format the internal memory.Copy to CardUse this setting to copy the les stored in the internal memory to a memory card.If there is no card available in the camera, this function will not be displayed.](https://usermanual.wiki/Sintai-Optical/CWFB124.User-Manual-Part-5-pdf/User-Guide-2154022-Page-23.png)