Sintai Optical CWFB124 Wi-Fi module User Manual 4 of 4
Sintai Optical (Shenzhen) Co., Ltd. Wi-Fi module 4 of 4
Contents
- 1. User Manual.pdf
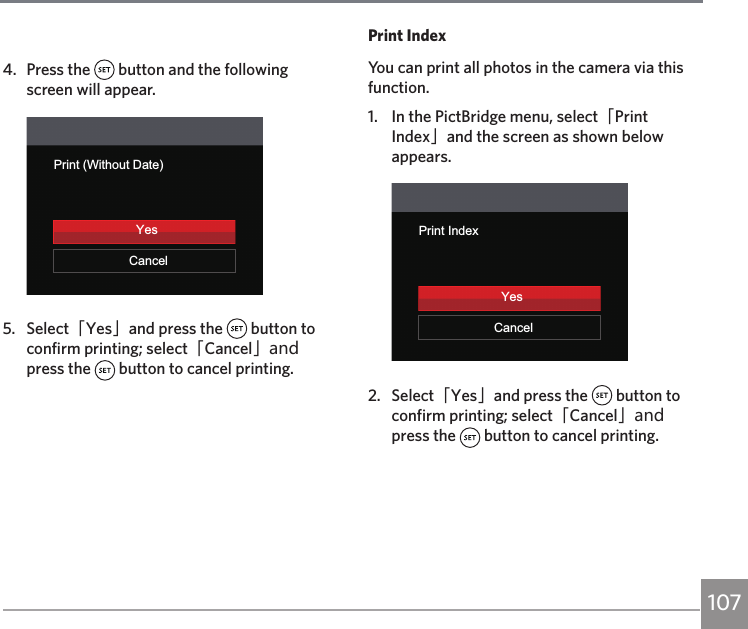
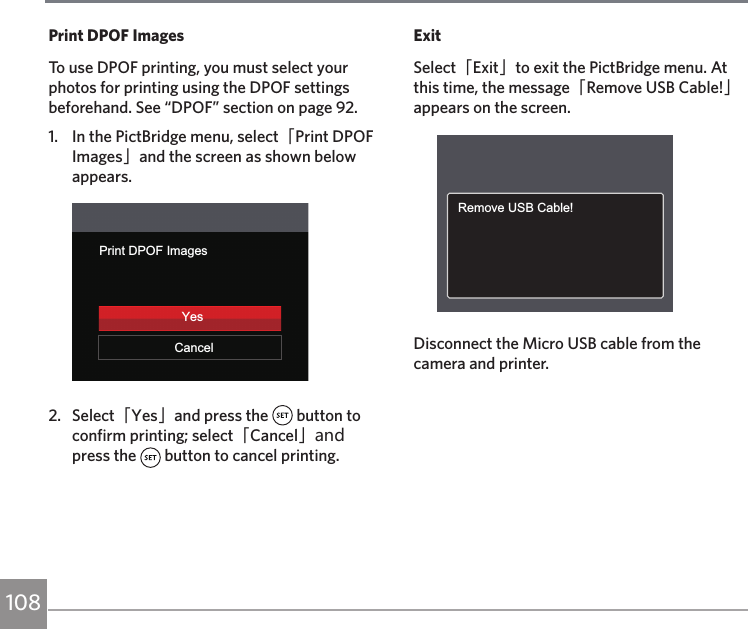
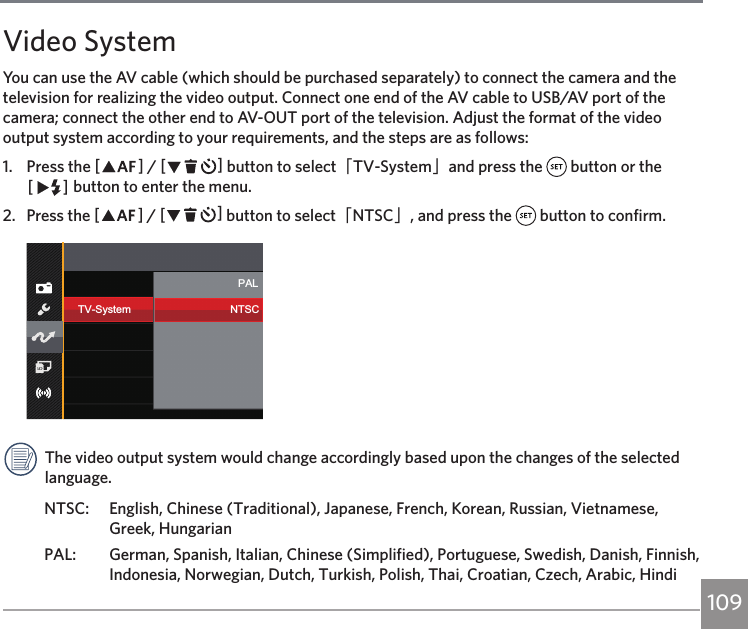
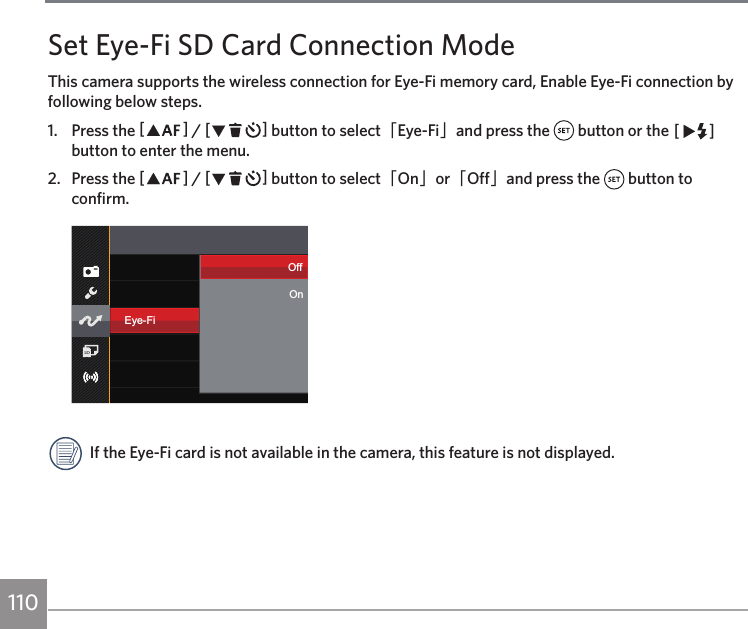
- 2. User Manual Part 1.pdf
- 3. User Manual Part 2.pdf
- 4. User Manual Part 3.pdf
- 5. User Manual Part 4.pdf
- 6. User Manual Part 5.pdf
- 7. User Manual Part 6.pdf
- 8. User Manual Part 7.pdf
- 9. User Manual Part 8.pdf
- 10. User Manual Part 9.pdf
- 11. User Manual 1.pdf
- 12. User Manual 2.pdf
- 13. User Manual (1 of 4).pdf
- 14. User Manual (2 of 4).pdf
- 15. User Manual (3 of 4).pdf
- 16. User Manual (4 of 4).pdf
- 17. User Manual (1 of 2).pdf
- 18. User Manual (2 of 2).pdf
- 19. User Manual (1 of 5).pdf
- 20. User Manual (2 of 5).pdf
- 21. User Manual (3 of 5).pdf
- 22. User Manual (4 of 5).pdf
- 23. User Manual (5 of 5).pdf
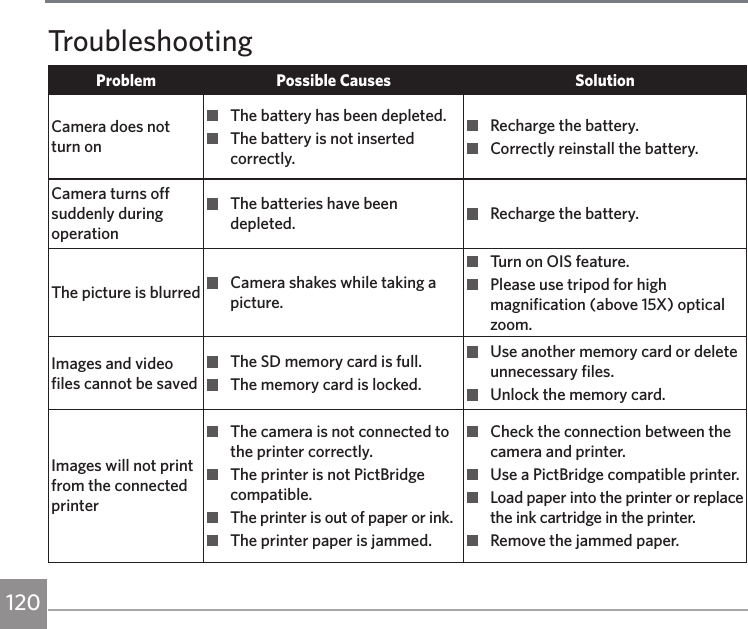
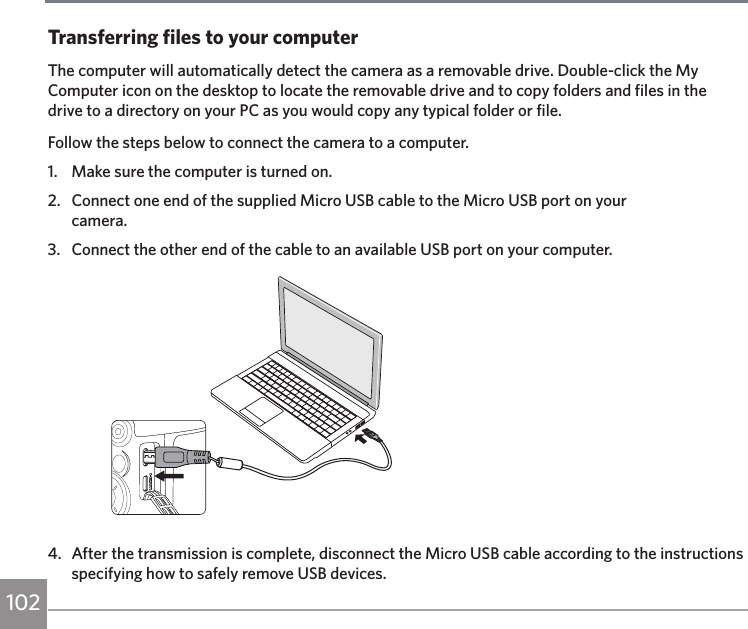
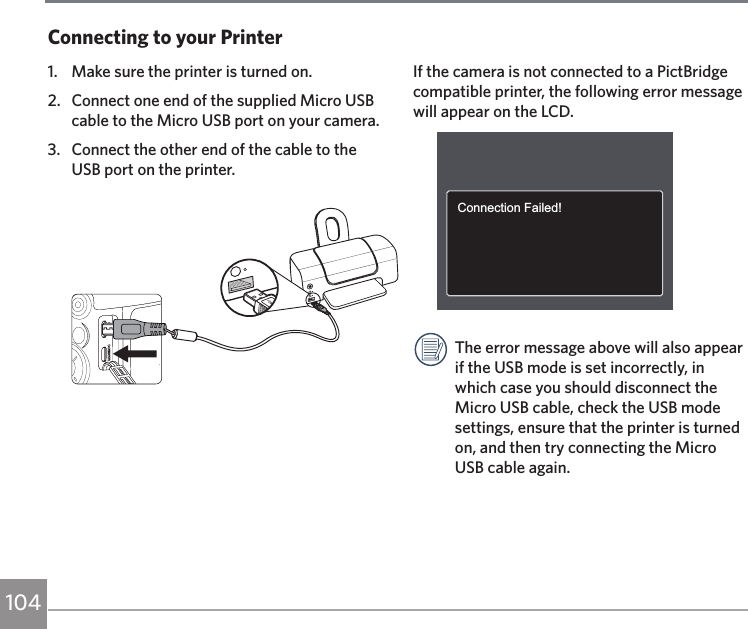
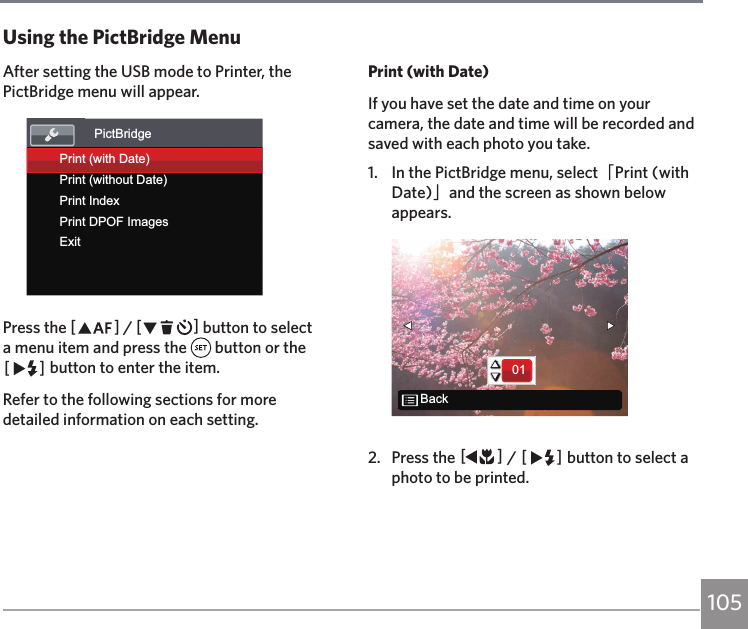
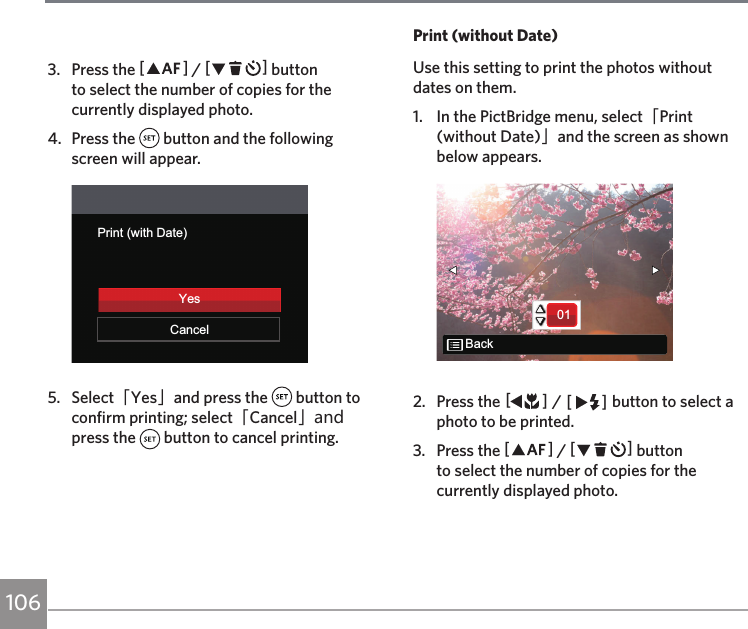
User Manual (4 of 4).pdf


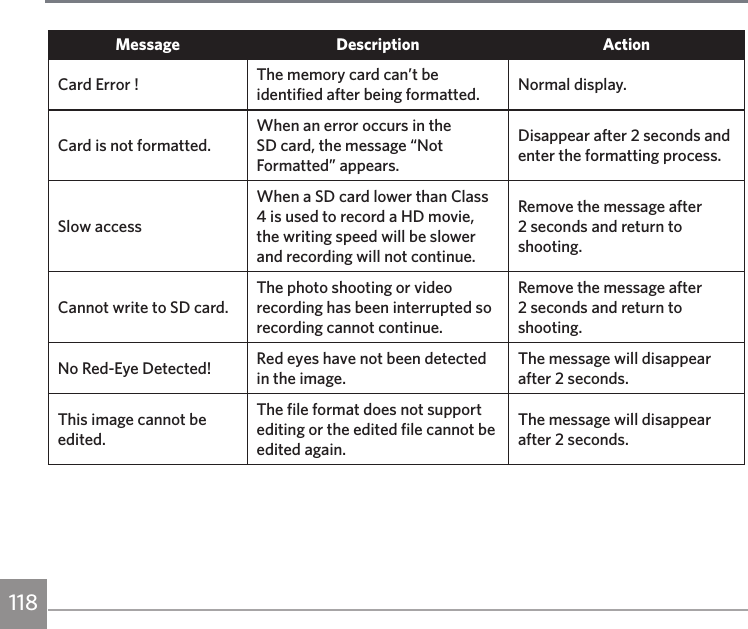
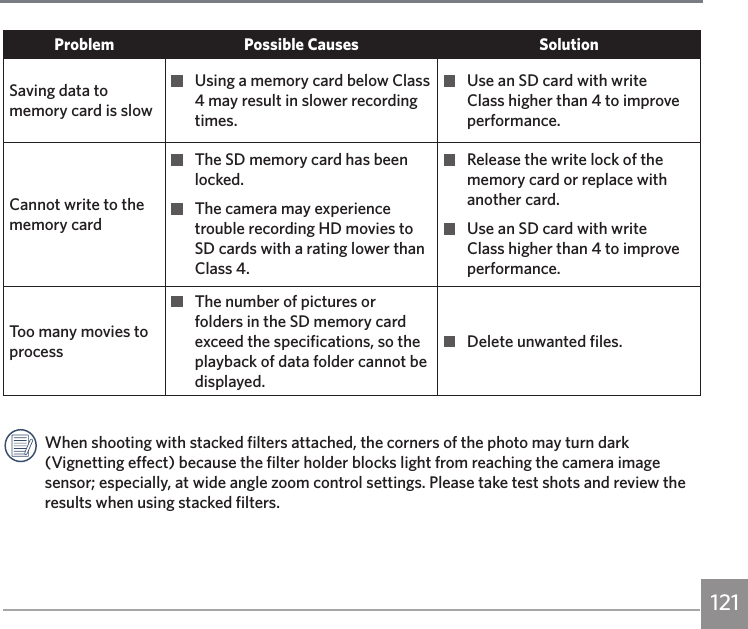
![113112 113Number of Recording PixelsStill Image(4:3)16MP: 4608 X 3456 10MP: 3648 X 2736 5MP: 2592 X 1944 3MP: 2048 X 1536 0.3MP: 640 X 480(3:2)14MP: 4608 X 3072(16:9)12MP: 4608 X 2592 2MP: 1920 X 1080Movie 1920 X 1080 (30fps), 1280 X 720 (60fps/30fps), 640 X 480 (30fps), High-Speed Movie: 640 X 480 (120fps)Image Compression Best, Fine, NormalDCF, DPOF (Ver1.1) Support Ye sFile FormatStill Image Exif 2.3 (JPEG)Movie MOV [Image: H.264; Audio: Linear PCM (Stereo)]Shooting ModesAuto Mode, Program AE, Shutter priority, Aperture priority, Manual Mode, Face Beautifier, Wi-Fi Mode, Scene Mode [Handheld Night, Pet Mode, Sunset, Fireworks, Multi Exposure, Sport, Night Portrait, Landscape, Portrait, Snow, Children, Party Panorama Mode], Movie Mode, Custom SettingsDetection Features Face, Smile, Blink, Cat, DogPhoto Touch-up Red-Eye Reduction, Skin Soften, Eye Brightening, Eye EnlargementHDR Ye s](https://usermanual.wiki/Sintai-Optical/CWFB124.User-Manual-4-of-4-pdf/User-Guide-2298793-Page-28.png)
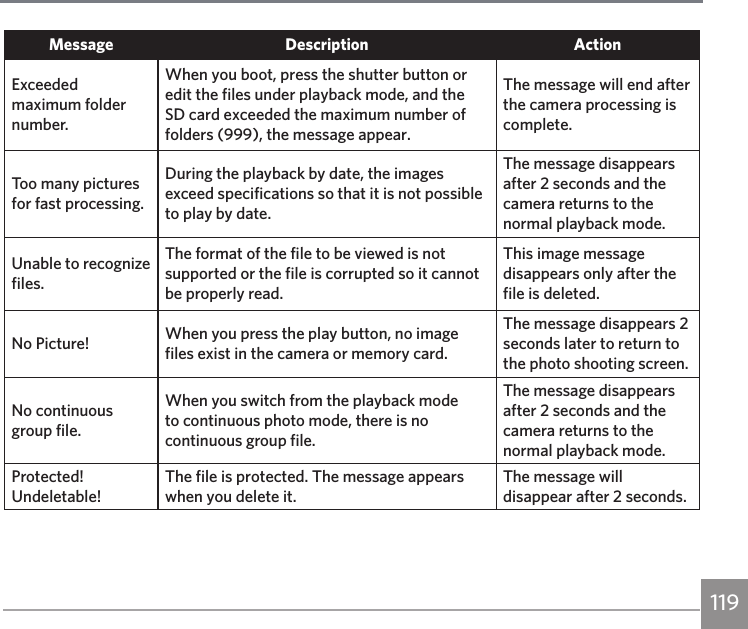
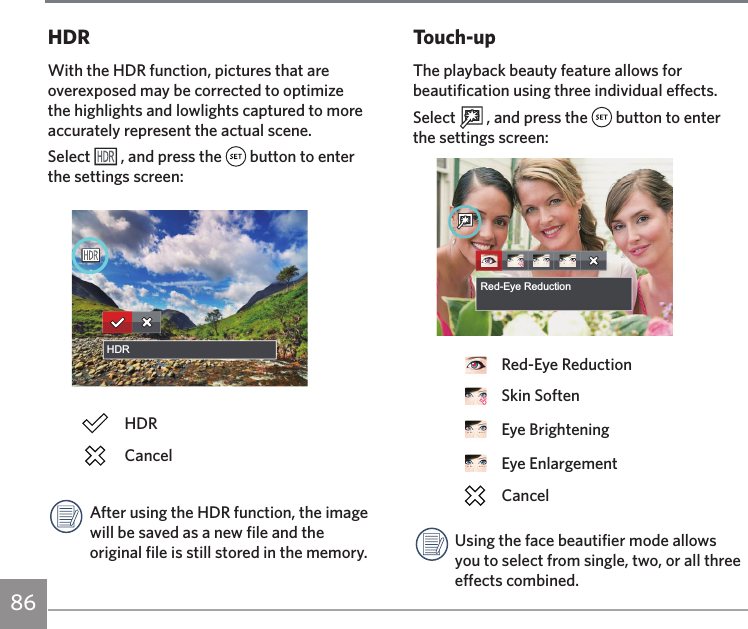
![115Recording Media Internal Memory: Approx. 8MBSD/SDHC Card (Up to 32GB Support) [MMC Card Not Supported]PictBridge, ExifPrint Support Ye sMulti-Language Support 27 LanguagesJacks AV-OUT/USB 2.0 (Micro 5 pin USB), HDMI (Type D)Eye-Fi Support Ye sWi-Fi Yes (802.11 b/g/n)Remote Viewfinder Yes (via smart device)Power Rechargeable Li-ion Battery LB-060, 3.7V 1100mAh, In-Camera ChargingShooting Capability (Battery Performance) Approx. 240 Shots (Based on CIPA Standards)Operation Environment Temperature: 0 ~ 40°C, Humidity: 0 ~ 90%Dimensions (W X H X D) Approx. 118.9 X 88.9 X 97.5mm (Based on CIPA Standards)Weight Approx. 535g (Body only)](https://usermanual.wiki/Sintai-Optical/CWFB124.User-Manual-4-of-4-pdf/User-Guide-2298793-Page-30.png)