Sintai Optical CWFB124 Wi-Fi module User Manual 4 of 4
Sintai Optical (Shenzhen) Co., Ltd. Wi-Fi module 4 of 4
Contents
- 1. User Manual.pdf
- 2. User Manual Part 1.pdf
- 3. User Manual Part 2.pdf
- 4. User Manual Part 3.pdf
- 5. User Manual Part 4.pdf
- 6. User Manual Part 5.pdf
- 7. User Manual Part 6.pdf
- 8. User Manual Part 7.pdf
- 9. User Manual Part 8.pdf
- 10. User Manual Part 9.pdf
- 11. User Manual 1.pdf
- 12. User Manual 2.pdf
- 13. User Manual (1 of 4).pdf
- 14. User Manual (2 of 4).pdf
- 15. User Manual (3 of 4).pdf
- 16. User Manual (4 of 4).pdf
- 17. User Manual (1 of 2).pdf
- 18. User Manual (2 of 2).pdf
- 19. User Manual (1 of 5).pdf
- 20. User Manual (2 of 5).pdf
- 21. User Manual (3 of 5).pdf
- 22. User Manual (4 of 5).pdf
- 23. User Manual (5 of 5).pdf
User Manual (4 of 4).pdf
86
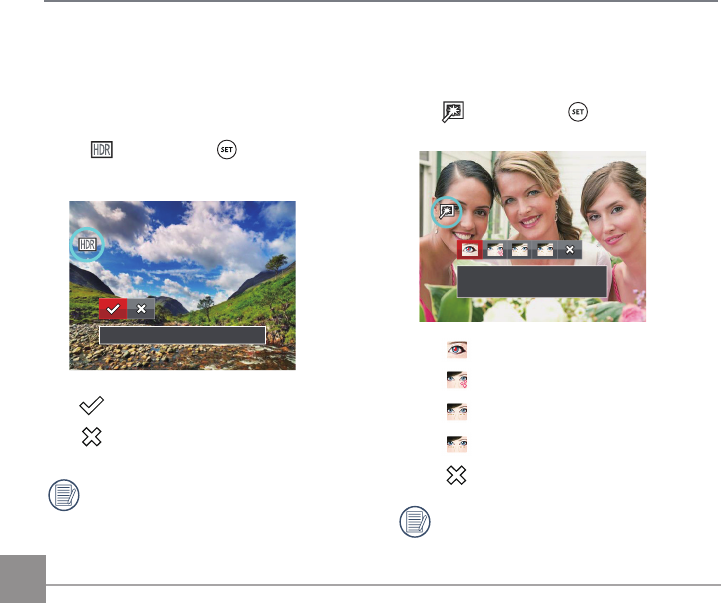
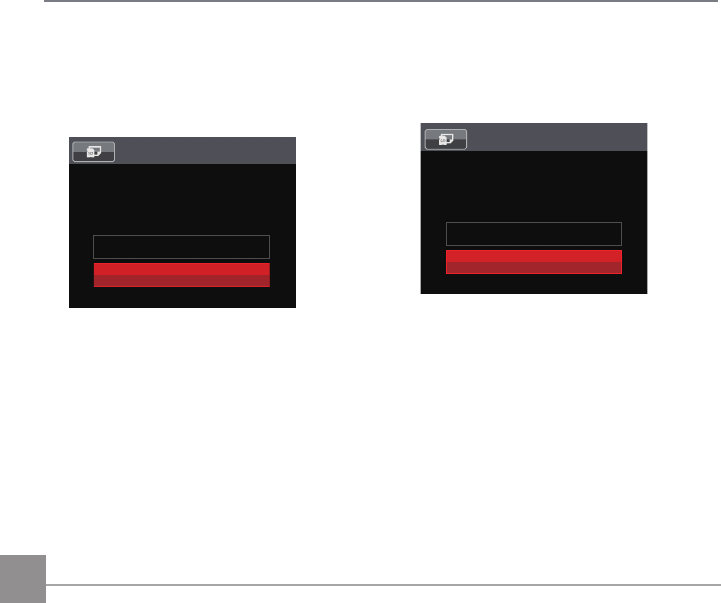
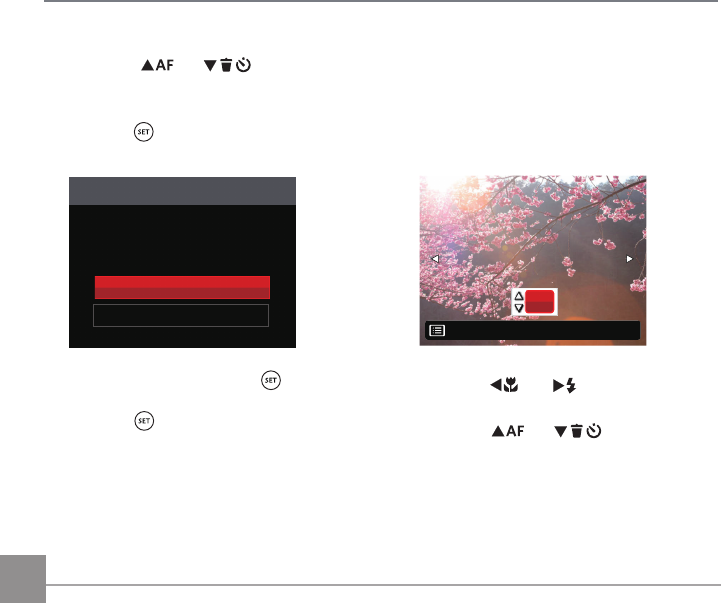
HDR
With the HDR function, pictures that are
overexposed may be corrected to optimize
the highlights and lowlights captured to more
accurately represent the actual scene.
Select , and press the button to enter
the settings screen:
HDR
HDR
Cancel
After using the HDR function, the image
will be saved as a new file and the
original file is still stored in the memory.
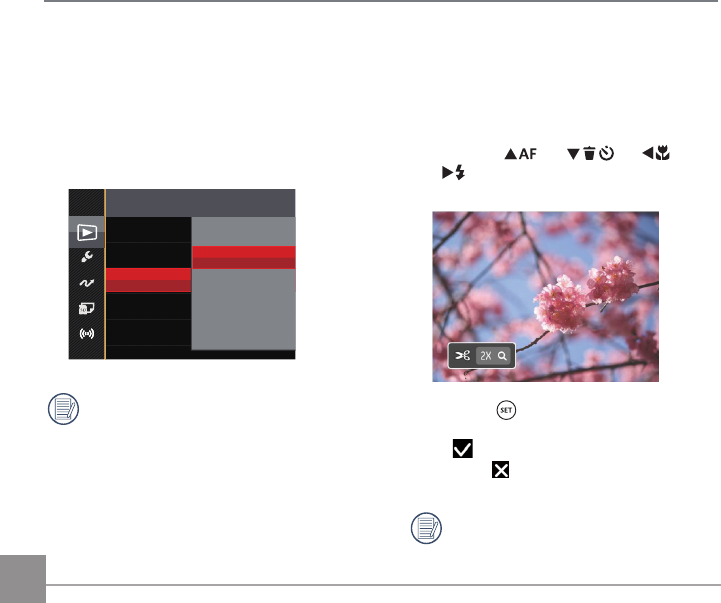
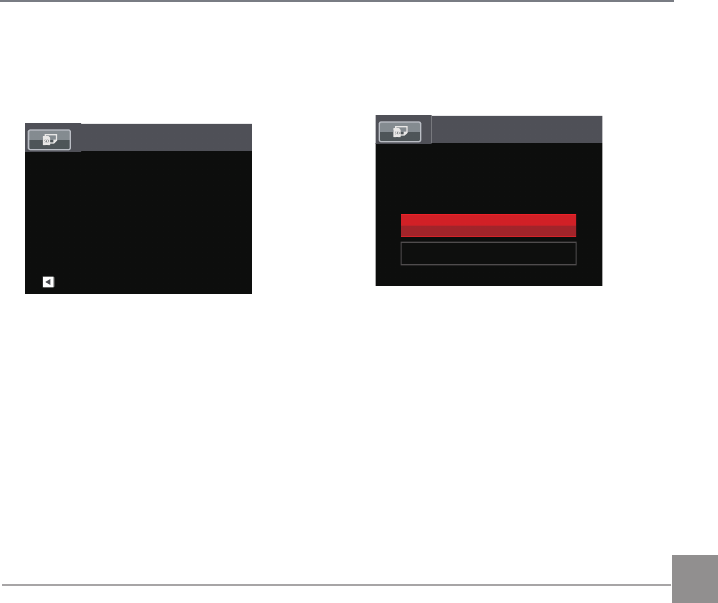
Touch-up
The playback beauty feature allows for
beautification using three individual effects.
Select , and press the button to enter
the settings screen:
Red-Eye Reduction
Red-Eye Reduction
Skin Soften
Eye Brightening
Eye Enlargement
Cancel
Using the face beautifier mode allows
you to select from single, two, or all three
effects combined.
87
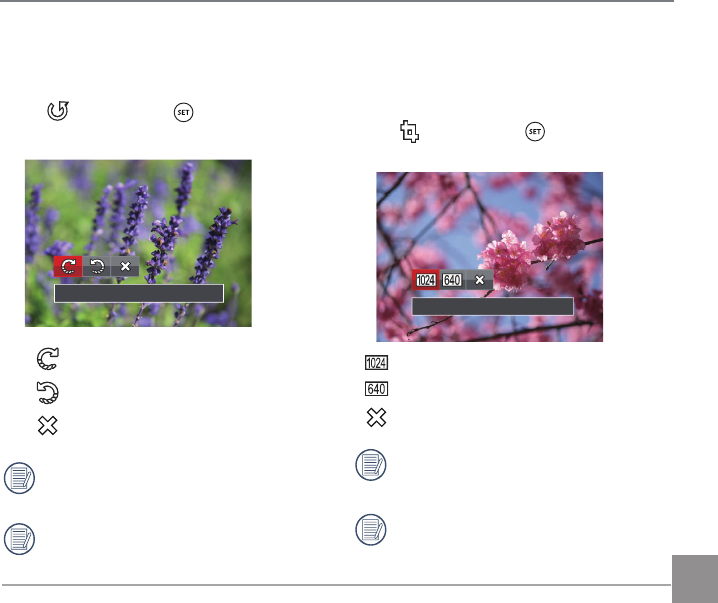
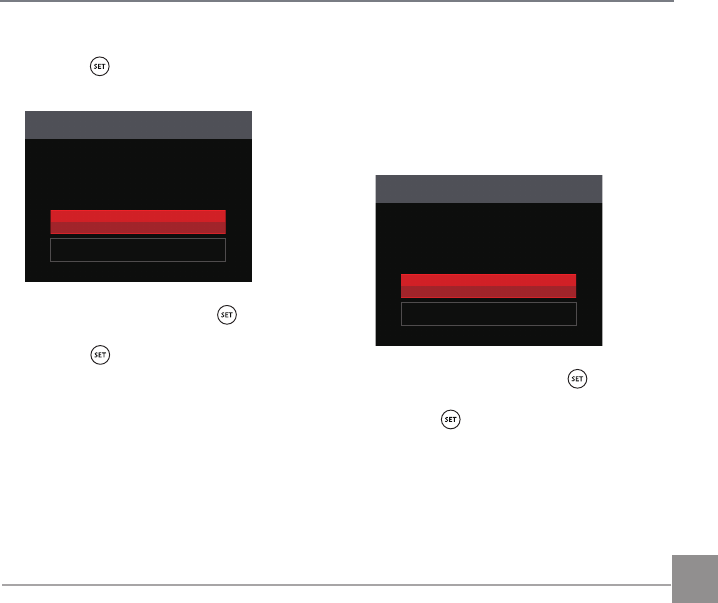
Rotate
You can use this setting to change the
orientation of the picture.
Select , and press the button to enter
the settings screen:
Turn Right
Turn Right
Turn Left
Cancel
Videos and panoramic pictures cannot
be rotated.
The rotated picture file will replace the
original photo.
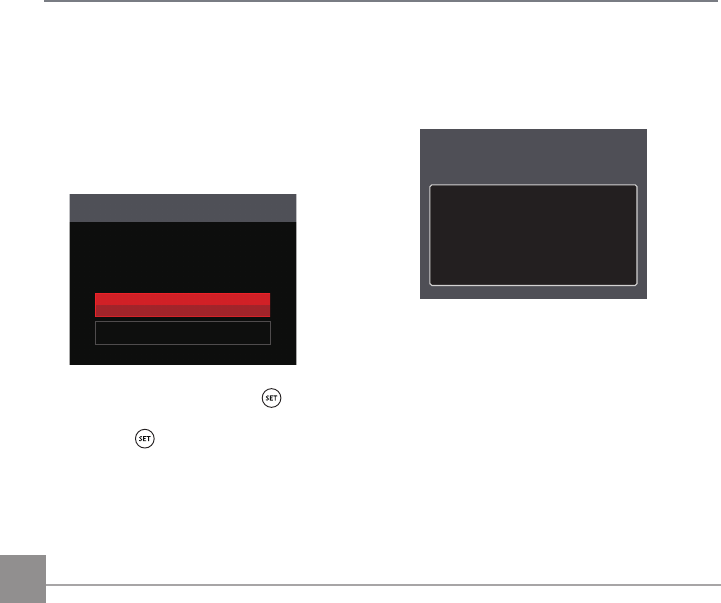
Resize
This setting allows you to resize a picture to
a particular resolution and saves it as a new
picture.
Select , and press the button to enter
the settings screen:
Resize to 1024x768
Resize to 1024x768
Resize to 640x480
Cancel
Only for adjusting pictures with high
resolution to those with low resolution.
Sizes of photos taken in panorama mode
or rotated cannot be adjusted.
88
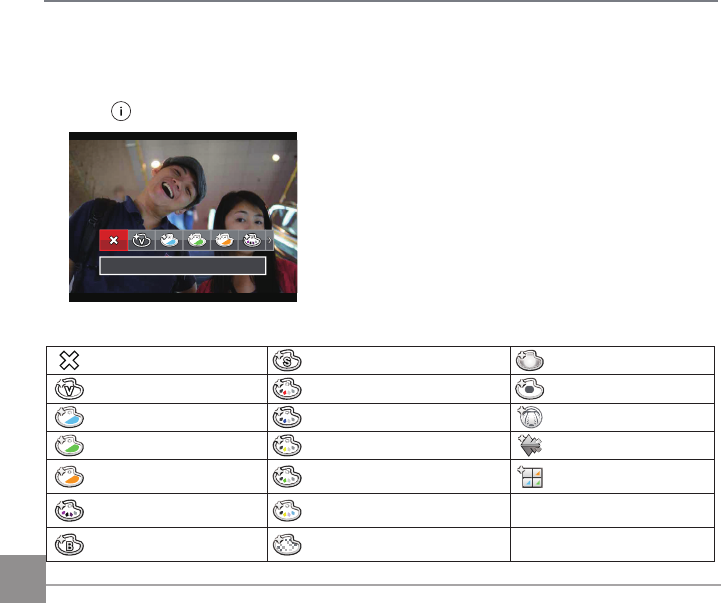
i button playback function
This setting allows you to change the picture color effect. The file is saved as a new photo and
stored in memory together with the original photo.
Press the button to enter the settings screen:
Cancel
There are 19 options:
Cancel Sepia Vignetting
Vivid Partial Color-Red Salon
Japan Style (8M) Partial Color-Blue Fish Eye
Italian Style (8M) Partial Color-Yellow Reflection
French Style (8M) Partial Color-Green 4 Grids - Stylish(2M)
Punk (4M) Negative (8M)
Black and White Dreamy
89
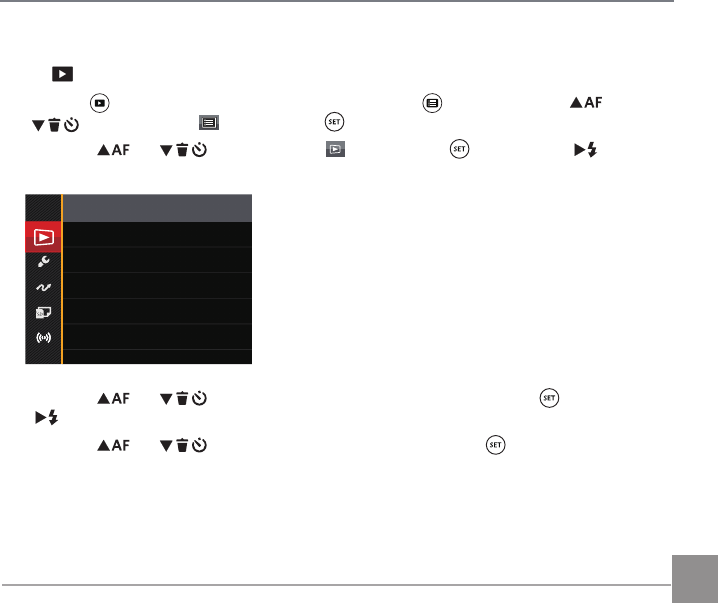
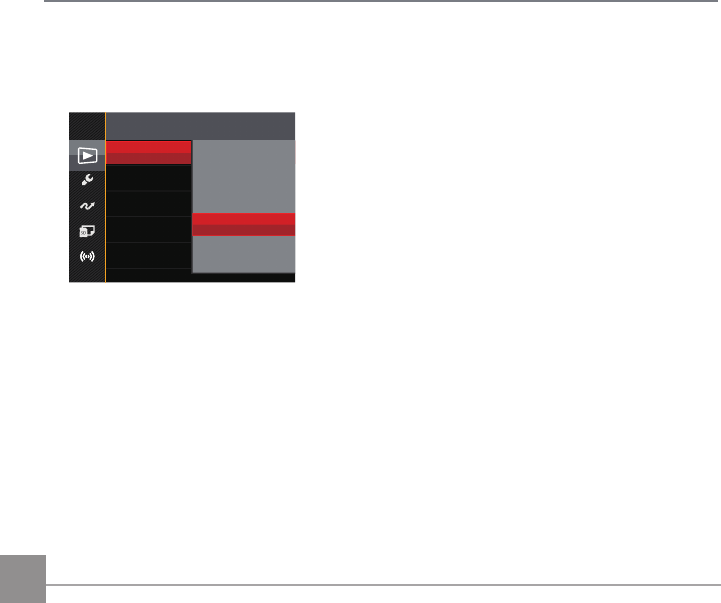
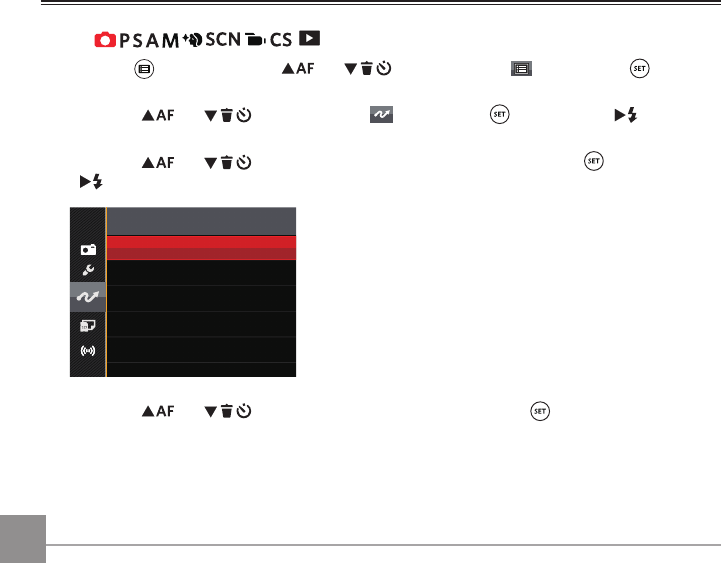
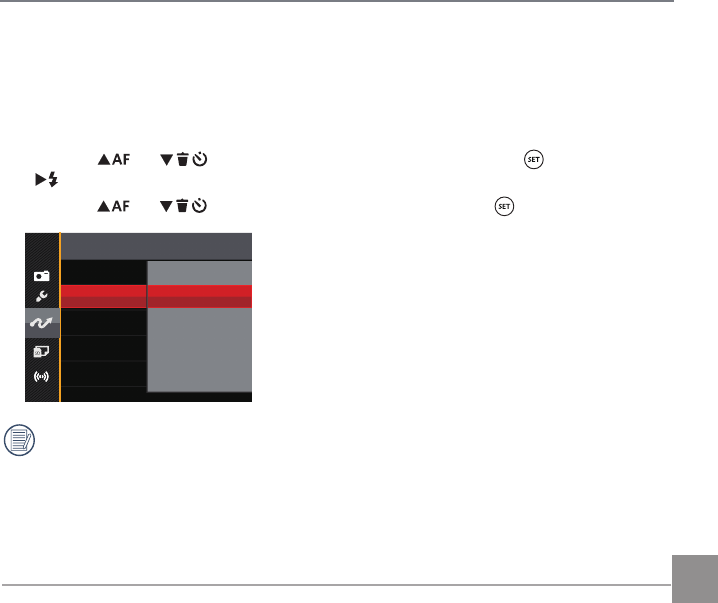
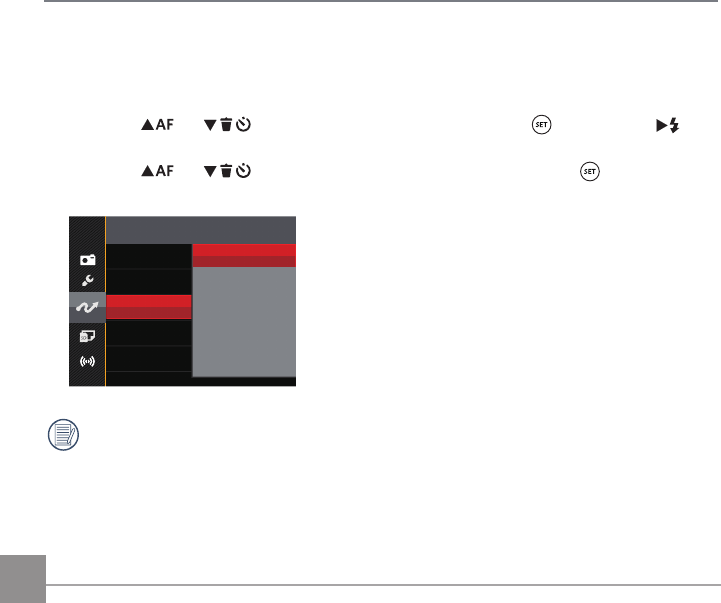
Playback Settings Menu
Mode:
1. Press the button to show the playback screen, press the button, press the
AC
/
C
A
button to select , and press the button to enter the menu.
2. Press the
AC
/
C
A
button to select , and press the button or the
CA
button to
enter the menu.
Protect
DPOF
Delete
Trim
3. Press the
AC
/
C
A
button to select the item to be set and press the button or the
CA
button to enter the menu.
4. Press the
AC
/
C
A
button to select an option and press the button to confirm.
Refer to the following pages for more details about each setting.
90
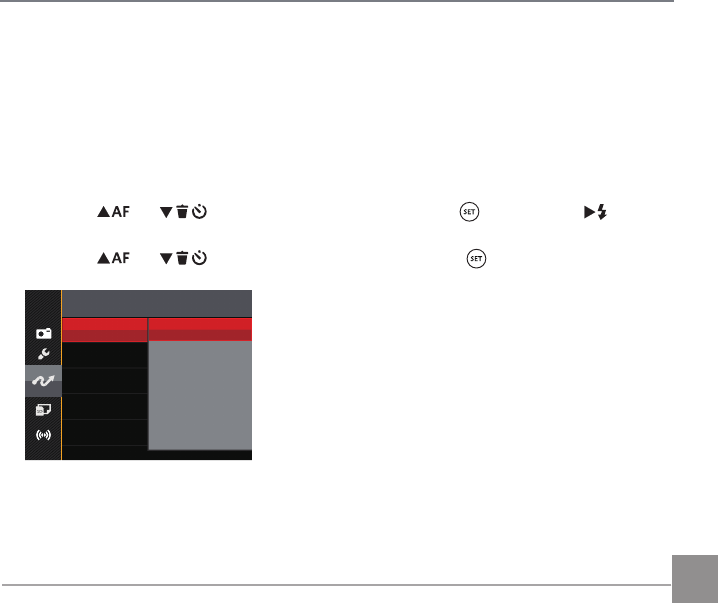
Protect
To prevent any pictures or videos from being accidentally erased, use this setting to lock one or all
of the files.
Protect One
Cont. Group
Reset
All
Reset
Date Folder
There are 5 options available:
• One: Lock the selected photo or video if they are
unprotected; unlock the selected photo or video if they are protected.
• Date Folder: Protect all photos in the Date Folder.
• Cont. Group: Protect all photos in the Cont. Photo Folder.
• All: Lock all photos or videos.
• Reset: Cancel all locked photos or videos.
91
Delete
You can delete one or all photo/video files.
Delete
One
Cont. Group
Date Folder
All
There are 4 options available:
• One: Delete one photo or video.
• Date Folder: Delete all photos in the Date Folder.
• Cont. Group: Delete all photos in the Cont. Photo Folder.
• All: Delete all photos or videos
The “ ” indicator means a file is protected. File protection must be removed first before a
file can be deleted.
Deleting files will cause DPOF settings to be reset.
When one photo in the Cont. Photo and Date Folders is protected, it will be kept but any other
photos will be deleted.
92
Trim
The Trim Setting allows you to crop photos
and save them as new pictures.
1. Select「Yes」to confirm trim. Rotate the
zoom lever to select the aspect ratio and
press the
AC
/
C
A
/
AC
/
CA
buttons to adjust the part you want
to trim.
2. Press the button and the「Save
change?」prompt appears. Select
「 」to change and save the picture.
Select「 」to cancel changes and
return to the trim prompt screen.
The image cannot be clipped/trimmed
again once it has been clipped to
640X480.
DPOF (Digital Print Order Format)
The DPOF feature allows you to compile and
select a group of pictures that you would like to
print and will save your selection on the memory
card so that you can use the SD memory card to
print without having to individually specify the
photos you want to print.
DPOF
One
All
Reset
The printer that supports DPOF is needed
for printing.
93
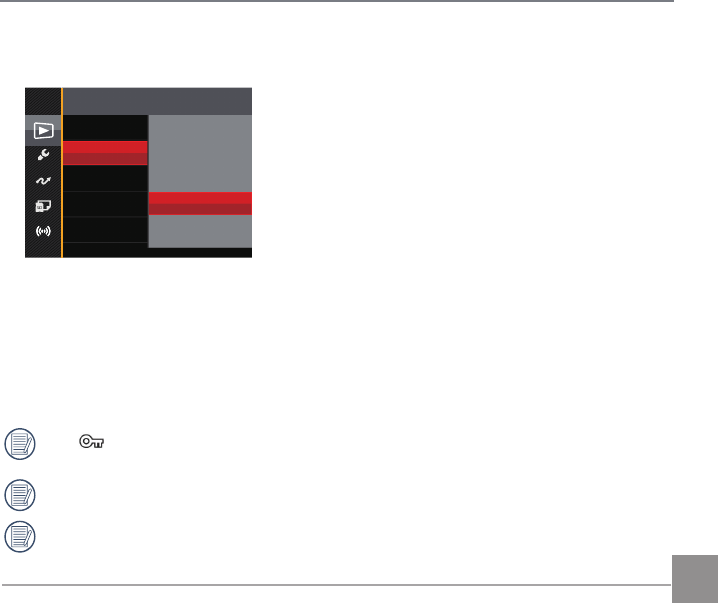
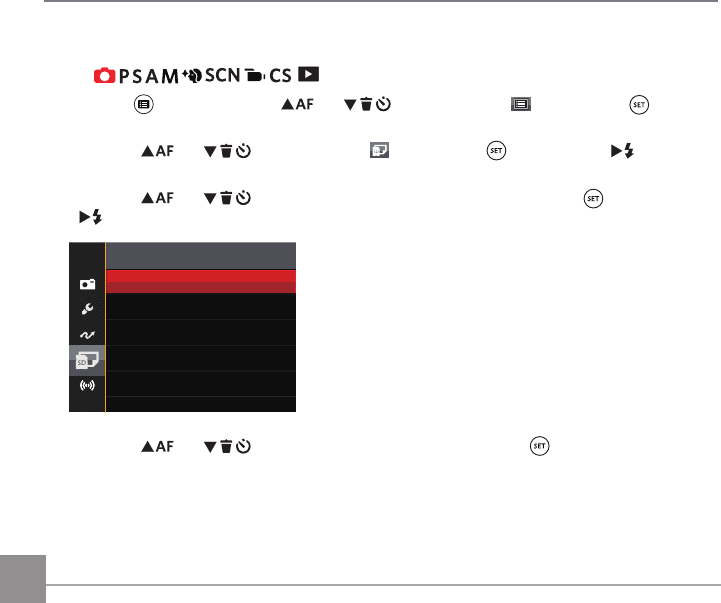
General Settings Menu
Mode:
1. Press the button in any mode, press the
AC
/
C
A
button to select , and press
the button to enter the menu.
2. Press the
AC
/
C
A
button to select , and press the button or the
CA
button to
enter the menu.
Sound Settings
Power Saver Auto
Language English
World Time Home
Date & Time 2014.06.20 00:00
3. Press the
AC
/
C
A
button to select the item to be set and press the button or the
CA
button to enter the menu.
4. Press the
AC
/
C
A
button to select an option and press the button to confirm.
Refer to the following pages for more details about each setting.
94
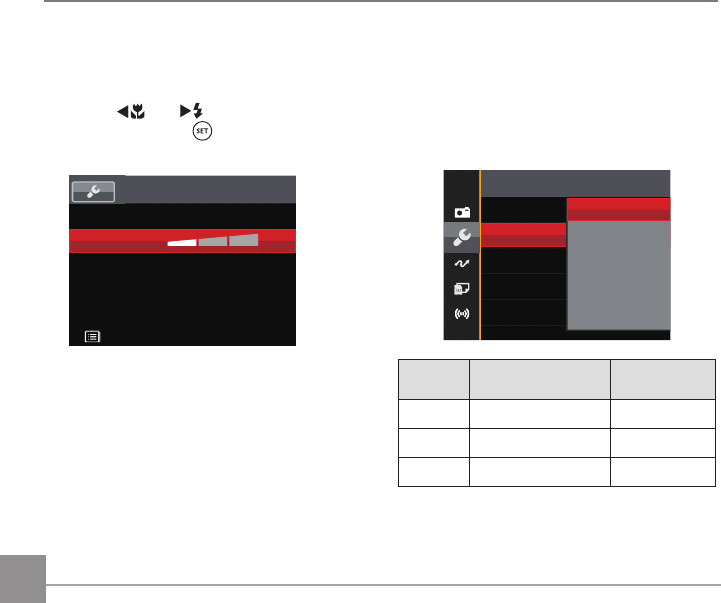
Power Saver
This setting allows you to save power and get
the maximum possible running time for your
camera’s batteries. Turn the LCD and camera
off automatically after a consecutive period of
inactivity.
Power Saver
Auto
Normal
Best
Power
Saver
LCD power off
time Turn off time
Auto 3 min 5 min
Normal 1 min 3 min
Best 30 s 1 min
Sound Settings
With this setting you may adjust the sound
volume.
Press the
AC
/
CA
button to adjust the
volume and press the button to confirm our
setting.
Sound Settings
Volume
Back
95
Language
Refer to the “Reset your language” section on
page 25.
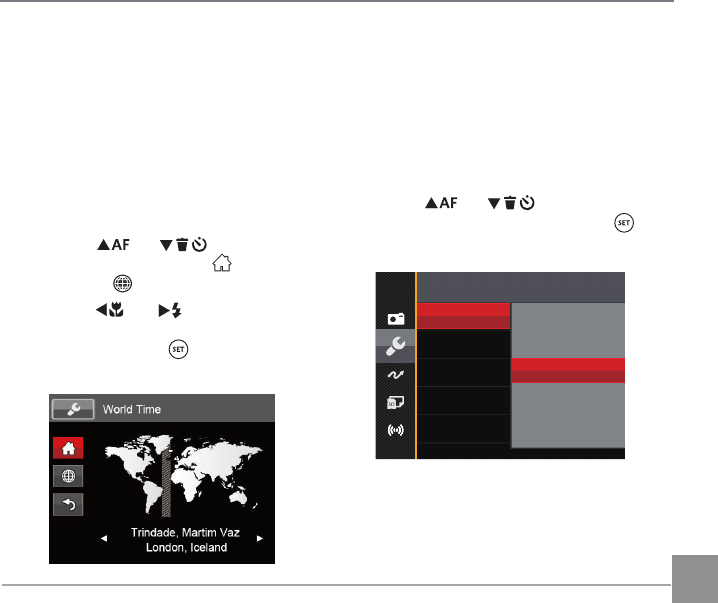
Zone
The Zone setting is a useful function for your
overseas trips. This feature enables you to
display the local time on the LCD while you are
abroad.
1. Press the
AC
/
C
A
button to
select the departure place ( ) and
destination ( ) fields.
2. Press the
AC
/
CA
button to select a
city located in the same time zone as that
of the field. Press the button to confirm
settings.
Date/Time
Refer to the “Reset Date/Time” section on
page 26.
LCD Brightness
Use this setting to adjust the brightness of your
LCD.
Press the
AC
/
C
A
button to adjust
the brightness of screen, and press the
button to confirm our setting.
LCD Brightness Bcfa U`
+2
-2
+1
-1
Normal
96
File Settings
Mode:
1. Press the button, press the
AC
/
C
A
button to select and press the button to
enter the menu.
2. Press the
AC
/
C
A
button to select and press the button or the
CA
button to
enter the menu.
3. Press the
AC
/
C
A
button to select the item to be set and press the button or the
CA
button to enter the menu.
Format
File Numbering
Copy to Card
Reset
FW Version X.XX
4. Press the
AC
/
C
A
button to select an option and press the button to confirm.
Refer to the following pages for more details about each setting.
97
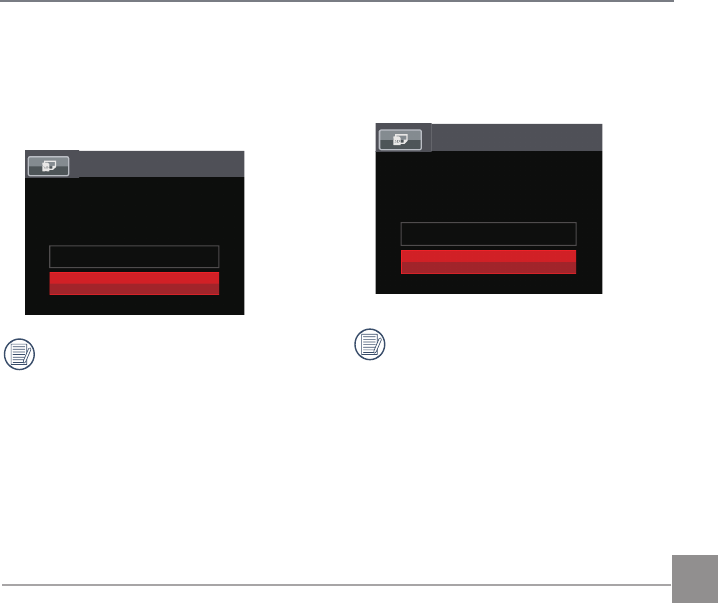
Format
Please note: formatting enables you to delete
all contents in the memory card and built-in
memory, including protected photo and movie
files.
Format
Doing so will clear all data.
No
Yes
If there is no memory card in the camera,
the built-in memory will be formatted;
if there is a memory card, it will be
formatted only.
Copy to Card
Use this setting to copy the files stored in the
built-in memory to a memory card.
Copy to Card
Copy files from built-in memory to
the memory card.
No
Yes
If there is no card available in the camera,
this function will not be displayed.
98
Reset
Use this setting to restore the camera to its
original default settings.
Reset
Reset camera settings to factory defaults.
No
Yes
File Numbering
After you take a picture or video clip, the
camera will save it with a sequential number.
You can use this to reset the file numbering to 1.
File Numbering
Create a new directory and
reset the file number.
No
Yes
99
FW Version
Use this setting to view the current camera
firmware version.
FW Version
Current Ver:1.XX
Back
When there is a new firmware version in the
memory card, select「Yes」to update.
FW Version
Current Ver:1.XX
New Ver.:2.XX
Cancel
Yes
Update Firmware?
100 101
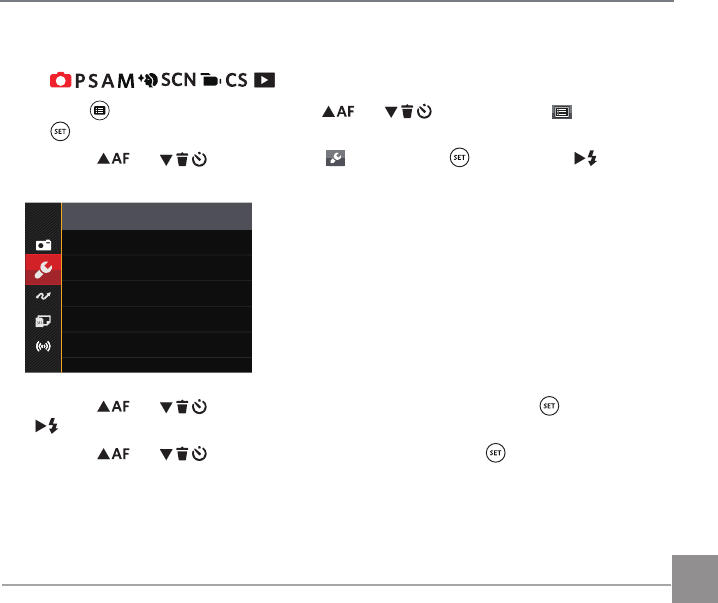
Connection Settings
Mode:
1. Press the button, press the
AC
/
C
A
button to select and press the button to
enter the menu.
2. Press the
AC
/
C
A
button to select and press the button or the
CA
button to
enter the menu.
3. Press the
AC
/
C
A
button to select the item to be set and press the button or the
CA
button to enter the menu.
USB PC
TV-System NTSC
Eye-Fi Off
4. Press the
AC
/
C
A
button to select an option and press the button to confirm.
Refer to the following pages for more details about each setting.
101100 101
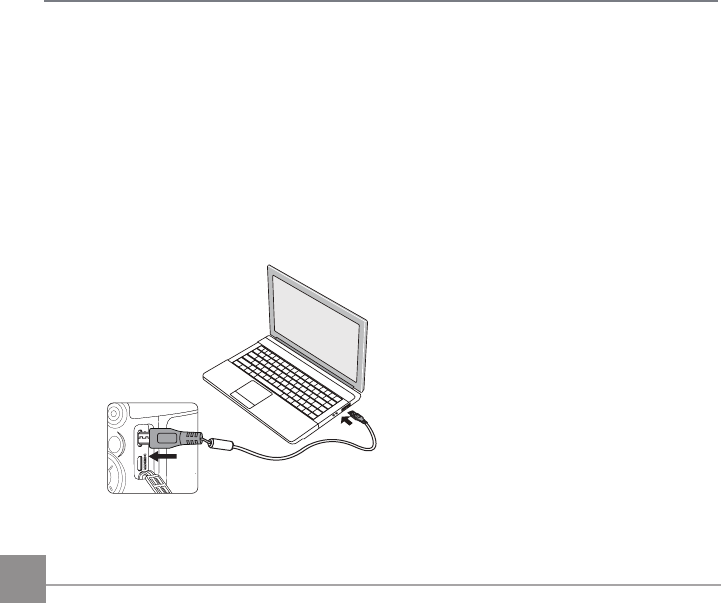
Connecting to a Computer
You can use the Micro USB cable to connect the camera and copy (transmit) photos to a computer,
printer or other device.
Setting the USB Mode
The camera’s Micro USB port can be set to connect with either a computer or a printer. The
following steps will allow you to ensure that the camera is correctly configured to connect with a PC.
1. Press the
AC
/
C
A
button to select「USB「and press the button or the
CA
button
to enter the menu.
2. Press the
AC
/
C
A
button to select「PC」and press the button to confirm.
USB PC
Printer
102
Transferring files to your computer
The computer will automatically detect the camera as a removable drive. Double-click the My
Computer icon on the desktop to locate the removable drive and to copy folders and files in the
drive to a directory on your PC as you would copy any typical folder or file.
Follow the steps below to connect the camera to a computer.
1. Make sure the computer is turned on.
2. Connect one end of the supplied Micro USB cable to the Micro USB port on your
camera.
3. Connect the other end of the cable to an available USB port on your computer.
4. After the transmission is complete, disconnect the Micro USB cable according to the instructions
specifying how to safely remove USB devices.
103
To find out if a printer is
PictBridge compatible,
simply look for the PictBridge
logo on the packaging or
check the owner’s manual
for specifications. With the
PictBridge function on your camera, you
can print the captured photos directly to
a PictBridge compatible printer using the
supplied Micro USB cable, without the need
for a PC.
Setting the USB Mode
The camera’s Micro USB port can be set to
connect with either a PC or a Printer; the
following steps will ensure that the camera is
correctly configured to connect with a Printer.
1. Press the
AC
/
C
A
button to
select「USB」and press the button or
the
CA
button to enter the menu.
2. Press the
AC
/
C
A
button to
select「Printer」and press the button
to confirm.
USB PC
Printer
After the camera is reset, it will switch
to PC mode automatically from USB
mode.
See “PictBridge“ section on page 105.
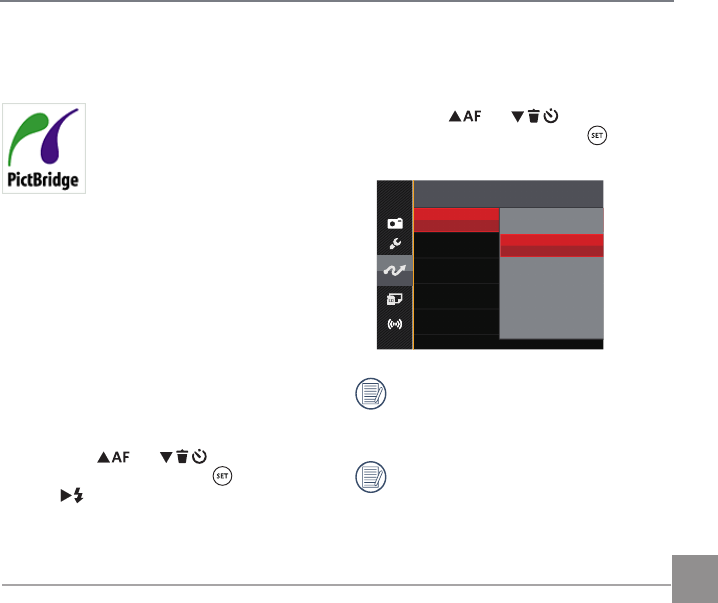
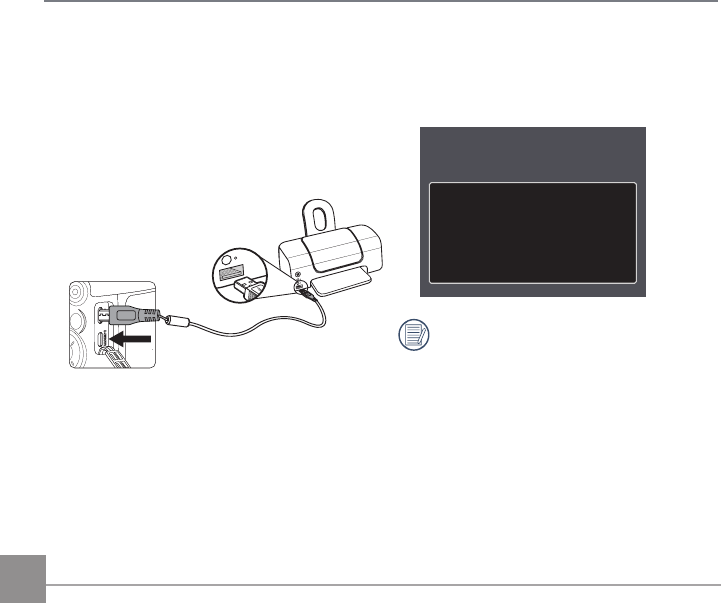
Connecting to a PictBridge Compatible Printer
PictBridge technology allows printing of the photos saved in the memory card by the printer.
104
If the camera is not connected to a PictBridge
compatible printer, the following error message
will appear on the LCD.
Connection Failed!
The error message above will also appear
if the USB mode is set incorrectly, in
which case you should disconnect the
Micro USB cable, check the USB mode
settings, ensure that the printer is turned
on, and then try connecting the Micro
USB cable again.
1. Make sure the printer is turned on.
2. Connect one end of the supplied Micro USB
cable to the Micro USB port on your camera.
3. Connect the other end of the cable to the
USB port on the printer.
Connecting to your Printer
105
After setting the USB mode to Printer, the
PictBridge menu will appear.
PictBridge
Print (with Date)
Exit
Print (without Date)
Print Index
Print DPOF Images
Press the
AC
/
C
A
button to select
a menu item and press the button or the
CA
button to enter the item.
Refer to the following sections for more
detailed information on each setting.
Using the PictBridge Menu
Print (with Date)
If you have set the date and time on your
camera, the date and time will be recorded and
saved with each photo you take.
1. In the PictBridge menu, select「Print (with
Date)」and the screen as shown below
appears.
01
Back
2. Press the
AC
/
CA
button to select a
photo to be printed.
106
3. Press the
AC
/
C
A
button
to select the number of copies for the
currently displayed photo.
4. Press the button and the following
screen will appear.
Print (with Date)
Cancel
Yes
5. Select「Yes」and press the button to
confirm printing; select「Cancel」and
press the button to cancel printing.
Print (without Date)
Use this setting to print the photos without
dates on them.
1. In the PictBridge menu, select「Print
(without Date)」and the screen as shown
below appears.
01
Back
2. Press the
AC
/
CA
button to select a
photo to be printed.
3. Press the
AC
/
C
A
button
to select the number of copies for the
currently displayed photo.
107
4. Press the button and the following
screen will appear.
Print (Without Date)
Cancel
Yes
5. Select「Yes」and press the button to
confirm printing; select「Cancel」and
press the button to cancel printing.
Print Index
You can print all photos in the camera via this
function.
1. In the PictBridge menu, select「Print
Index」and the screen as shown below
appears.
Yes
Print Index
Cancel
Yes
2. Select「Yes」and press the button to
confirm printing; select「Cancel」and
press the button to cancel printing.
108
Print DPOF Images
To use DPOF printing, you must select your
photos for printing using the DPOF settings
beforehand. See “DPOF” section on page 92.
1. In the PictBridge menu, select「Print DPOF
Images」and the screen as shown below
appears.
Print DPOF Images
Cancel
Yes
2. Select「Yes」and press the button to
confirm printing; select「Cancel」and
press the button to cancel printing.
Exit
Select「Exit」to exit the PictBridge menu. At
this time, the message「Remove USB Cable!」
appears on the screen.
Remove USB Cable!
Disconnect the Micro USB cable from the
camera and printer.
109
Video System
You can use the AV cable (which should be purchased separately) to connect the camera and the
television for realizing the video output. Connect one end of the AV cable to USB/AV port of the
camera; connect the other end to AV-OUT port of the television. Adjust the format of the video
output system according to your requirements, and the steps are as follows:
1. Press the
AC
/
C
A
button to select「TV-System」and press the button or the
CA
button to enter the menu.
2. Press the
AC
/
C
A
button to select「NTSC」, and press the button to confirm.
TV-System
PAL
NTSC
The video output system would change accordingly based upon the changes of the selected
language.
NTSC: English, Chinese (Traditional), Japanese, French, Korean, Russian, Vietnamese,
Greek, Hungarian
PAL: German, Spanish, Italian, Chinese (Simplified), Portuguese, Swedish, Danish, Finnish,
Indonesia, Norwegian, Dutch, Turkish, Polish, Thai, Croatian, Czech, Arabic, Hindi
110
Set Eye-Fi SD Card Connection Mode
This camera supports the wireless connection for Eye-Fi memory card, Enable Eye-Fi connection by
following below steps.
1. Press the
AC
/
C
A
button to select「Eye-Fi」and press the button or the
CA
button to enter the menu.
2. Press the
AC
/
C
A
button to select「On」or「Off」and press the button to
confirm.
Eye-Fi
Off
On
If the Eye-Fi card is not available in the camera, this feature is not displayed.
111
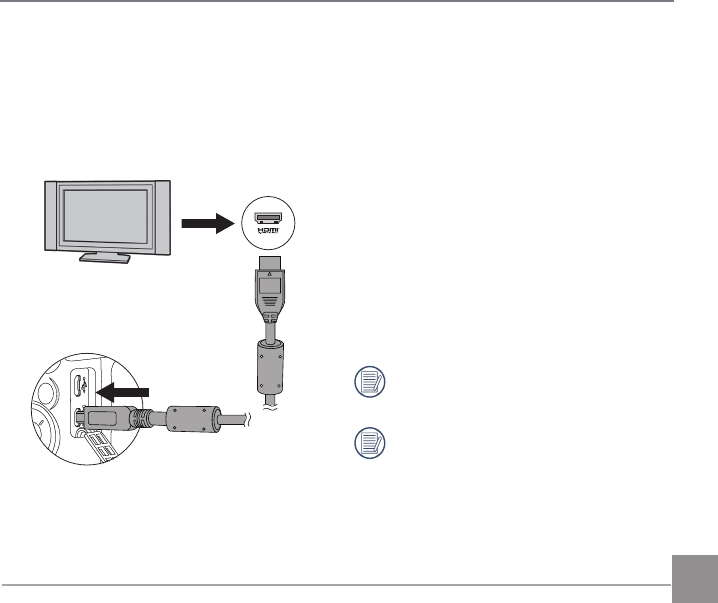
Supported HDMI Connections
HDMI (High Definition Multimedia Interface) is a fully digital audio/video transmission interface,
through which uncompressed audio and video signals are transmitted. Direct transmission of digital
video signals to your TV reduces conversion loss and improves image quality.
Connecting HDMI-Ready TV
1. Use the cable with high resolution output
terminal (which should be purchased
separately) to connect the camera to the
television which meets HDMI standard.
2. The camera will be automatically detected
by the TV.
3. After connecting via HDMI, the camera
enters Playback Mode.
Make sure the camera and the TV are
both turned on before connecting.
Refer to your TV instruction manual for
information on what resolution sizes it
will support. The resolution and output
formats that are not supported will be
grayed out on the camera’s LCD.
HDMI
(Type D)
112 113
Product Specifications
Design and specifications are subject to change without notice.
Image Sensor
Type 1/2.3”BSI CMOS
Effective Pixels 16.35 Megapixels
Total Pixels 16.76 Megapixels
Lens
Focal Length 4.3mm (Wide) — 223.6mm (Tele)
35mm film equivalent 24mm (Wide) — 1248mm (Tele)
F number F2.8 (Wide) ~ F5.6 (Tele)
Lens Construction 13 groups 15 elements
Optical Zoom 52x
Optical Zoom Normal: (Wide) 60cm ~ ∞, (Tele) 300cm ~ ∞;
Macro: 1cm ~ ∞ (Wide Only)
Autofocus System TTL Autofocus
Electronic Viewfinder Ye s
Anti-Handshake Optical Image Stabilization
Digital Zoom 4x Digital Zoom (Combined Zoom: 208x)
Appendices
113112 113
Number of
Recording
Pixels
Still Image
(4:3)
16MP: 4608 X 3456
10MP: 3648 X 2736
5MP: 2592 X 1944
3MP: 2048 X 1536
0.3MP: 640 X 480
(3:2)
14MP: 4608 X 3072
(16:9)
12MP: 4608 X 2592
2MP: 1920 X 1080
Movie 1920 X 1080 (30fps), 1280 X 720 (60fps/30fps), 640 X 480 (30fps),
High-Speed Movie: 640 X 480 (120fps)
Image Compression Best, Fine, Normal
DCF, DPOF (Ver1.1)
Support Ye s
File Format
Still
Image Exif 2.3 (JPEG)
Movie MOV [Image: H.264; Audio: Linear PCM (Stereo)]
Shooting Modes
Auto Mode, Program AE, Shutter priority, Aperture priority, Manual
Mode, Face Beautifier, Wi-Fi Mode, Scene Mode [Handheld Night,
Pet Mode, Sunset, Fireworks, Multi Exposure, Sport, Night Portrait,
Landscape, Portrait, Snow, Children, Party Panorama Mode], Movie
Mode, Custom Settings
Detection Features Face, Smile, Blink, Cat, Dog
Photo Touch-up Red-Eye Reduction, Skin Soften, Eye Brightening, Eye Enlargement
HDR Ye s
114
Scan Panorama Up to 360°
LCD 3.0 inch (460k Pixels)
Image Auto Rotation Ye s
ISO Sensitivity Auto, ISO100/200/400/800/1600/3200
AF Method Single AF, Multi-AF (TTL 25-point), Object Tracking ,
Face-Detection
Exposure Metering
Method
Artificial Intelligence AE (AiAE), Center-Weighted Average, Spot
(Fixed to Center of Frame), Face AE
Exposure Control Method Program AE (AE-Lock Available), Shutter Prior AE, Aperture Prior AE
Exposure Compensation ±3EV in 1/3 Step Increments
Shutter Speed 1/2000 ~ 30 Seconds
Continuous Shot Ye s
Playback Modes Single, Index (9/16 Thumbnails), Slide Show, Date,
Continuous Shooting, Zoom (Approx. X 2 ~ X 8)
White Balance Control AWB, Daylight, Cloudy, Fluorescent, Fluorescent CWF, Incandescent,
Manual WB, Color Temp. (1900K ~ 10000K)
Flash
Flash Method Pop-up (Auto)
Flash Modes Force Off, Flash Auto, Fill Flash, Red-Eye Reduction, Slow Sync.,
Slow Sync.+Red-Eye Reduction,
115
Recording Media Internal Memory: Approx. 8MB
SD/SDHC Card (Up to 32GB Support) [MMC Card Not Supported]
PictBridge, ExifPrint
Support Ye s
Multi-Language Support 27 Languages
Jacks AV-OUT/USB 2.0 (Micro 5 pin USB), HDMI (Type D)
Eye-Fi Support Ye s
Wi-Fi Yes (802.11 b/g/n)
Remote Viewfinder Yes (via smart device)
Power Rechargeable Li-ion Battery LB-060, 3.7V 1100mAh, In-Camera
Charging
Shooting Capability
(Battery Performance) Approx. 240 Shots (Based on CIPA Standards)
Operation Environment Temperature: 0 ~ 40°C, Humidity: 0 ~ 90%
Dimensions (W X H X D) Approx. 118.9 X 88.9 X 97.5mm (Based on CIPA Standards)
Weight Approx. 535g (Body only)

116
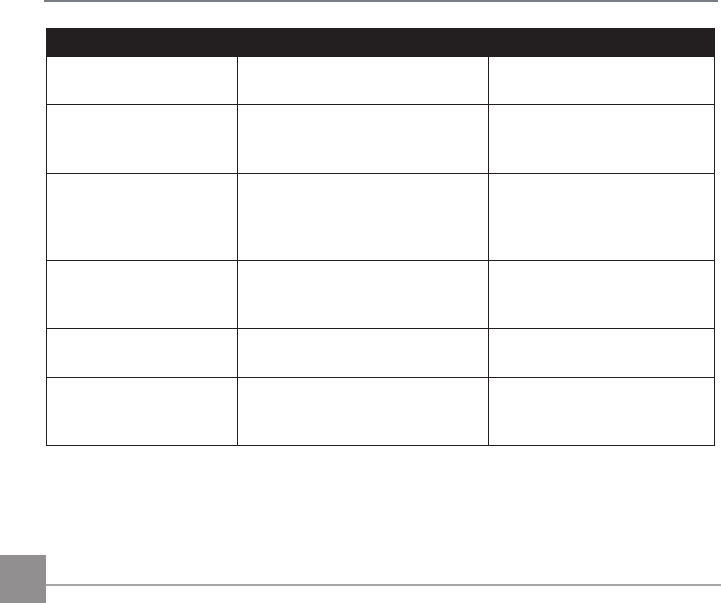
Prompts and Warning Messages
Message Description Action
Warning! Battery
exhausted.
Warning before power off when the
camera battery is exhausted.
Displaying that it will power
off after 2 seconds.
Lens obstruction,
Re-start Camera.
The lens is jammed or some foreign
object is preventing the lens from
functioning properly.
Turn off the camera and
restart it to reset the lens.
Suggest using tripod.
When continuous exposure is enabled,
this prompt message is displayed when
the photo shooting screen is displayed
for the first time.
The message will disappear
after 2 seconds.
Built-in memory error! An error occurs in built-in memory. The message will disappear
after 2 seconds.
Improper alignment.
Please try again.
The offset is too big for panorama
shooting.
Remove the message after
2 seconds and return to
shooting.
Warning! Do not turn
off your camera during
update!
The message appears during the
firmware update process.
The message disappears
after the camera update and
restart.

117
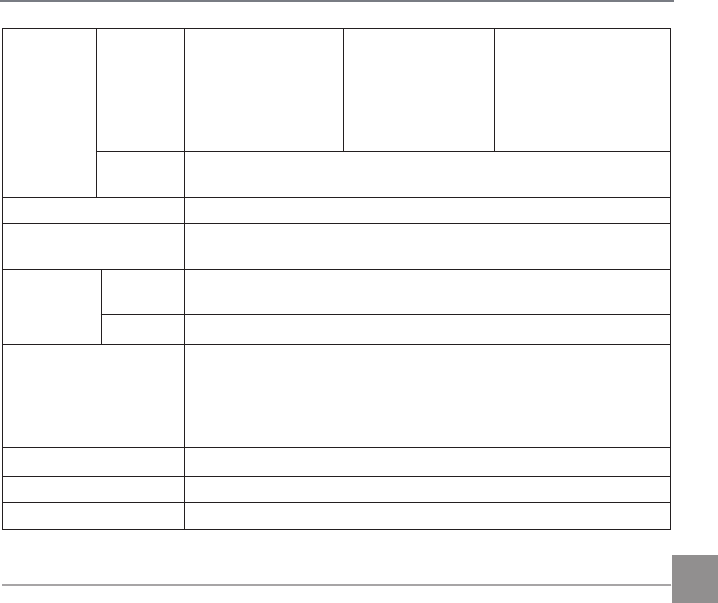
Message Description Action
Remove USB Cable! Indicates that you can disconnect the
Micro USB cable.
The message disappears
after you disconnect the
Micro USB cable.
Connection Failed! Failure to connect to your PC, printer,
TV (with HDMI).
Remove the cable and retry
connection.
Write Protect !
When you boot, press the shutter
button or edit the files under playback
mode, and the SD card is locked, the
message appear.
The message will disappear
after 2 seconds.
Card Full !
When you boot, press the shutter
button or edit the files under playback
mode, and the SD card is full, the
message appear.
The message will disappear
after 2 seconds.
Memory Full !
When you boot, press the shutter
button or edit the files under playback
mode, and the camera memory is full,
the message appear.
The message will disappear
after 2 seconds.
118
Message Description Action
Card Error ! The memory card can’t be
identified after being formatted. Normal display.
Card is not formatted.
When an error occurs in the
SD card, the message “Not
Formatted” appears.
Disappear after 2 seconds and
enter the formatting process.
Slow access
When a SD card lower than Class
4 is used to record a HD movie,
the writing speed will be slower
and recording will not continue.
Remove the message after
2 seconds and return to
shooting.
Cannot write to SD card.
The photo shooting or video
recording has been interrupted so
recording cannot continue.
Remove the message after
2 seconds and return to
shooting.
No Red-Eye Detected! Red eyes have not been detected
in the image.
The message will disappear
after 2 seconds.
This image cannot be
edited.
The file format does not support
editing or the edited file cannot be
edited again.
The message will disappear
after 2 seconds.

119
Message Description Action
Exceeded
maximum folder
number.
When you boot, press the shutter button or
edit the files under playback mode, and the
SD card exceeded the maximum number of
folders (999), the message appear.
The message will end after
the camera processing is
complete.
Too many pictures
for fast processing.
During the playback by date, the images
exceed specifications so that it is not possible
to play by date.
The message disappears
after 2 seconds and the
camera returns to the
normal playback mode.
Unable to recognize
files.
The format of the file to be viewed is not
supported or the file is corrupted so it cannot
be properly read.
This image message
disappears only after the
file is deleted.
No Picture! When you press the play button, no image
files exist in the camera or memory card.
The message disappears 2
seconds later to return to
the photo shooting screen.
No continuous
group file.
When you switch from the playback mode
to continuous photo mode, there is no
continuous group file.
The message disappears
after 2 seconds and the
camera returns to the
normal playback mode.
Protected!
Undeletable!
The file is protected. The message appears
when you delete it.
The message will
disappear after 2 seconds.
120
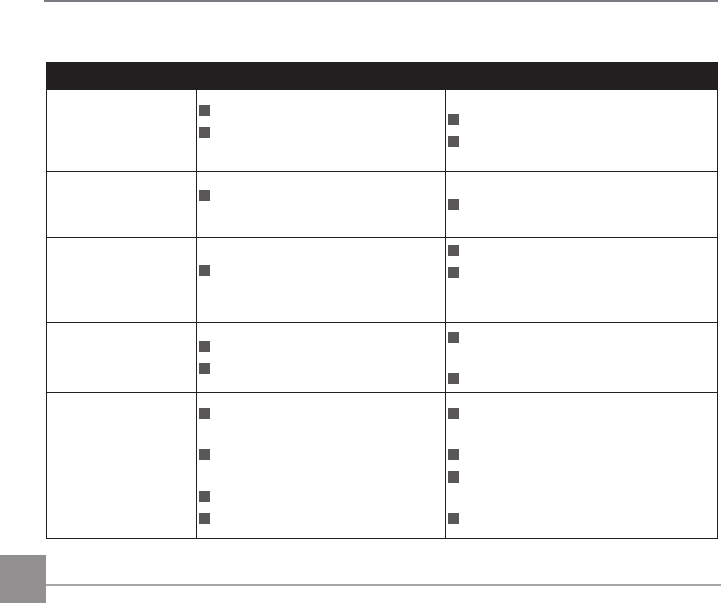
Troubleshooting
Problem Possible Causes Solution
Camera does not
turn on
The battery has been depleted.
The battery is not inserted
correctly.
Recharge the battery.
Correctly reinstall the battery.
Camera turns off
suddenly during
operation
The batteries have been
depleted. Recharge the battery.
The picture is blurred Camera shakes while taking a
picture.
Turn on OIS feature.
Please use tripod for high
magnification (above 15X) optical
zoom.
Images and video
files cannot be saved
The SD memory card is full.
The memory card is locked.
Use another memory card or delete
unnecessary files.
Unlock the memory card.
Images will not print
from the connected
printer
The camera is not connected to
the printer correctly.
The printer is not PictBridge
compatible.
The printer is out of paper or ink.
The printer paper is jammed.
Check the connection between the
camera and printer.
Use a PictBridge compatible printer.
Load paper into the printer or replace
the ink cartridge in the printer.
Remove the jammed paper.
121
Problem Possible Causes Solution
Saving data to
memory card is slow
Using a memory card below Class
4 may result in slower recording
times.
Use an SD card with write
Class higher than 4 to improve
performance.
Cannot write to the
memory card
The SD memory card has been
locked.
The camera may experience
trouble recording HD movies to
SD cards with a rating lower than
Class 4.
Release the write lock of the
memory card or replace with
another card.
Use an SD card with write
Class higher than 4 to improve
performance.
Too many movies to
process
The number of pictures or
folders in the SD memory card
exceed the specifications, so the
playback of data folder cannot be
displayed.
Delete unwanted files.
When shooting with stacked filters attached, the corners of the photo may turn dark
(Vignetting effect) because the filter holder blocks light from reaching the camera image
sensor; especially, at wide angle zoom control settings. Please take test shots and review the
results when using stacked filters.

Ver. 1
The Kodak trademark and trade dress are used under license from Kodak.
© 2014 by JK Imaging Ltd. All rights reserved.
JK Imaging Ltd. 1411 W. 190th Street, Suite 550, Gardena, CA 90248, USA
www.kodakpixpro.com
Licensed
Product