Sintai Optical CWFB124 Wi-Fi module User Manual 3 of 5
Sintai Optical (Shenzhen) Co., Ltd. Wi-Fi module 3 of 5
Contents
- 1. User Manual.pdf
- 2. User Manual Part 1.pdf
- 3. User Manual Part 2.pdf
- 4. User Manual Part 3.pdf
- 5. User Manual Part 4.pdf
- 6. User Manual Part 5.pdf
- 7. User Manual Part 6.pdf
- 8. User Manual Part 7.pdf
- 9. User Manual Part 8.pdf
- 10. User Manual Part 9.pdf
- 11. User Manual 1.pdf
- 12. User Manual 2.pdf
- 13. User Manual (1 of 4).pdf
- 14. User Manual (2 of 4).pdf
- 15. User Manual (3 of 4).pdf
- 16. User Manual (4 of 4).pdf
- 17. User Manual (1 of 2).pdf
- 18. User Manual (2 of 2).pdf
- 19. User Manual (1 of 5).pdf
- 20. User Manual (2 of 5).pdf
- 21. User Manual (3 of 5).pdf
- 22. User Manual (4 of 5).pdf
- 23. User Manual (5 of 5).pdf
User Manual (3 of 5).pdf
61
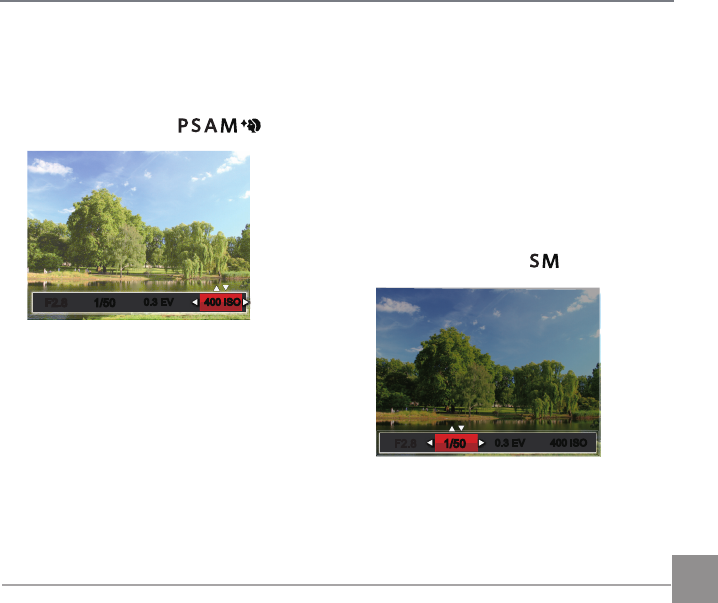
ISO
ISO allows you to set the sensitivity of the
camera sensor. Please use a higher ISO value
in darker places and a lower value in brighter
conditions. (Adjustable in Mode).
1/50
1/50
0.3 EV 400 ISO0.3 EV 400 ISO
F2.8F2.8
The camera’s ISO settings include: Auto, 100,
200, 400, 800, 1600 and 3200.
Shutter Adjustment
For shutter speed, the camera may
automatically set the aperture value
corresponding to the manually set shutter
speed so as to obtain a most suitable exposure
value. The movement of object may be shown
by adjusting the shutter speed. High shutter
value can make you clearly capture the
movement of fast moving object while low
shutter value can allow you to take a picture
for fact moving object with a strong sense of
movement. (Adjustable in Mode).
-1.0 EV
1/50
400 ISO
1/50
400 ISO
0.3 EV0.3 EV
F2.8F2.8
62
Aperture Adjustment
You can adjust the aperture size value.
Selecting a large aperture opening will
emphasize the point of focus and show a blurry
background and foreground. A small aperture
opening will keep both the background and
main object in clear focus. (Adjustable in
Mode)
400 ISO0.3 EV0.3 EV 400 ISO
1/50
1/50
F2.8F2.8
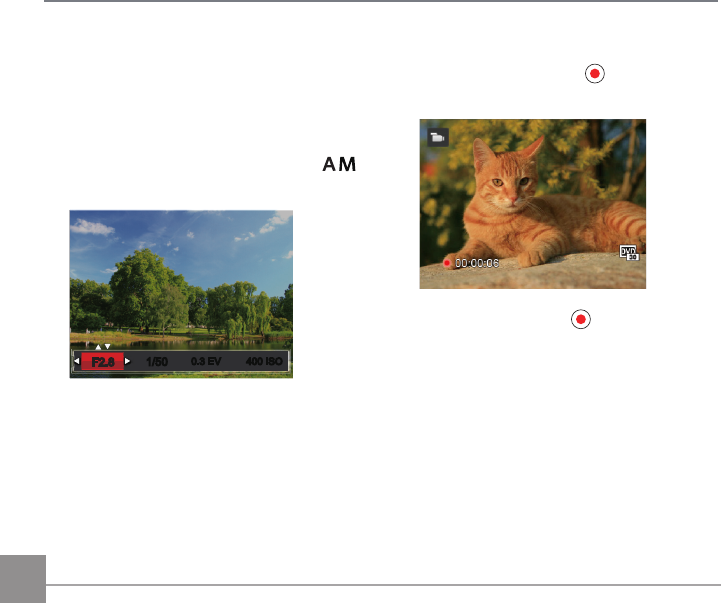
Using Quick Recording
In shooting mode, press the button to begin
recording video.
After recording, press the button again or
press the Shutter button to stop recording. The
camera will store the video and return to the
shooting screen.
63
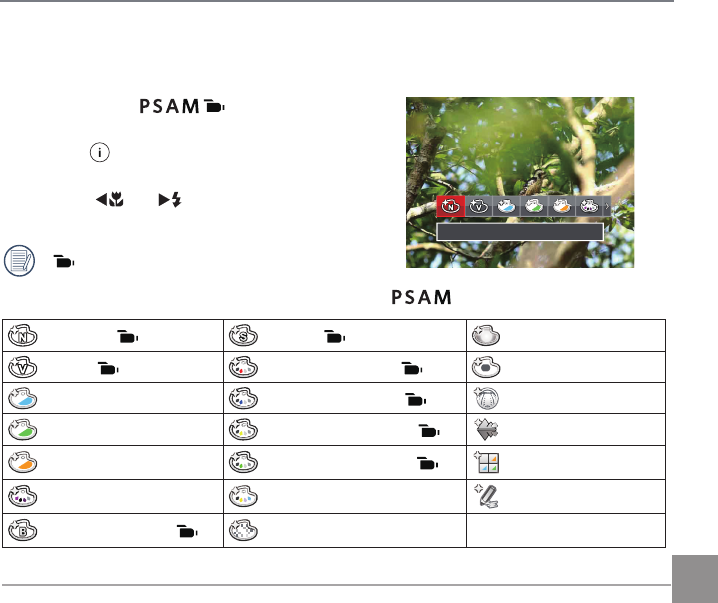
i Button Function Menu
The Image Color Setting allows you to select different color effects.
It can be adjusted in mode, please
follow the steps below to configure the settings:
1. Press the button to select the Image
Color Setting Menu.
2. Press the
AC
/
CA
button to select
the Image Color Setting options.
( ) represents optional in Movie mode.
There are 20 Image Color options in photo shooting mode :
Normal ( ) Sepia ( ) Vignetting
Vivid( ) Partial Color-Red ( ) ) Salon
Japan Style Partial Color-Blue ( ) Fish Eye
Italian Style Partial Color-Yellow ( ) Reflection
French Style Partial Color-Green ( ) 4 Grids - Stylish(2M)
Punk Negative Sketch
Black and White ( ) Dreamy
Normal
64 65
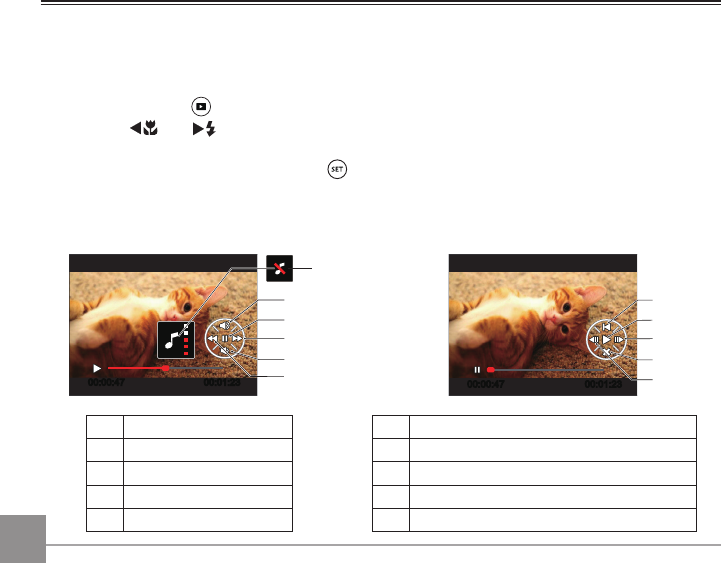
Viewing Photos and Videos
Photos and videos are previewed in portrait mode even when made as landscape. To view photos
and videos on the LCD:
1. After pressing the button, the last photo or video clip taken will be displayed on the LCD.
2. Use the
AC
/
CA
button to scroll through the photos or video clips stored in the internal
memory or on the memory card.
3. To play a selected video clip, press the button to enter the Movie Playback mode.
During video playback, the operating instructions will appear on the screen. Press the appropriate
buttons to enable the corresponding functions.
Mute
Under Playback Paused
00:00:47 00:01:23
1
2
3
4
5
00:00:47 00:01:23
6
7
8
9
10
1Increase Volume 6 Back to the beginning of the video
2Pause 7 Play
3Fast Forward 8 Frame Forward
4Decrease Volume 9 Cancel playback
5Rewind 10 Frame Backward
Playback Mode
6564 65
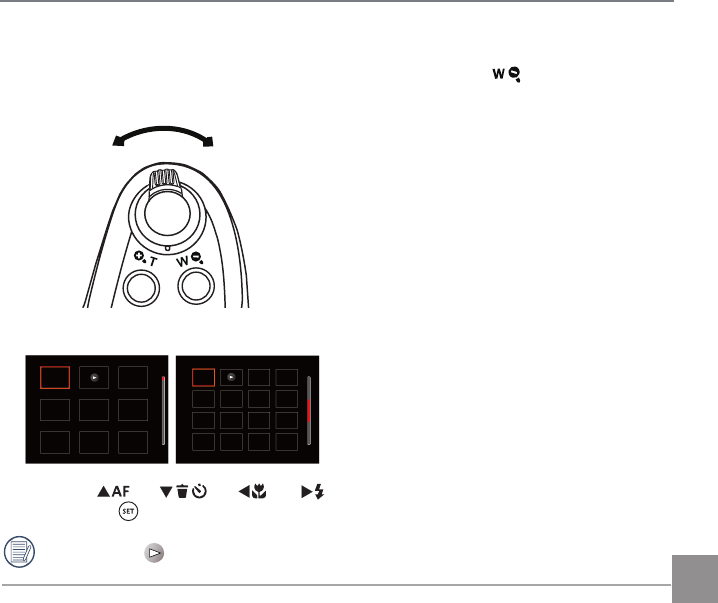
Thumbnail View
When in Playback Mode, rotate the Zoom Lever counter clockwise to the position to display
thumbnail images of the photos and videos on the screen.
W Zoom Out T Zoom Out
1. Slide the Zoom Lever to switch between 3x3 and 4x4 thumbnails.
2. Press the
AC
/
C
A
/
AC
/
CA
buttons to select a picture or video clip to view
and press the button to restore it to the original size.
When the icon appears, it means this is a video file.
66
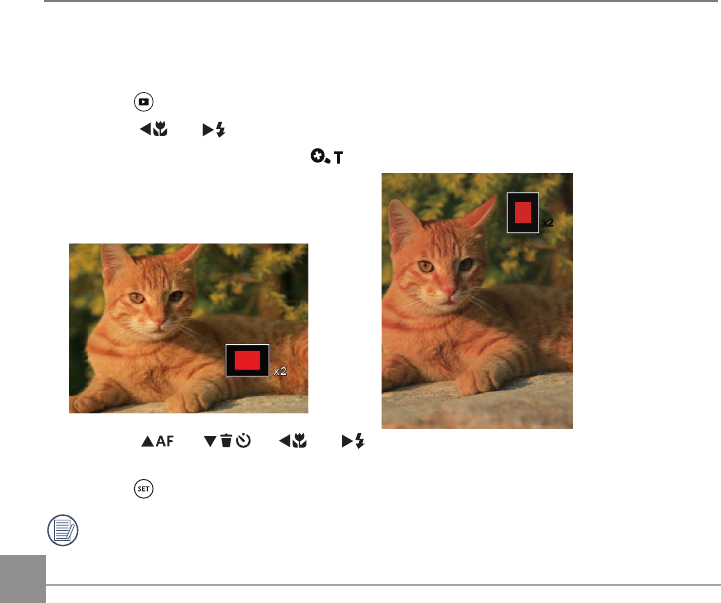
Using Zoom Playback (for still pictures only)
When playing back photos, you can also use the Zoom Lever to zoom in on the photos 2 to 8 times.
1. Press the button to switch to Playback mode.
2. Press the
AC
/
CA
button to select a picture to be zoomed in.
3. Rotate the Zoom Lever clockwise to to zoom in.
4. The bottom right corner of the screen will
display the number of times and area of
the photo zooming operation.
5. Press the
AC
/
C
A
/
AC
/
CA
buttons to navigate and select a part of the image
to be zoomed in.
6. Press the button to return the image to its original scale.
Movie images cannot be magnified.
x2
67
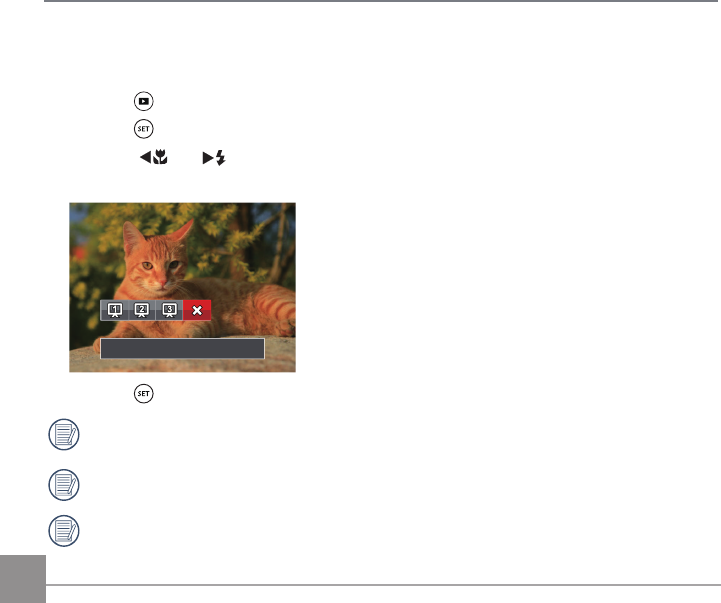
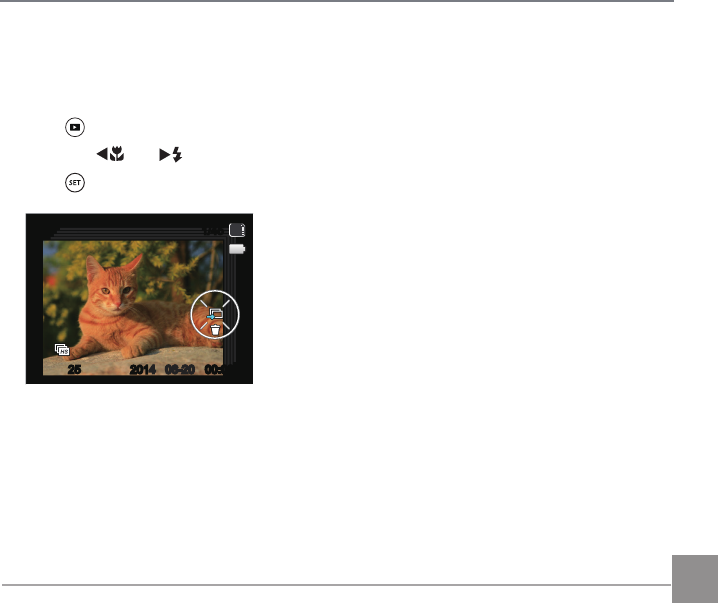
Photos and Video Deletion
In Playback mode, press the
C
A
button to delete your photos and videos.
To delete photos or videos:
1. Press the button to switch to Playback mode.
2. Press the
AC
/
CA
button to select the photos and videos to be deleted.
3. Press the
C
A
button and the deletion screen is displayed.
Delete One
Exit
4. Press the
AC
/
C
A
button to select 「Delete One」or「Exit」and press the button
to confirm.
Erased photos/video clips cannot be recovered.
Please refer to page 90 for instructions on deleting more than one image at a time.
68
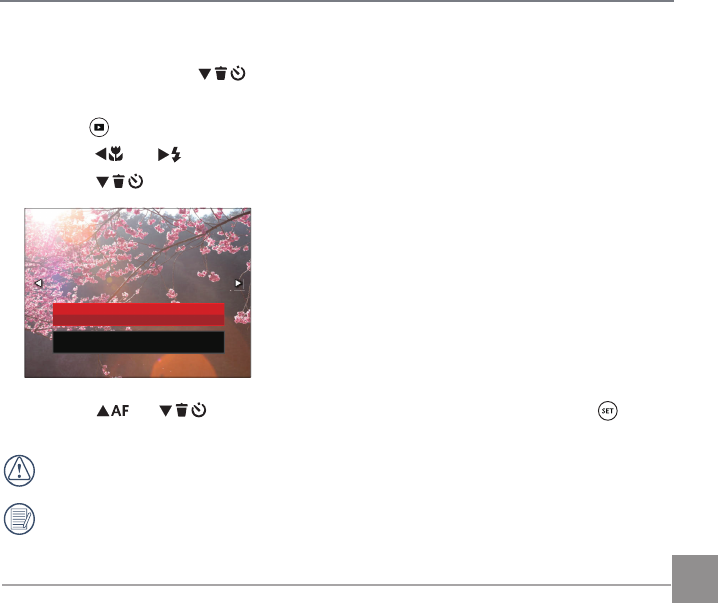
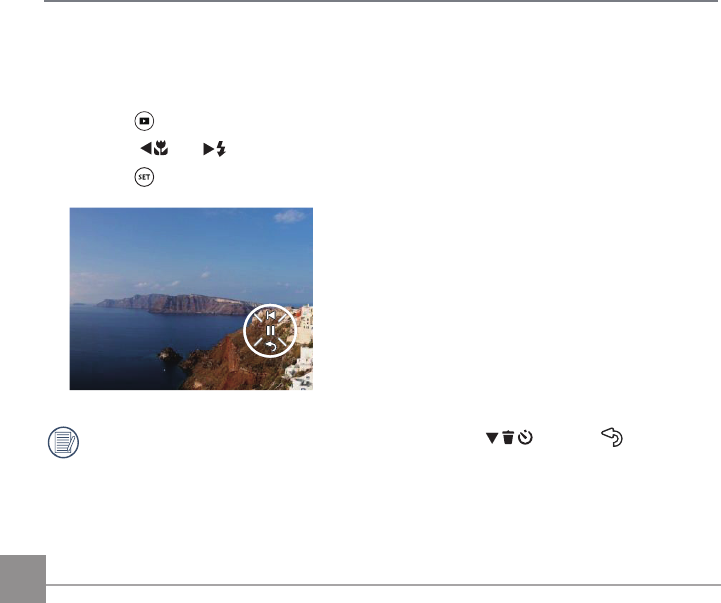
Slideshow
This setting allows you to view all the stored images as a slideshow.
1. Press the button to enter playback screen.
2. Press the button to enter slide option.
3. Press the
AC
/
CA
button to select slideshow playing or「Cancel」to return to the
playback screen.
Cancel
4. Press the button to confirm the setting.
The continuous capture group playback may be displayed by slideshow.
Pictures rotate automatically during a slide show.
Slide playing function supports movie playing.
69
Continuous Capture Group Playback
Cont.Shot-High Speed (VGA) and Cont.Shot-Fast (4M) can make continuous capture for group
image playback.
1. Press button to enter playback screen.
2. Press the
AC
/
CA
button to select Cont. Group.
3. Press to start playback.
25
1/45
SD
06-2006-20 00:0000:00
4
2014
70 7170
Animation panorama play
Panoramic animation playing is to play full size image in accordance with the shooting direction.
After playing, it will automatically return to the static screen of panoramic image.
1. Press the button to enter playback screen.
2. Press the
AC
/
CA
button to select animated panoramic photos.
3. Press the button to play in selected shooting direction.
In the process of panoramic animation playback, press the
C
A
button ( ) to stop
playing and return to the playback screen.
70 71
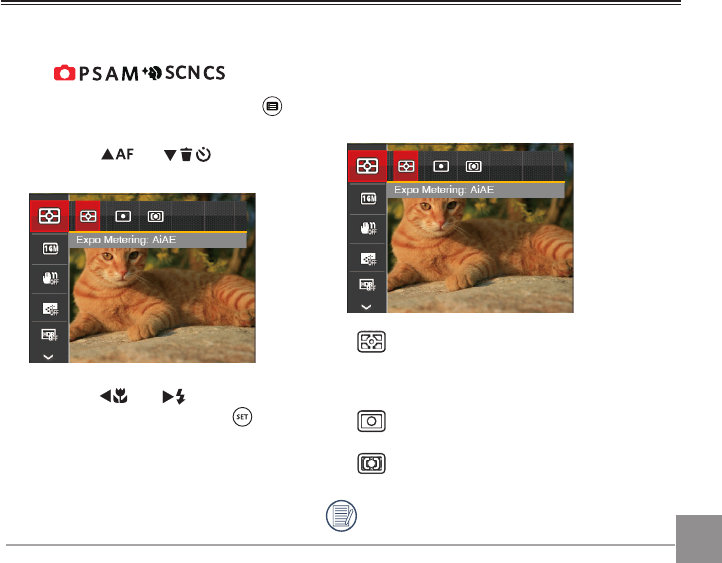
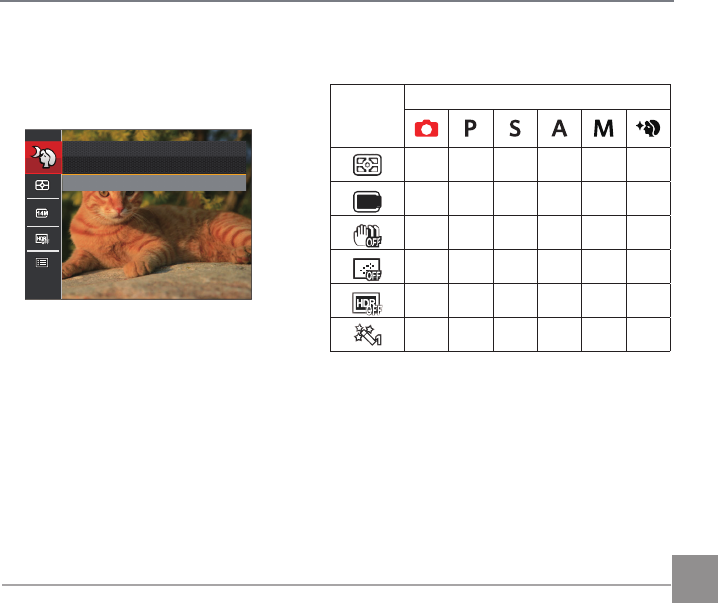
Photo Setup Menu
Using the Menus
Mode:
1. In Photo Shooting Mode, press the
button to enter the Photo Setup menu.
2. Press the
AC
/
C
A
button to
select the item to be set.
3. Press the
AC
/
CA
button to
select an option and press the
button to confirm.
Refer to the following pages for more
details about each setting.
Expo Metering
Use this setting to select the “target” size of the
camera’s field of view to be metered.
• AiAE (Artificial Intelligence AE): For
automatically selecting the central
and surrounding metering to weight a
proper metering value.
• Spot: For metering the block displayed
in the center of the screen.
• Center: For metering the object in the
center of the screen.
It can be adjusted in all modes except for
Panorama Mode.

72
Image Size
The size setting refers to the image resolution
in pixels. A higher image resolution allows
you to print that image in larger sizes without
degrading the image quality.
•
16
M
Size: High quality printing
• Size: Full size printing
• Size: 16:9 display
• Size: Poster printing
•
5M
Size: A3 printing
•
3M
Size: A3 printing
•
2M
Size: 4”x 6” printing
• Size: E-Mail
The larger the number of recorded pixels,
the larger the file size and the fewer files
that can be saved on your memory card.
73
OIS (Optical Image Stabilization)
This mode can help reduce photo blur caused
by unintentional hand shake, low light or slow
shutter speed.
• OIS: Off
• OIS: On
Use Stabilization Mode in dark
environments or when using a slower
shutter speed.
Shooting in a windy or unstable
environment (such as a moving vehicle)
may cause blurred images.
Cont. AF
Enable the continuous AF to be able to
continuously focus automatically when
taking pictures.
• Cont.AF: Off
• Cont.AF: On
74
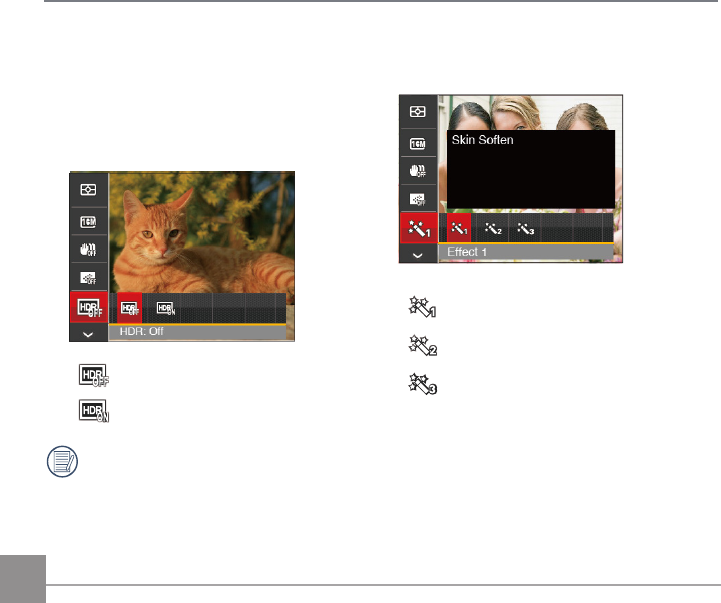
Beautifier
Set the effect of the face beautifier mode.
• Effect 1: Skin Soften
• Effect 2: Skin Soften+Eye Brightening
• Effect 3: Skin Soften+Eye Brightening
+Eye Enlargement
HDR
Use this setting to control wide dynamic
image range when taking static pictures.
Photos with extreme contrast of bright and
dark areas will still maintain distinguishable
detail and depth. (Suggest using tripod)
• HDR: Off
• HDR: On
In the scenario with high light contrast
(too dark or too light), this function can
be used to shoot satisfactory photos.
75
Scene
Select the scene mode under the SCN
mode.
Night Portrait
Press SET To Select Scene
Shooting menu in the Photo shooting mode
( O: Optional X: Not optional)
Options
Photo Shooting Modes
OOOOOO
16
M
OOOOOO
XOOOOO
X O O O O O
X O O O O X
XXXXXO