Sintai Optical CWFB124 Wi-Fi module User Manual 4 of 5
Sintai Optical (Shenzhen) Co., Ltd. Wi-Fi module 4 of 5
Contents
- 1. User Manual.pdf
- 2. User Manual Part 1.pdf
- 3. User Manual Part 2.pdf
- 4. User Manual Part 3.pdf
- 5. User Manual Part 4.pdf
- 6. User Manual Part 5.pdf
- 7. User Manual Part 6.pdf
- 8. User Manual Part 7.pdf
- 9. User Manual Part 8.pdf
- 10. User Manual Part 9.pdf
- 11. User Manual 1.pdf
- 12. User Manual 2.pdf
- 13. User Manual (1 of 4).pdf
- 14. User Manual (2 of 4).pdf
- 15. User Manual (3 of 4).pdf
- 16. User Manual (4 of 4).pdf
- 17. User Manual (1 of 2).pdf
- 18. User Manual (2 of 2).pdf
- 19. User Manual (1 of 5).pdf
- 20. User Manual (2 of 5).pdf
- 21. User Manual (3 of 5).pdf
- 22. User Manual (4 of 5).pdf
- 23. User Manual (5 of 5).pdf
User Manual (4 of 5).pdf
76
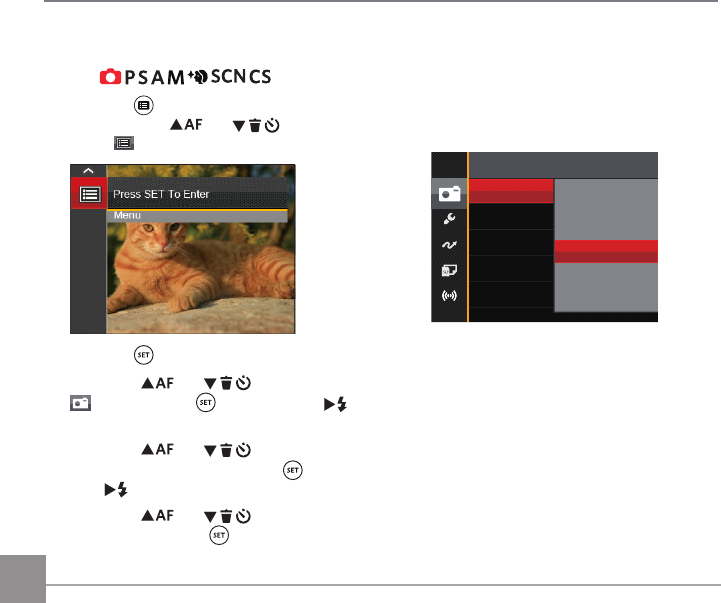
Mode:
1. Press the button in Photo Shooting mode
and press the
AC
/
C
A
button to
select .
2. Press the button to enter the menu.
3. Press the
AC
/
C
A
button to select
, and press the button or the
CA
button to enter the menu.
4. Press the
AC
/
C
A
button to select
the item to be set and press the button or
the
CA
button to enter the menu.
5. Press the
AC
/
C
A
button to select an
option and press the button to confirm.
Photo Shooting Settings Menu
Quality
The Quality Setting can be used to adjust the
image compression ratio.
QualityBest
Fine
Normal
There are three options for picture quality:
• Best
• Fine
• Normal
77
AF-Assist Beam
In a darker environment, AF Assist Beam can
be turned on for better focus.
AF Assist Beam
Off
On
Digital Zoom
Turn on or off the digital zoom.
Digital Zoom
Off
On
Date Imprint
Include a Date/Time stamp on the photo
image.
Date Imprint
Off
Date
Date/Time
• Off
• Date
• Date / Time
78
Quick Review
This option allows quick review of the photos
immediately after they are taken. Each photo
is displayed on the LCD based on the selected
time.
Quick Review
Off
1 sec
2 sec
3 sec
There are 4 options:
• Off
• 1 sec
• 2 sec
• 3 sec
Custom Settings
Custom Settings stores the current photo
shooting mode and its parameters. The stored
mode and parameters are directly invoked in
mode.
Custom Settings
Reset camera settings to
custom settings mode.
No
Yes
There are 2 options:
• No
• Yes
79
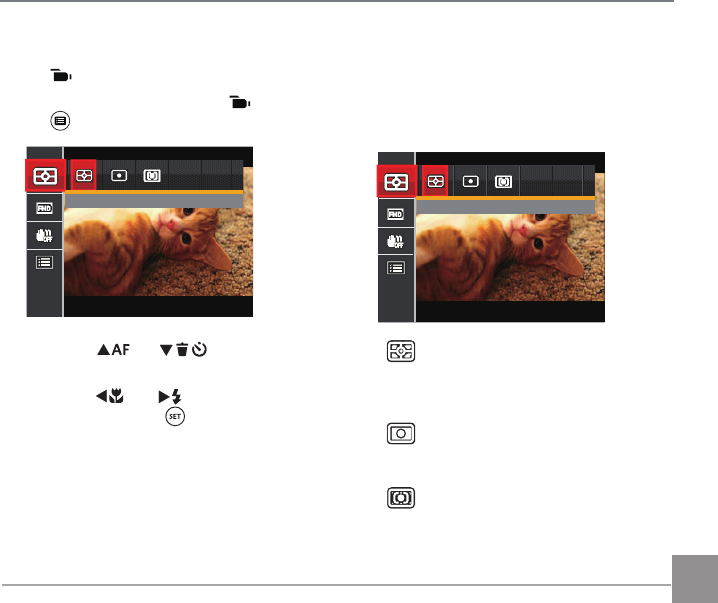
Movie Menu
Mode:
1. Rotate the mode dial to select and press
the button to enter the Movie menu.
Expo Metering: AiAE
2. Press the
AC
/
C
A
button to
select the item to be set.
3. Press the
AC
/
CA
button to select an
option and press the button to confirm.
Expo Metering
Use this setting to select the “target” size of
the camera’s field of view to be metered.
Expo Metering: AiAE
• AiAE (Artificial Intelligence AE)
For automatically selecting the
central and surrounding metering
to weight a proper metering value.
• Spot
For metering the block displayed
in the center of the screen.
• Center
For metering the object in the
center of the screen.
80
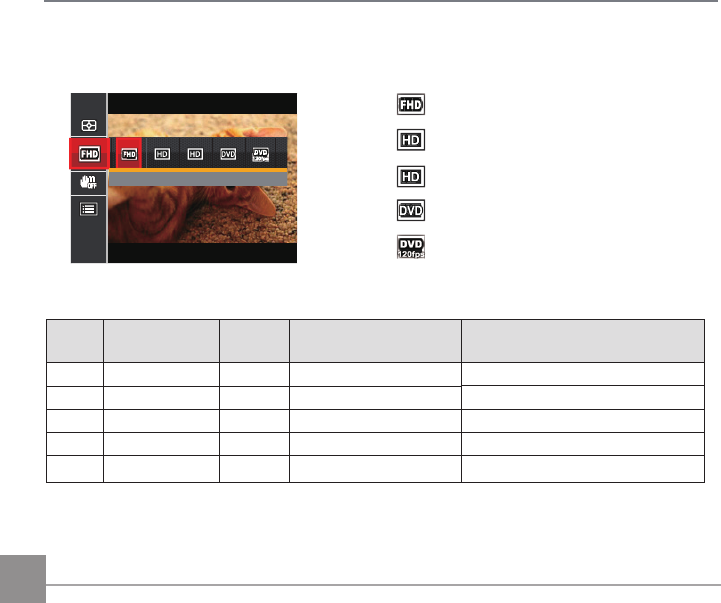
Movie Size
Set the image resolution used during video recording.
Size: 1080p 30fps
The speed requirements for reading and writing high image pixel images to SD card are as follows:
No. Image Pixel Frame Recommendation Recording time (4GB) About
1 1920x1080 30 Class 6 30 minutes
2 1280x720 60 Class 6 32 minutes
3 1280x720 30 Class 4 59 minutes
4 640x480 30 Class 4 106 minutes
5 640x480 120 Class 6 54 minutes
• Size: 1080p 30fps
• Size: 720p 60fps
• Size: 720p 30fps
• Size: 640x480 30fps
• Size: High Speed Movie

81
Recording time limit above 1280x720 30
fps format is under 29 minutes.
When recording in higher pixel
resolutions for extended periods of time,
this can cause the camera to generate
heat. This is not a camera malfunction.
When the video format is set as
640x480 (120fps), shooting time is 30
seconds, playback time is 2 minutes.
Sound recording is disabled when
640x480 120fps is chosen.
OIS (Optical Image Stabilization)
This mode can help reduce photo blur caused
by hand shake and low light.
5/9 5LL
• OIS: Off
• OIS: On
Use this image stabilization mode in dark
environments.
Shooting in a windy or unstable
environment (such as a moving vehicle)
may cause blurred images.
82
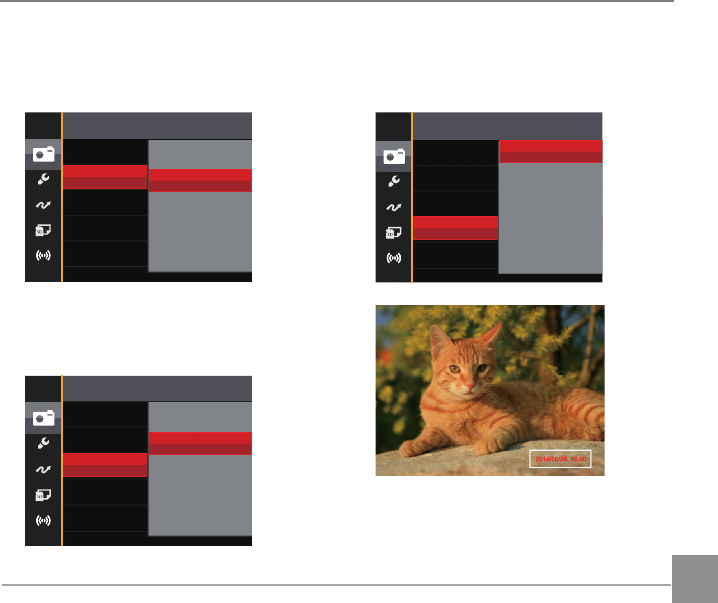
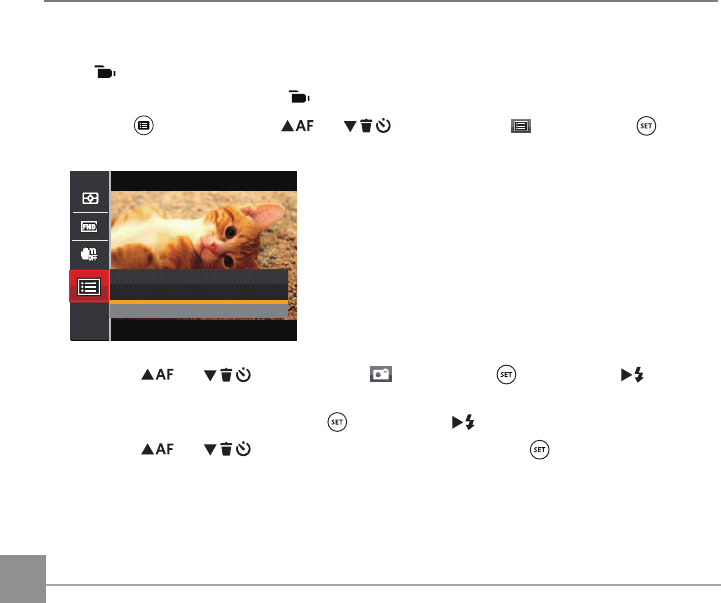
Movie Setting Menu
Mode:
1. Rotate the Mode Dial and select to enter the video recording screen.
2. Press the button, press the
AC
/
C
A
button to select , and press the button
to enter the Movie Setting menu.
Press SET To Enter
Menu
3. Press the
AC
/
C
A
button to select , and press the button or the
CA
button
to enter the menu.
4. Select the item to be set and press the button or the
CA
button to enter the menu.
5. Press the
AC
/
C
A
button to select an option and press the button to confirm.
83
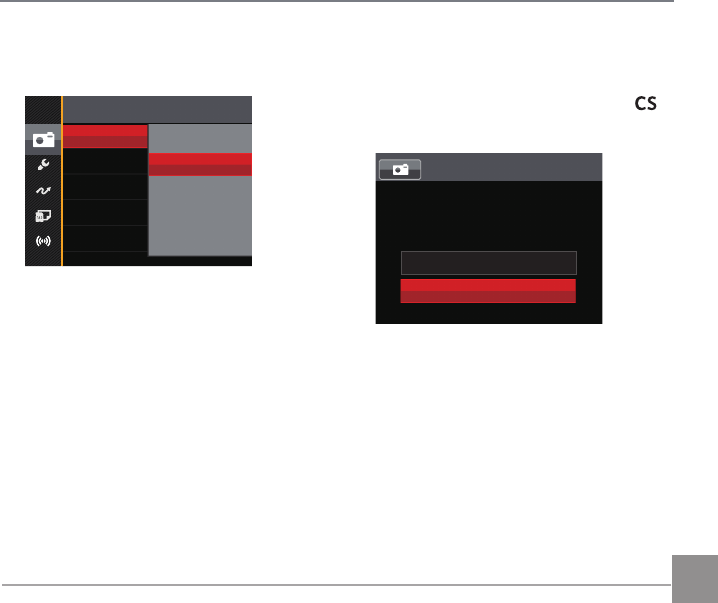
Custom Settings
Custom Settings stores the current movie
mode and its parameters. The stored mode
and parameters can be invoked directly in
mode.
Custom Settings
Reset camera settings to
custom settings mode.
No
Yes
Digital Zoom
Turn on or off the digital zoom.
Digital Zoom Off
On
84
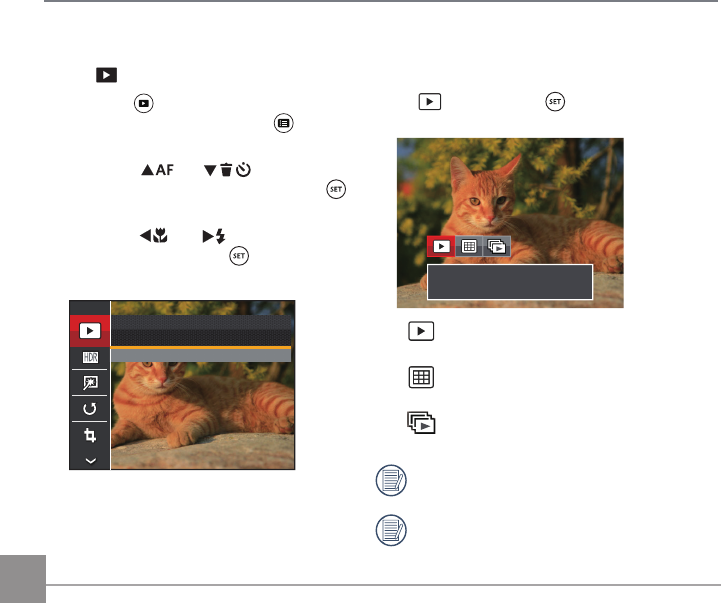
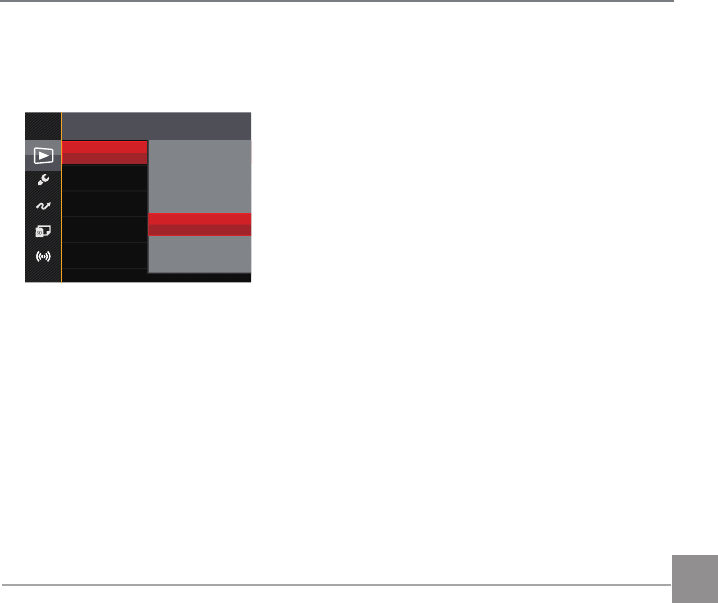
Playback Menu
Mode:
1. Press the button to display the
playback screen and press the button
to enter the Playback menu.
2. Press the
AC
/
C
A
button to
select the item to be set and press the
button to enter.
3. Press the
AC
/
CA
button to select
an option and press the button to
confirm.
Normal Mode
Press SET To Confirm
Refer to the following pages for more details
about each setting.
Playback Mode
Select , and press the button to enter the
settings screen:
Normal Mode: Display all images.
• Normal Mode:
Display all images.
• Date Mode:
Arranged by date.
• Cont. Photo Mode:
Arranged by Cont. Photo Group.
The Date Folder is displayed in date order
based on camera's Date/Time Settings.
If there is no any continuous shot image file
in the memory, continuous shot playback
mode cannot be enabled.
85
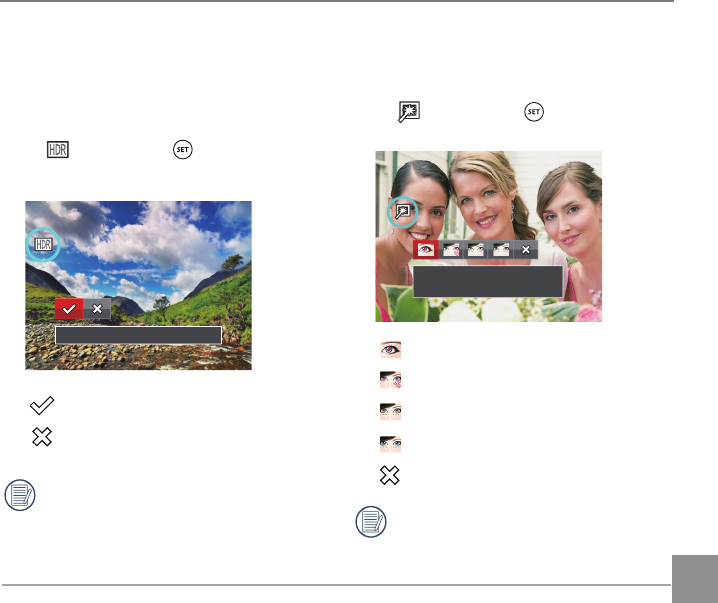
HDR
With the HDR function, pictures that are
overexposed may be corrected to optimize
the highlights and lowlights captured to more
accurately represent the actual scene.
Select , and press the button to enter
the settings screen:
HDR
HDR
Cancel
After using the HDR function, the image
will be saved as a new file and the
original file is still stored in the memory.
Touch-up
The playback beauty feature allows for
beautification using three individual effects.
Select , and press the button to enter
the settings screen:
Red-Eye Reduction
Red-Eye Reduction
Skin Soften
Eye Brightening
Eye Enlargement
Cancel
Using the face beautifier mode allows
you to select from single, two, or all three
effects combined.
86
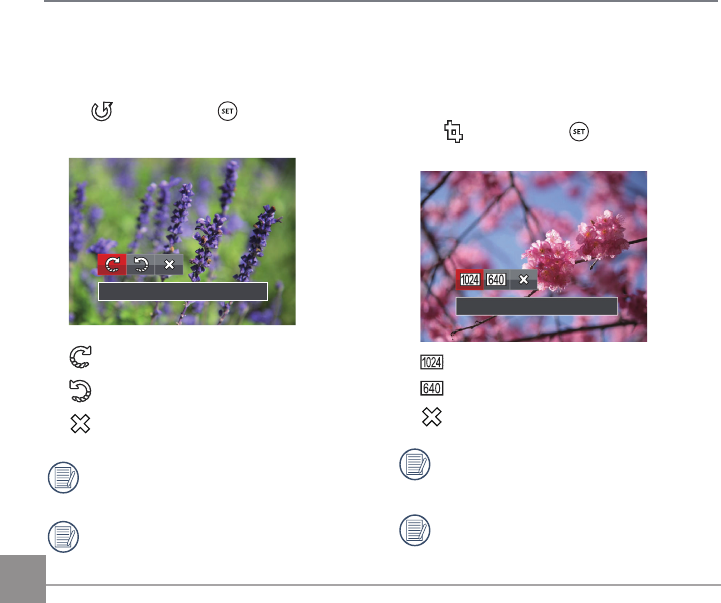
Rotate
You can use this setting to change the
orientation of the picture.
Select , and press the button to enter
the settings screen:
Turn Right
Turn Right
Turn Left
Cancel
Videos and panoramic pictures cannot
be rotated.
The rotated picture file will replace the
original photo.
Resize
This setting allows you to resize a picture to
a particular resolution and saves it as a new
picture.
Select , and press the button to enter
the settings screen:
Resize to 1024x768
Resize to 1024x768
Resize to 640x480
Cancel
Only for adjusting pictures with high
resolution to those with low resolution.
Sizes of photos taken in panorama mode
or rotated cannot be adjusted.
87
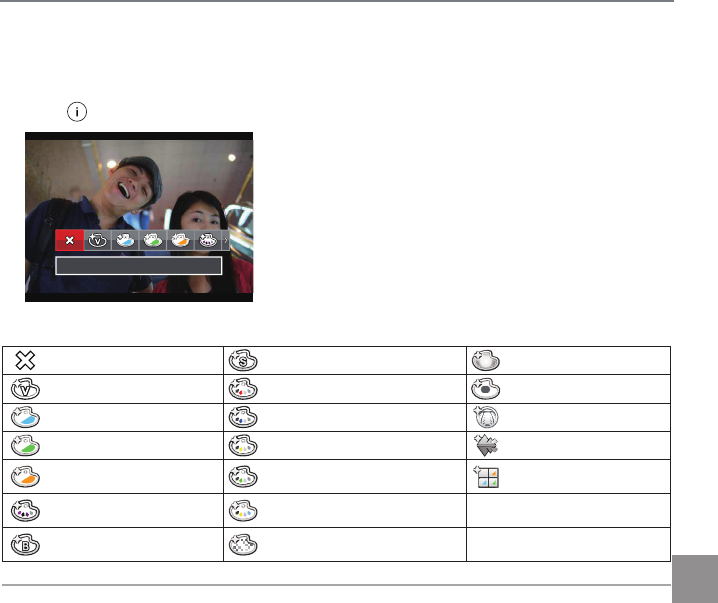
i button playback function
This setting allows you to change the picture color effect. The file is saved as a new photo and
stored in memory together with the original photo.
Press the button to enter the settings screen:
Cancel
There are 19 options:
Cancel Sepia Vignetting
Vivid Partial Color-Red Salon
Japan Style (8M) Partial Color-Blue Fish Eye
Italian Style (8M) Partial Color-Yellow Reflection
French Style (8M) Partial Color-Green 4 Grids - Stylish(2M)
Punk (4M) Negative (8M)
Black and White Dreamy
88
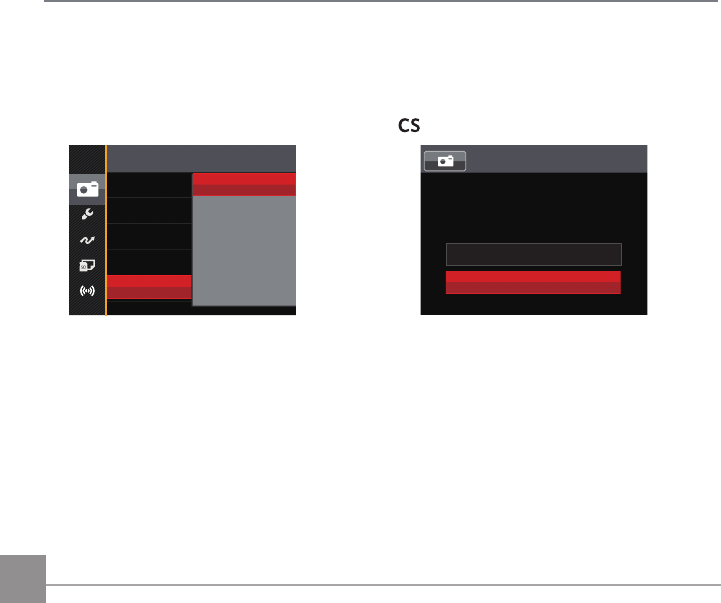
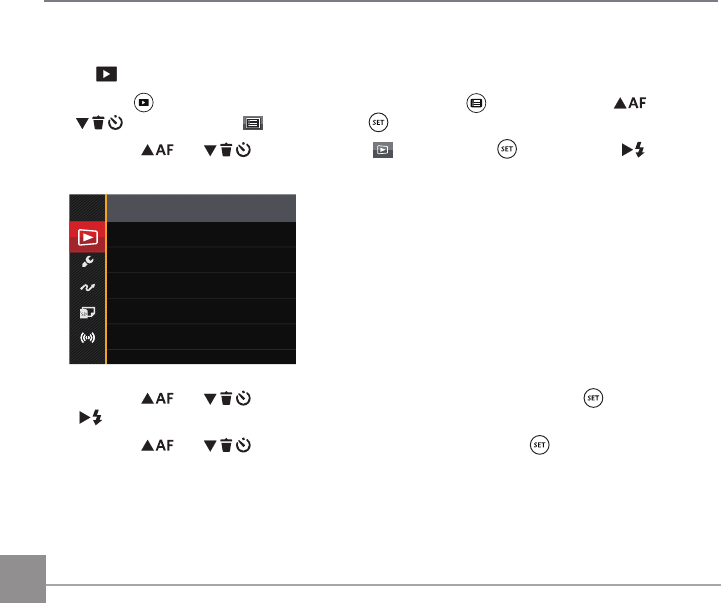
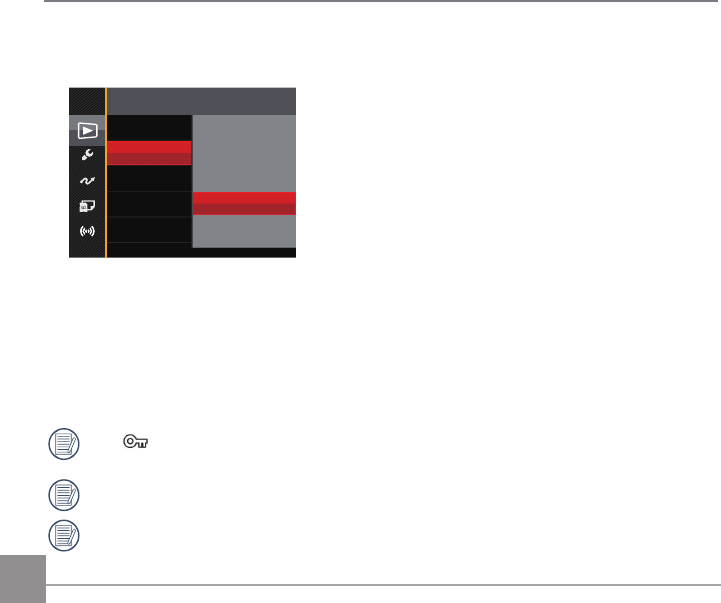
Playback Settings Menu
Mode:
1. Press the button to show the playback screen, press the button, press the
AC
/
C
A
button to select , and press the button to enter the menu.
2. Press the
AC
/
C
A
button to select , and press the button or the
CA
button
to enter the menu.
Protect
DPOF
Delete
Trim
3. Press the
AC
/
C
A
button to select the item to be set and press the button or the
CA
button to enter the menu.
4. Press the
AC
/
C
A
button to select an option and press the button to confirm.
Refer to the following pages for more details about each setting.
89
Protect
To prevent any pictures or videos from being accidentally erased, use this setting to lock one or all
of the files.
Protect One
Cont. Group
Reset
All
Reset
Date Folder
There are 5 options available:
• One: Lock the selected photo or video if they are
unprotected; unlock the selected photo or video if they are protected.
• Date Folder: Protect all photos in the Date Folder.
• Cont. Group: Protect all photos in the Cont. Photo Folder.
• All: Lock all photos or videos.
• Reset: Cancel all locked photos or videos.
90
Delete
You can delete one or all photo/video files.
Delete
One
Cont. Group
Date Folder
All
There are 4 options available:
• One: Delete one photo or video.
• Date Folder: Delete all photos in the Date Folder.
• Cont. Group: Delete all photos in the Cont. Photo Folder.
• All: Delete all photos or videos
The “ ” indicator means a file is protected. File protection must be removed first before a
file can be deleted.
Deleting files will cause DPOF settings to be reset.
When one photo in the Cont. Photo and Date Folders is protected, it will be kept but any other
photos will be deleted.
91
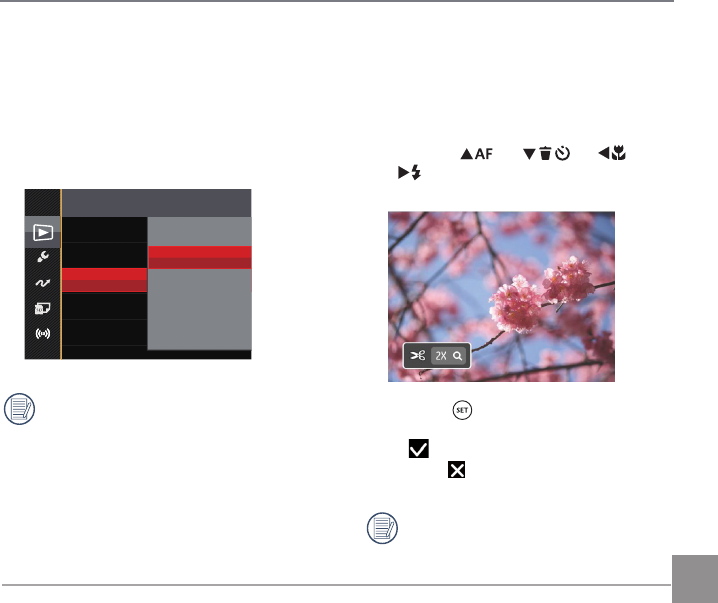
Trim
The Trim Setting allows you to crop photos
and save them as new pictures.
1. Select「Yes」to confirm trim. Rotate the
zoom lever to select the aspect ratio and
press the
AC
/
C
A
/
AC
/
CA
buttons to adjust the part you want
to trim.
2. Press the button and the「Save
change?」prompt appears. Select
「 」to change and save the picture.
Select「 」to cancel changes and
return to the trim prompt screen.
The image cannot be clipped/trimmed
again once it has been clipped to
640X480.
DPOF (Digital Print Order Format)
The DPOF feature allows you to compile and
select a group of pictures that you would like to
print and will save your selection on the memory
card so that you can use the SD memory card to
print without having to individually specify the
photos you want to print.
DPOF
One
All
Reset
The printer that supports DPOF is needed
for printing.
92
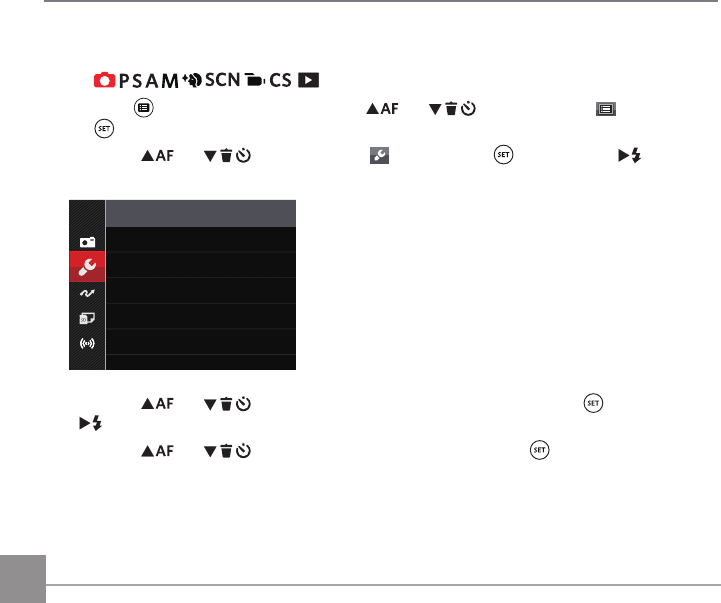
General Settings Menu
Mode:
1. Press the button in any mode, press the
AC
/
C
A
button to select , and press
the button to enter the menu.
2. Press the
AC
/
C
A
button to select , and press the button or the
CA
button to
enter the menu.
Sound Settings
Power Saver Auto
Language English
World Time Home
Date & Time 2014.06.20 00:00
3. Press the
AC
/
C
A
button to select the item to be set and press the button or the
CA
button to enter the menu.
4. Press the
AC
/
C
A
button to select an option and press the button to confirm.
Refer to the following pages for more details about each setting.

93
Power Saver
This setting allows you to save power and get
the maximum possible running time for your
camera’s batteries. Turn the LCD and camera
off automatically after a consecutive period of
inactivity.
Power Saver
Auto
Normal
Best
Power
Saver
LCD power off
time Turn off time
Auto 3 min 5 min
Normal 1 min 3 min
Best 30 s 1 min
Sound Settings
With this setting you may adjust the sound
volume.
Press the
AC
/
CA
button to adjust the
volume and press the button to confirm our
setting.
Sound Settings
Volume
Back
94
Language
Refer to the “Reset your language” section on
page 25.
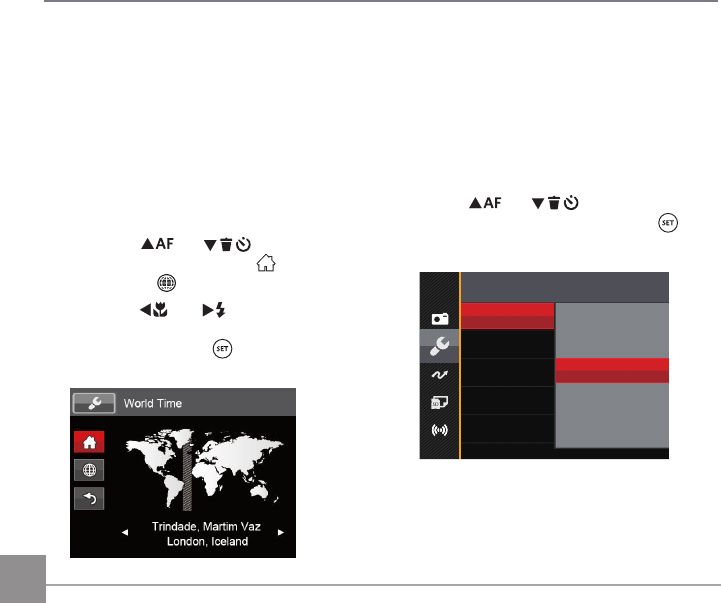
Zone
The Zone setting is a useful function for your
overseas trips. This feature enables you to
display the local time on the LCD while you are
abroad.
1. Press the
AC
/
C
A
button to
select the departure place ( ) and
destination ( ) fields.
2. Press the
AC
/
CA
button to select a
city located in the same time zone as that
of the field. Press the button to confirm
settings.
Date/Time
Refer to the “Reset Date/Time” section on
page 26.
LCD Brightness
Use this setting to adjust the brightness of your
LCD.
Press the
AC
/
C
A
button to adjust
the brightness of screen, and press the
button to confirm our setting.
LCD Brightness Bcfa U`
+2
-2
+1
-1
Normal
95
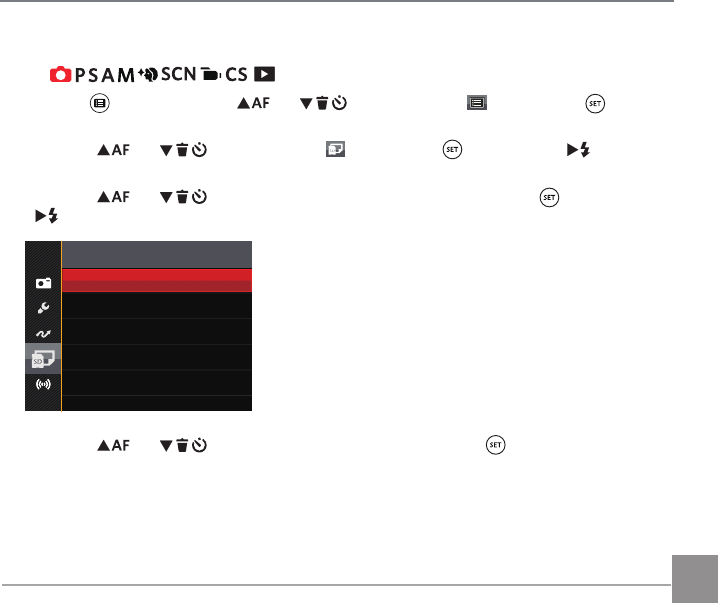
File Settings
Mode:
1. Press the button, press the
AC
/
C
A
button to select and press the button to
enter the menu.
2. Press the
AC
/
C
A
button to select and press the button or the
CA
button to
enter the menu.
3. Press the
AC
/
C
A
button to select the item to be set and press the button or the
CA
button to enter the menu.
Format
File Numbering
Copy to Card
Reset
FW Version X.XX
4. Press the
AC
/
C
A
button to select an option and press the button to confirm.
Refer to the following pages for more details about each setting.